1. Section Introduction
If you fall into the following three situations, you can consider installing a Genymotion Android emulator:
- No real device for debugging, so you can only use an emulator
- You find the AVD built into the SDK slow to start and slow to run
- Decent computer configuration, preferably 4GB RAM or more
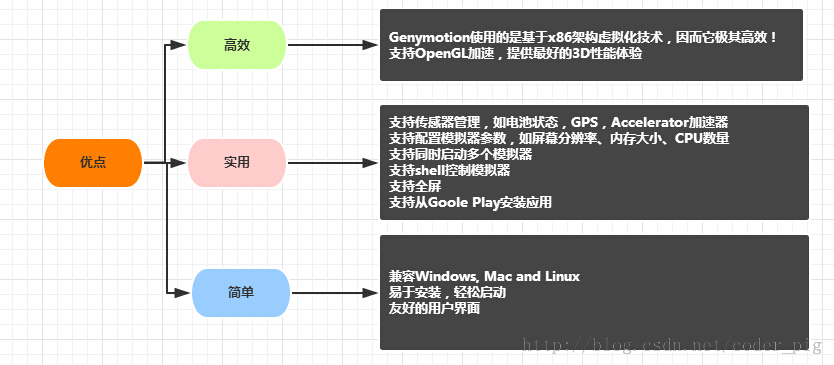
If you meet all three conditions above, then install Genymotion, which is even faster than a real device! Here is the official introduction:
2. Where to Download Genymotion
Search "Genymotion" on Baidu, and the first result is the one:Genymotion Chinese Official Website
3. Download Genymotion
After opening the above link: click Register
You'll see the following interface. If you already have an account, enter it directly and sign in. If not,
Click "Create account" to create a new account
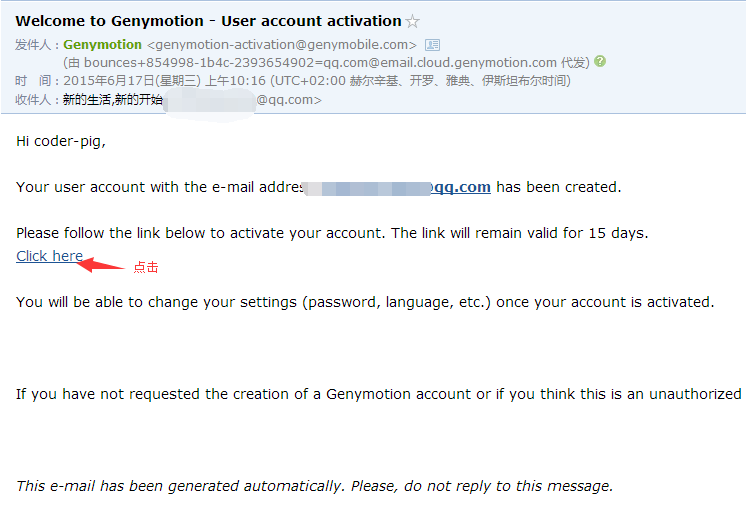
Then we will receive an activation email:
Open your email, click to activate the account, and after a while you'll receive another email confirming successful creation
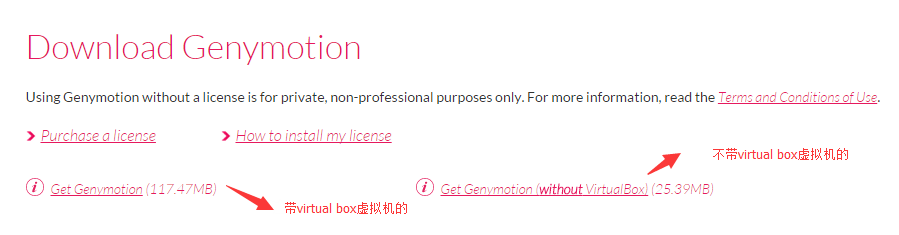
After logging in, click "Get Genymotion":
Choose the Free version download, then choose the download that includes the VirtualBox virtual machine

4. Install Genymotion
It's all just foolproof next-step clicks. Choose the installation directory:
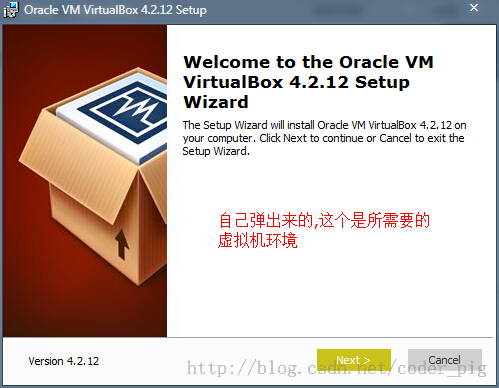
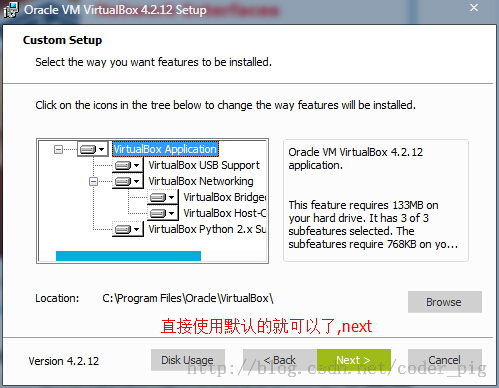
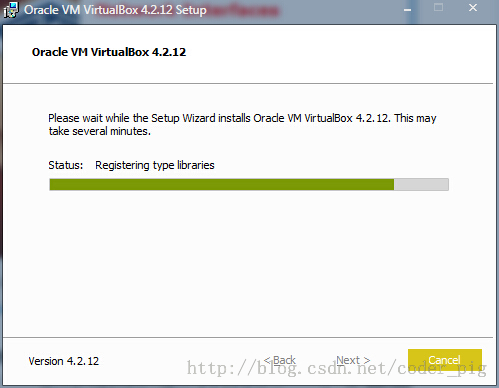
After the installation is complete, the Oracle VM VirtualBox installer will pop up. You can choose the path here; the author just went with the default installation
During the installation, windows for installing some devices will pop up from time to time. This is the virtual machine installing things; no need to pay attention, just click install:
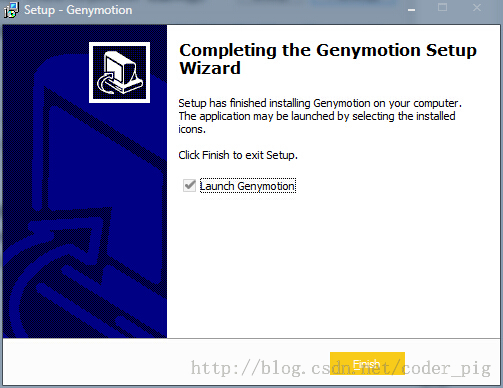
OK, after the installation is complete, confirm and run our Genymotion
5. Create an Android Emulator
① After running the software, you'll come to an interface. Since it's the first time using it, we need to create a new AVD:
After clicking Yes, you'll come to the interface for selecting the AVD version. Since there are no devices on it, we need to connect to the official website to obtain various versions of systems and hardware devices. Click "Connect" below and enter our activated account credentials: Email and password (the author may have had network issues; it only succeeded after several attempts)
After logging in successfully, you can select the corresponding system and hardware devices:
This shows the device's related information, and you can customize the emulator's name
After setting the name, click Next, and it will download the virtual device's related programs and the corresponding official SDK
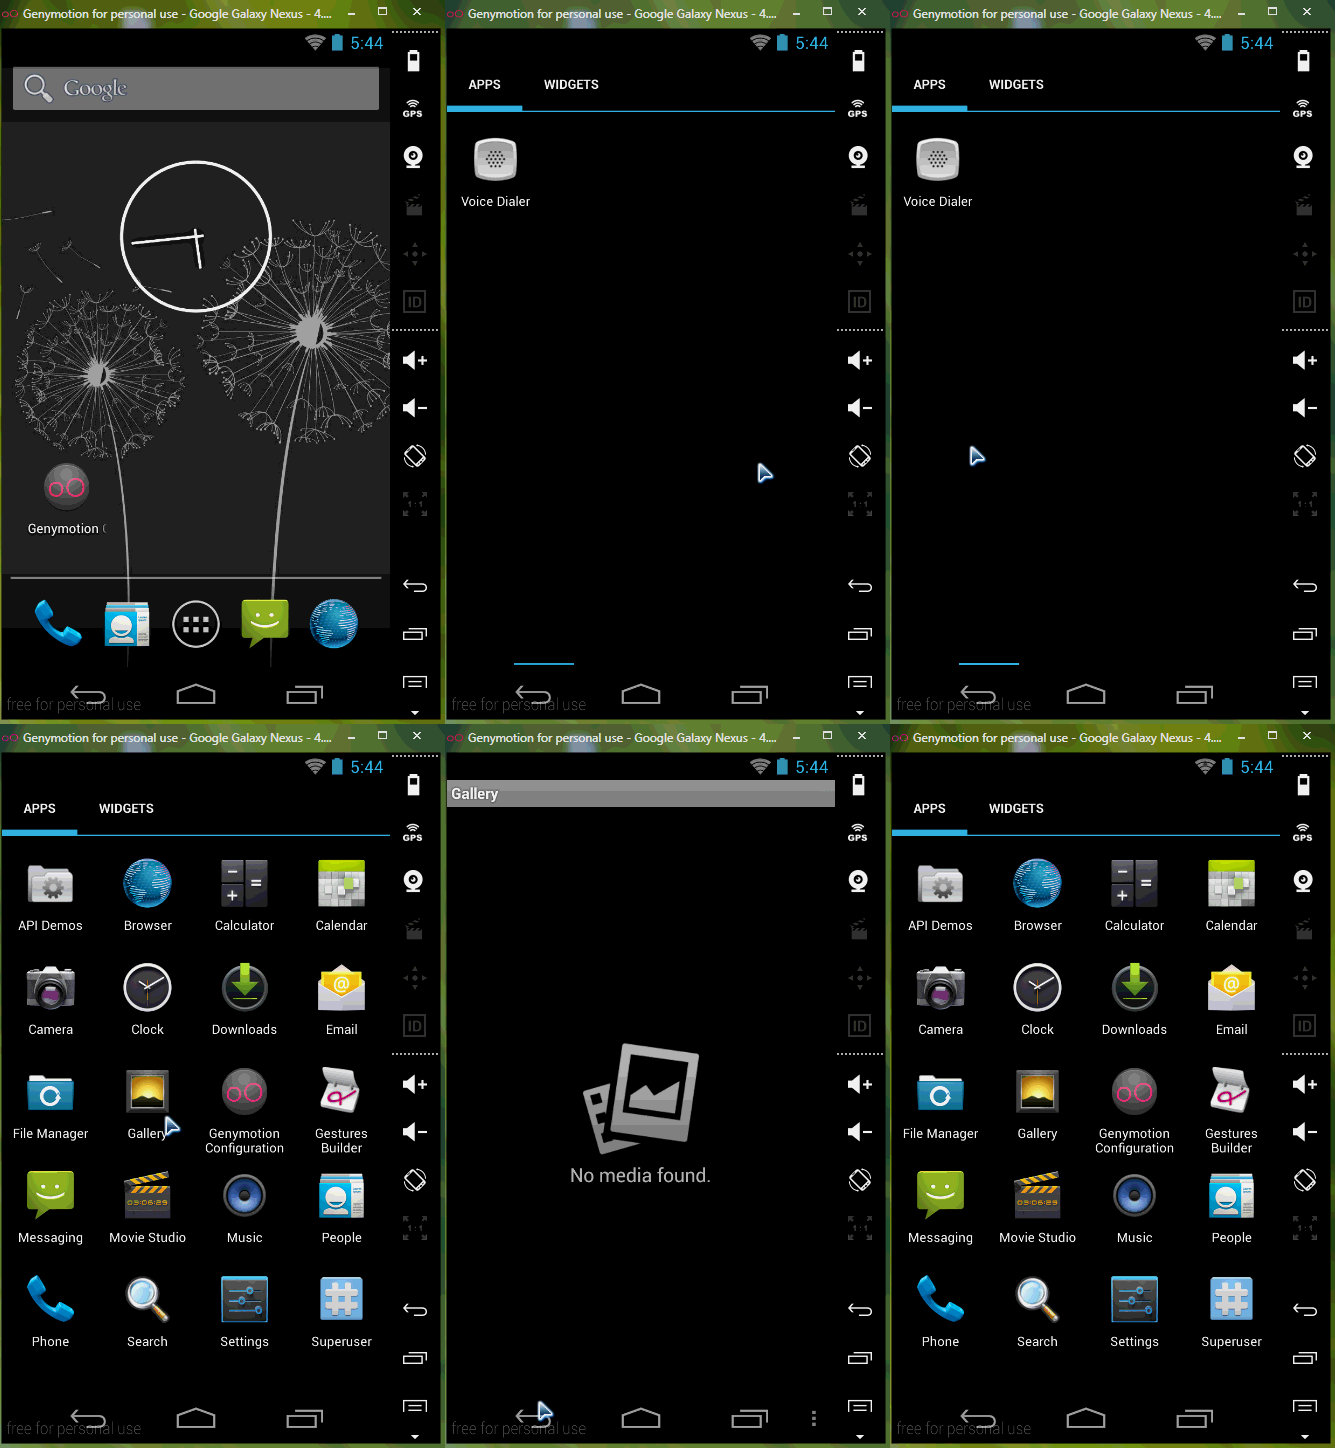
OK, the AVD has been created. Now run it. Booting only takes about a dozen seconds - awesome! It's super smooth to use, isn't it?

6. How to Run Programs on the Emulator
Actually, this question is pointless to ask. We can see the currently running emulator in the Device panel in Eclipse. It feels pretty much the same as a real device; we just need to choose which device to run the program on!
7. Possible Problems You May Encounter
① Don't like the stock system, want to use the system version from the standard SDK
Answer: Actually, the corresponding SDK is already downloaded when downloading the device driver. But if you don't like it, you can open Settings -- ADB --> and select Eclipse's SDK path
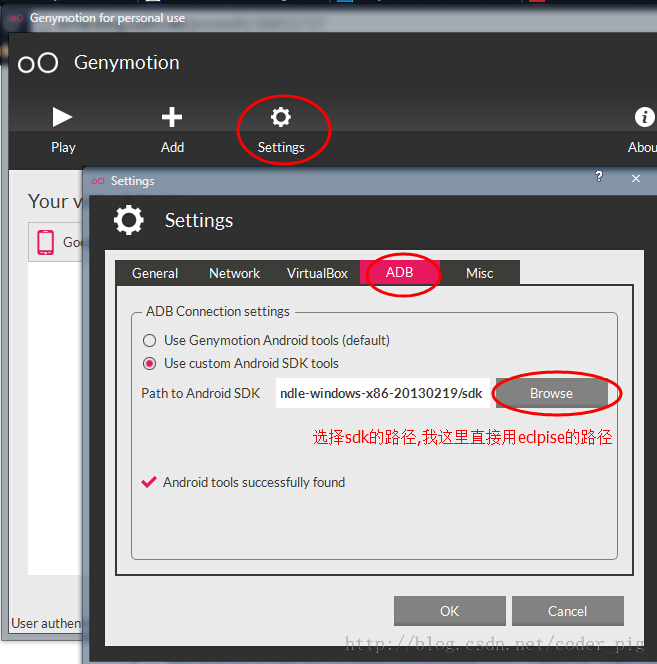
② Always unable to log in? Or can't get the device list:Answer: Most of the time this is due to the Great Firewall, so you can only use a VPN/proxy. But it seems to work during the day, albeit a bit slow. At night, the author tried N times but couldn't download devices of other versions! Also, if you can't log in, check whether your account credentials are correct!
③ Find that the emulator takes up too much screen spaceAnswer: First shut down the emulator, then click the wrench icon

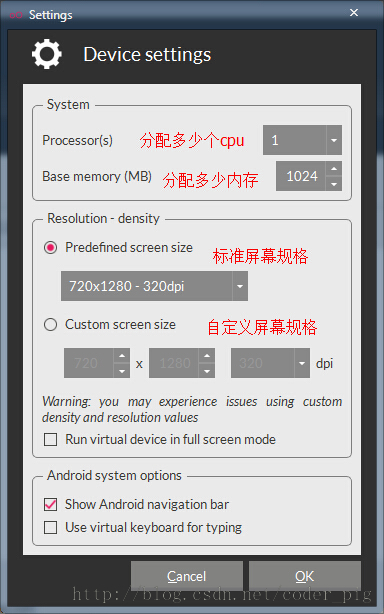
④ When running a program, directly dragging the APK onto the emulator causes the following problem:

Download the zip package below. Once the download is complete, drag it onto the emulator window. When a dialog pops up, click OK, then restart the emulator. That's it!Genymotion-ARM-Translation.zip
⑤ Due to program requirements, you need to view the emulator's SDK directory:Previously, in Eclipse, we found the SD card directory via /mnt/sdcard. But in Genymotion, it's not under this path; instead, it's under the following path: /mnt/shell/emulated/0/. You can slowly find it based on the Info that follows
8. Section Summary
This section introduced the installation and use of Genymotion, an Android emulator that is even faster than a real device. I believe readers will fall in love with this emulator. Thanks~