1. Some Rambling
In the previous section, we changed the data source of the beauty images fromlocalto parsingthe API provided by Gankdata. In this section, we want to optimize this image loading class, for example, adding support for displaying local images. There's also another point: caching. The current image loading we use has no caching to speak of. Every time we request, we parse the stream, and even the same image has to be requested again each time, which seems quite cumbersome. What if we cache images in memory or on disk, and when accessing the same image resource, we fetch it from there? Hmm, seems like there's something to work with. So in this section, let's write a simple image loading framework with caching! Well, let's call itSisterLoader!

(PS: The reason I've been putting off updates for so long is that I've recently been reading about download-related things, and while fixing bugs and writing the image loading code, I got stuck on some problems and couldn't find time to solve them...)
2. Basic Knowledge Primer
Before we start writing code, let's first clarify some concepts:
1) Caching
① The Purpose of Introducing Image Caching:
Answer: Loading images from the network consumes time, battery, and data traffic. We want to store some loaded images so that when loading again, we can reuse them.
② What is Two-Level Caching:
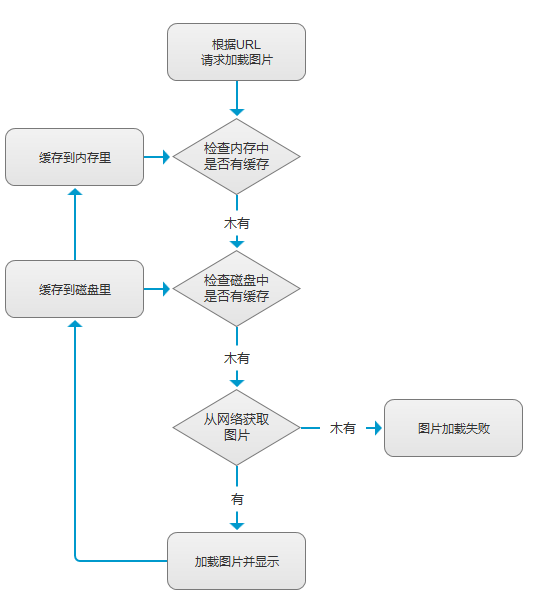
Answer: Let me explain the logic an image goes through when it needs to be displayed, and you'll understand clearly:Need to display an image ——> Check memory(display if available) —Not available—>Check disk(display if available) —Not available—> Load from network(display it) ——>Store a copy in memory ——> Store a copy on disk
From the above, we know there are two types of caching:Memory cache anddisk cache(SD card/internal storage):
Memory cache: First-level cache, fetched from here first. Cache files are stored in thedata/data/package name/cachedirectory.Map of weakly referenced Bitmap objectsI flipped through the legacy code from the company three jobs ago:
public class MemoryCache {

    private static final int MAX_CACHE_COUNT = 30;  //设置最大缓存数

    /**
    Map弱引用Bitmap,内存够的情况Bitmap不会被回收,当缓存数大于阈值,会清除最早放入缓存的
     */
    private HashMap<String,SoftReference<Bitmap>> mCacheMap = new LinkedHashMap<String,SoftReference<Bitmap>>() {
        @Override
        protected boolean removeEldestEntry(Entry eldest) {
            return size() > MAX_CACHE_COUNT;
        }
    };

    /**
     * 添加图片到缓存中
     * */
    public void put(String id,Bitmap bitmap) {
        mCacheMap.put(id, new SoftReference<>(bitmap));
    }

    /**
     * 取出缓存中的图片
     * */
    public Bitmap get(String id,Bitmap bitmap) {
       if(!mCacheMap.containsKey(id))return null;
        SoftReference<Bitmap> ref = mCacheMap.get(id);
        return ref.get();
    }

    /**
     * 清除所有缓存
     * */
    public void clear() {
        try{
            for (Map.Entry<String,SoftReference<Bitmap>>entry : mCacheMap.entrySet()) {
                SoftReference<Bitmap> sr = entry.getValue();
                if(null != sr) {
                    Bitmap bitmap = sr.get();
                    if(null != bitmap) {
                        bitmap.recycle();
                    }
                }
            }
        } catch (Exception e) {
            e.printStackTrace();
        }
    }

}
However, our old boss Google does not recommend doing this. The official best practices recommend two APIs related to caching:LruCache(memory cache) andDiskLruCache(disk cache)LruCache usesstrong referencesSoftReference(direct references) to reference external cached objects, so they won't be recycled by GC, whileWeakRefreencereferences can be recycled by the system at any time...Caching Bitmaps
Disk cache:
Every application has limited memory. If there are large quantities of images, it's impossible to stuff them all into memory. We can consider saving images to disk. The old-school approach is to create a folder on the SD card and save images inside it. It's easy to find code online, so we won't discuss that here. In this section, we'll use Google's recommended DiskLruCache mentioned above to do disk caching.
2) Synchronous Loading and Asynchronous Loading
I believe many people already understand the concepts of synchronous and asynchronous. Simply put:Synchronous: After issuing a call to load an image, you can't do other operations until the loading is complete.Asynchronous: After issuing a call to load an image, you can do whatever you want; you don't have to wait for it to finish loading before doing other things.
3) Image Loading Flowchart
4) Image OOM, Compression and Other Concepts about Bitmap
I've written about these before in the introductory tutorial, so I won't repeat them:
Android Basic Introductory Tutorial - 8.2.1 Bitmap Detailed Explanation
Android Basic Introductory Tutorial - 8.2.2 OOM Problems Caused by Bitmap
You can also check out my good buddy -Ji Shen's personal blog for a more detailed explanation:
Android Bitmap Optimization (1) - Image Compression
Android Bitmap Optimization (2) - Image Caching
3. Simple Image Loading Framework Flowchart
Although the code isn't too complex, I think it's still necessary to draw a flowchart to help everyone understand~
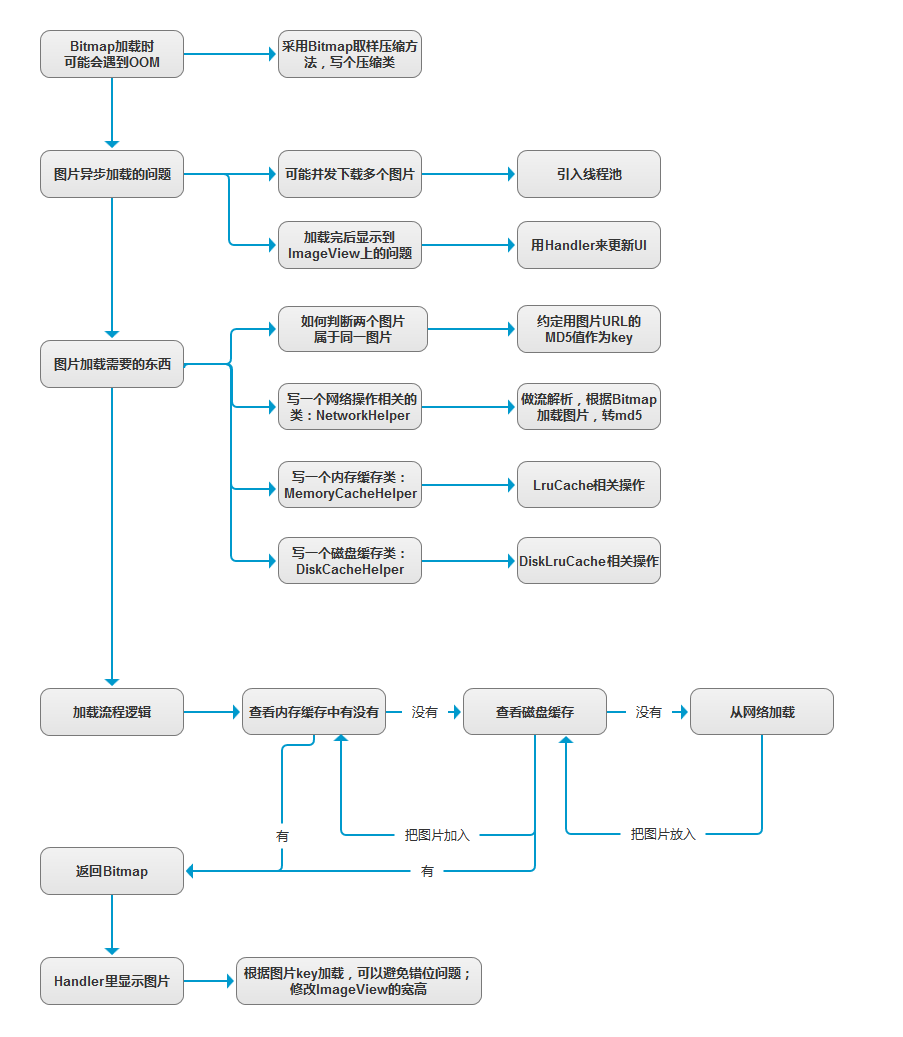
4. Hands-on Coding Time
PS: After thinking it over, I'll just put the code at the end. I'll only take some collapsed code screenshots and briefly explain. For the details, look at the code yourself.

①DiskLruCache.java
This one is provided by Google; just download this class
Then add it to your project, and you can use it after changing the package name yourself~
② Image Compression Class: SisterCompress.java

③ Network Loading Helper Class: NetworkHelper.java
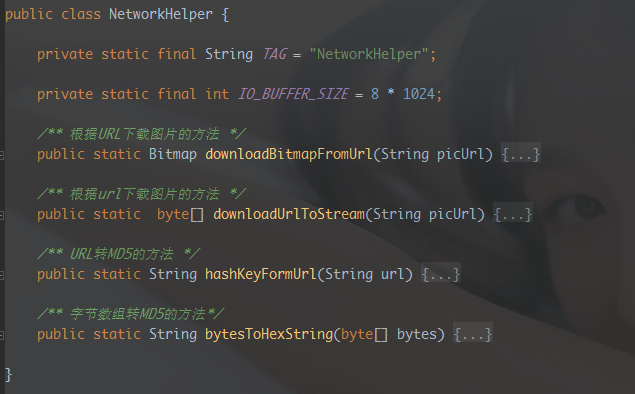
④ Memory Cache Helper Class: MemoryCacheHelper.java
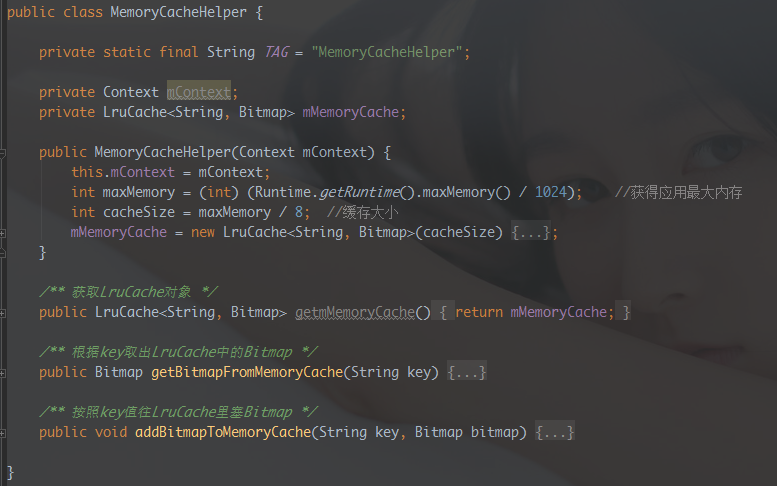
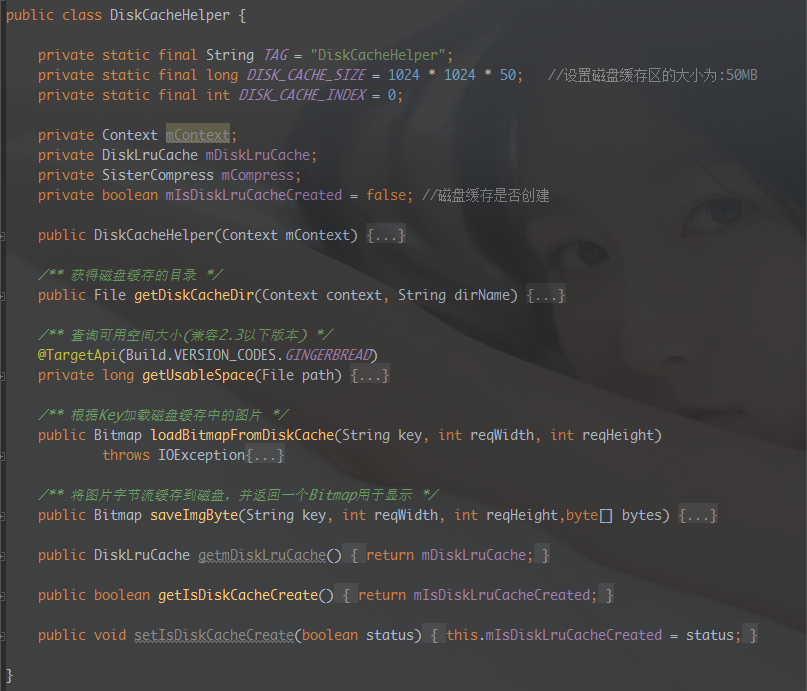
⑤ Disk Cache Helper Class: DiskCacheHelper.java
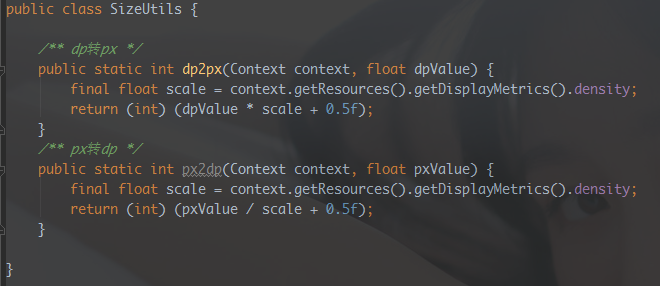
⑥ Size Conversion Class: SizeUtils.java
PS: Used when setting the ImageView size
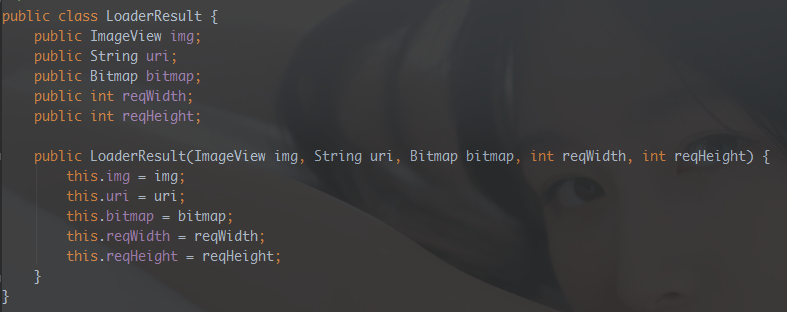
⑦ Loading Result Class: LoaderResult.java
PS: It's the data collection passed to the Handler after asynchronously loading the image
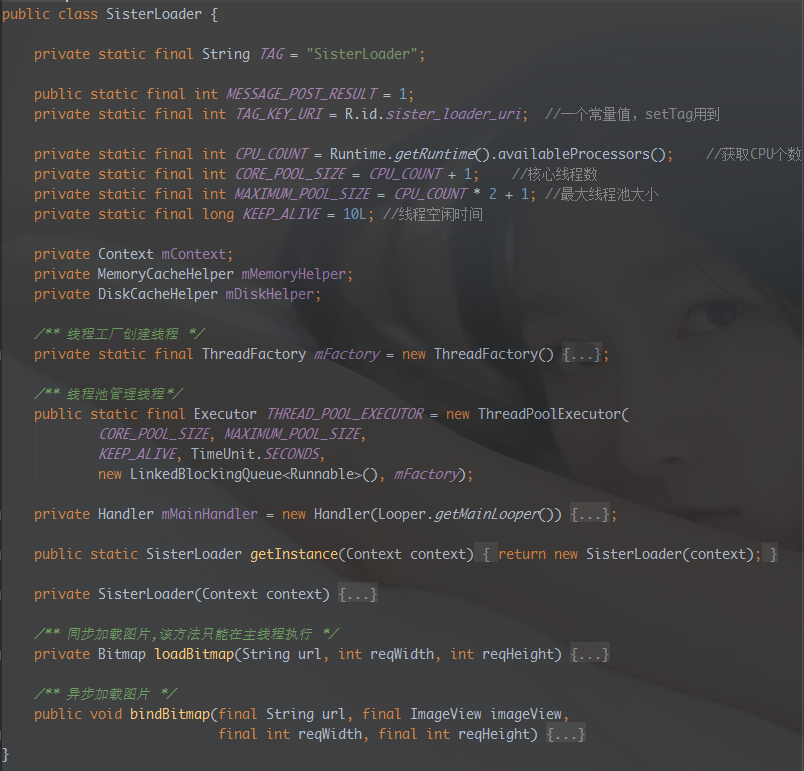
⑧ Image Loading Logic Control Class: SisterLoader.java
⑨ Calling the Image Loading Framework: MainActivity.java
private SisterLoader mLoader;
mLoader = SisterLoader.getInstance(MainActivity.this);
mLoader.bindBitmap(data.get(curPos).getUrl(),showImg,400,400);
5. Running Effect Screenshots
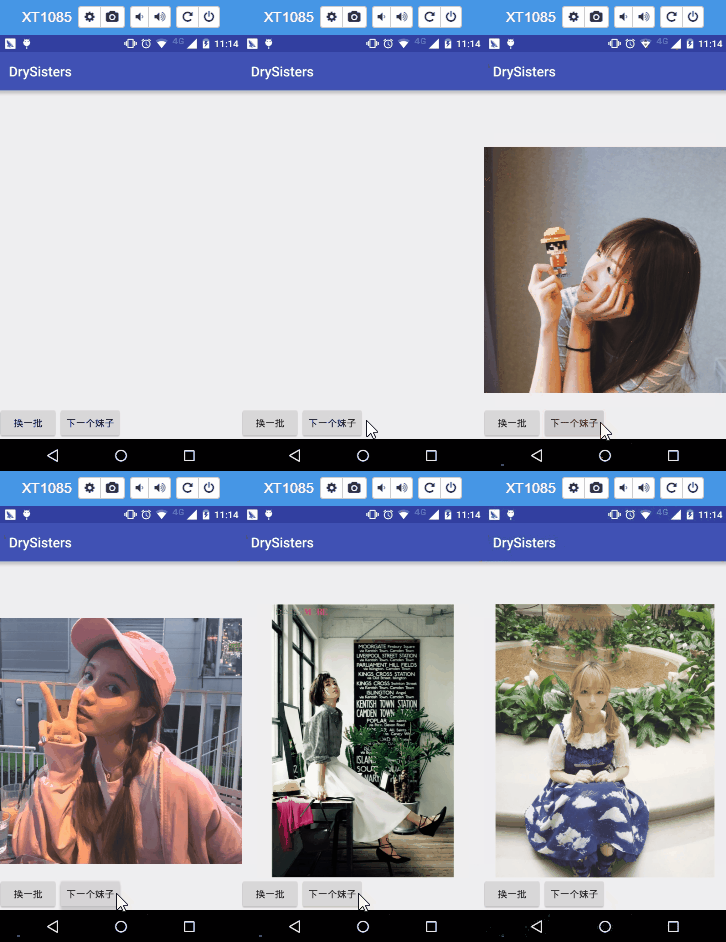
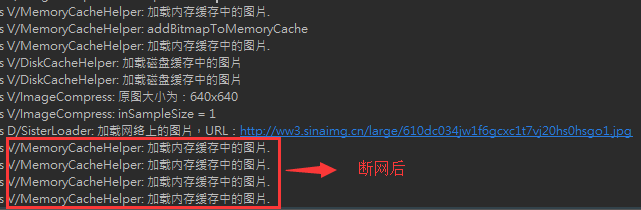
First load once with the network to let the app build up the memory and disk cache. Then disconnect the network; clicking the next beauty will load images from the memory cache.
6. Code Download
The code in this section was written by switching to a new branch:sisterloaderAfter writing the code, I directly merged it into the develop branch locally, and finally pushed it to Github! The commands are the same as in the previous section!
https://github.com/coder-pig/DrySister/tree/develop
Welcome to follow and star! If you think there's anything you want to add, you can raise issues!