iOS accelerometer
Introduction
The accelerometer detects changes in the device's position along the x, y, and z axes.
Through the accelerometer, we can determine the current position of the device relative to the ground.
The following example code needs to run on a real device; it does not work on the simulator.
Example Steps
1. Create a simple view application.
2. Add three labels in ViewController.xib, and create ibOutlets: xlable, ylabel, and zlabel.
3. Update ViewController.h as shown below.
#import <UIKit/UIKit.h>

@interface ViewController : UIViewController<UIAccelerometerDelegate>
{
    IBOutlet UILabel *xlabel;
    IBOutlet UILabel *ylabel;
    IBOutlet UILabel *zlabel;

}
@end
4. Update ViewController.m as shown below.
#import "ViewController.h"

@interface ViewController ()

@end

@implementation ViewController

- (void)viewDidLoad
{
    [super viewDidLoad];
    [[UIAccelerometer sharedAccelerometer]setDelegate:self];
    //Do any additional setup after loading the view,typically from a nib
}

- (void)didReceiveMemoryWarning
{
    [super didReceiveMemoryWarning];
    // Dispose of any resources that can be recreated.
}
- (void)accelerometer:(UIAccelerometer *)accelerometer didAccelerate:
  (UIAcceleration *)acceleration{
    [xlabel setText:[NSString stringWithFormat:@"%f",acceleration.x]];
    [ylabel setText:[NSString stringWithFormat:@"%f",acceleration.y]];
    [zlabel setText:[NSString stringWithFormat:@"%f",acceleration.z]];
}

@end
Output
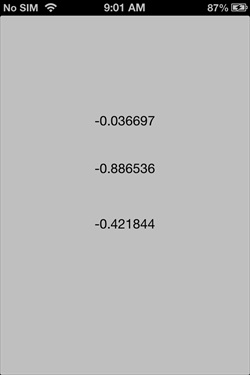
When we run the application on an iPhone device, the output result is as shown below.