Node.js Installation and Configuration
In this chapter, we will introduce how to install Node.js on Windows, Linux, and macOS.
The download addresses for Node.js installation packages and source code are:https://nodejs.org/en/download。
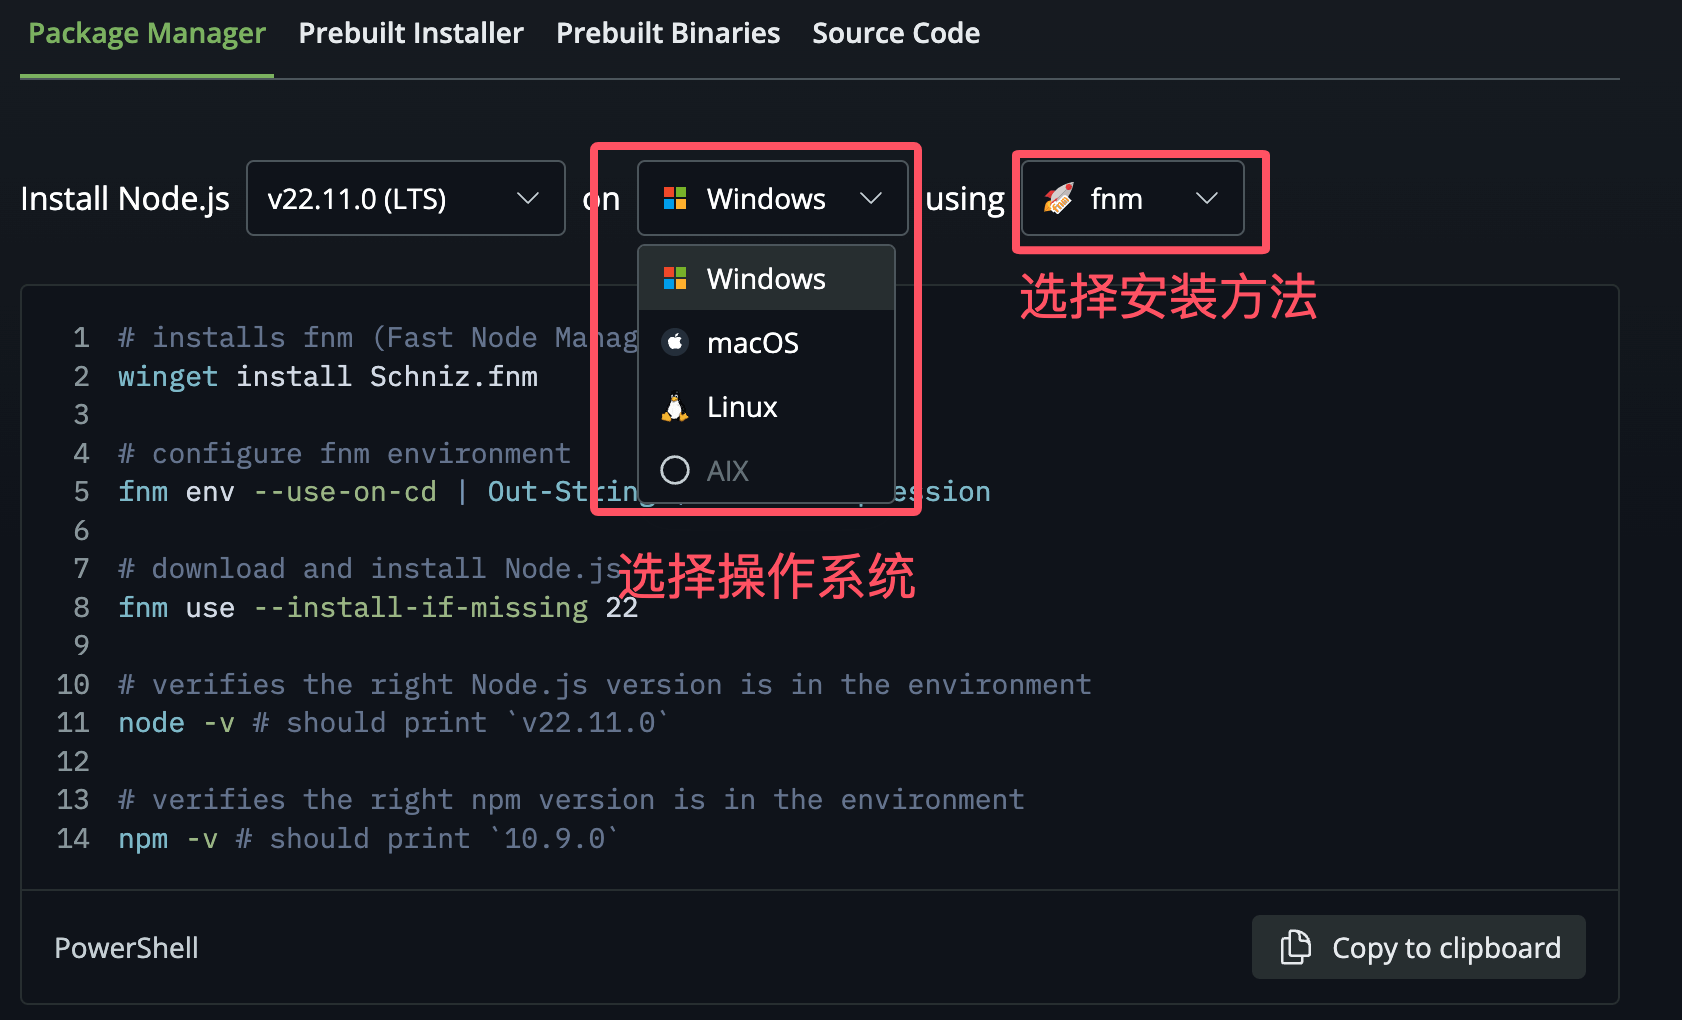
Package Manager:
- Use the system's built-in package manager (such as
apt、yum、brew) to install. - Automatically manages dependencies and updates, suitable for command-line users.
- Use the system's built-in package manager (such as
Prebuilt Installer:
- The official installer, applicable to Windows and macOS.
- Graphical installation interface, includes Node.js and npm.
Prebuilt Binaries:
- Precompiled binary files, just download and extract before use.
- Suitable for users with a technical background who want to customize the installation location.
Source Code:
- Node.js source code, requires users to compile it themselves.
- Provides maximum flexibility, suitable for advanced users and developers who need custom configurations.
The Node.js official website has provided very detailed installation commands for different systems. You can choose the Node.js installation command script you need based on your platform.
The official website provides two versions:
- LTS(Long Term Support):Long-term support (LTS) version, recommended for production environments
- Current:Current latest version, includes the latest features
Node.js historical versions download address:https://nodejs.org/dist/
Installing Node.js on Windows
You can install it in the following two ways.
1. Windows Installer (.msi)
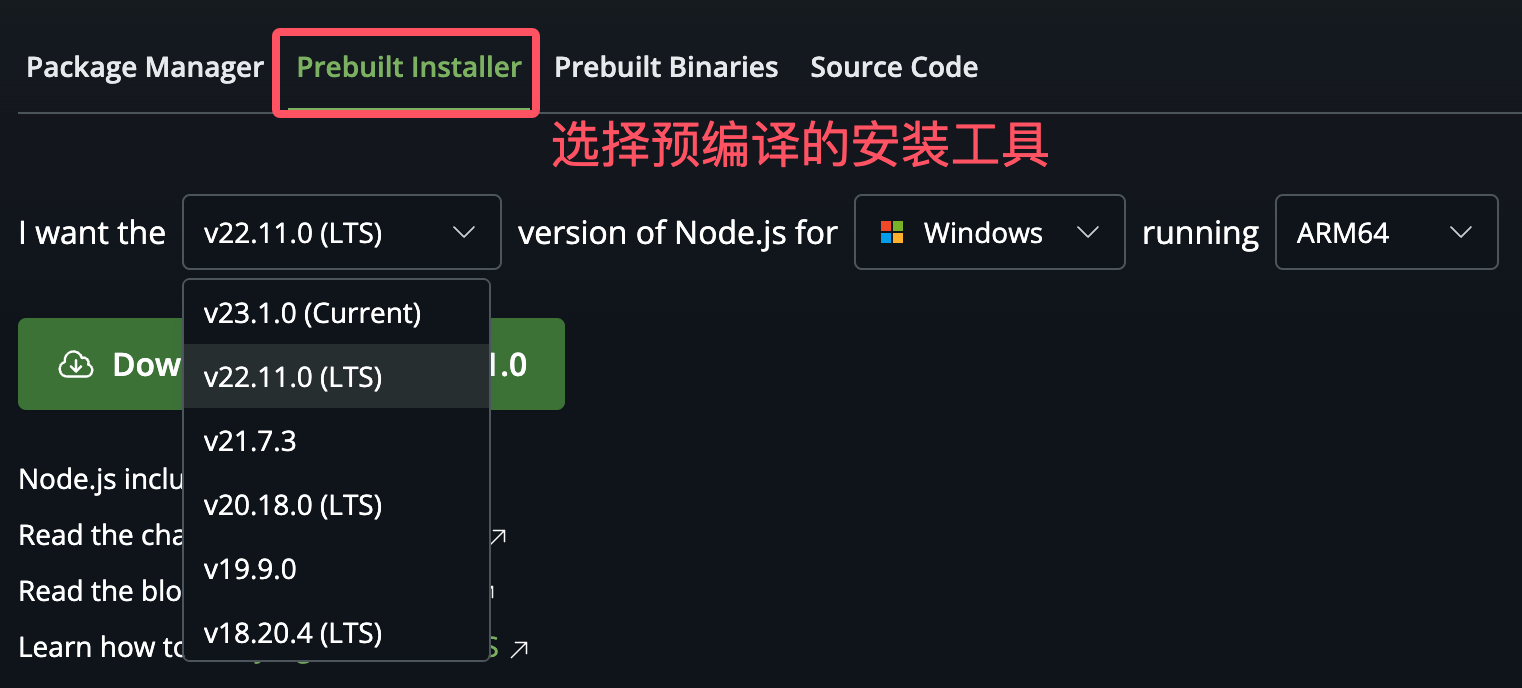
Installation steps:
1. Double-click the downloaded installer, as shown below:
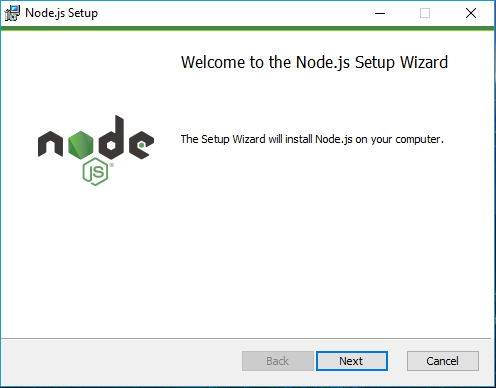
2. Click the Next button above, and the following interface will appear:
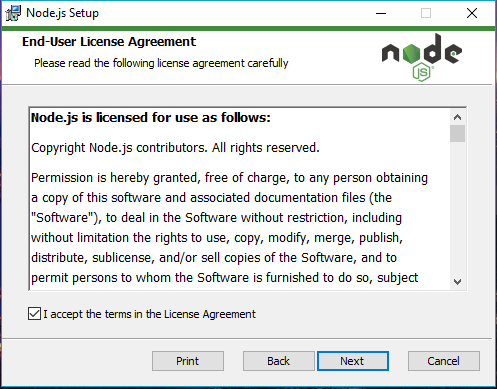
3. Check the option to accept the agreement, then click the Next button:
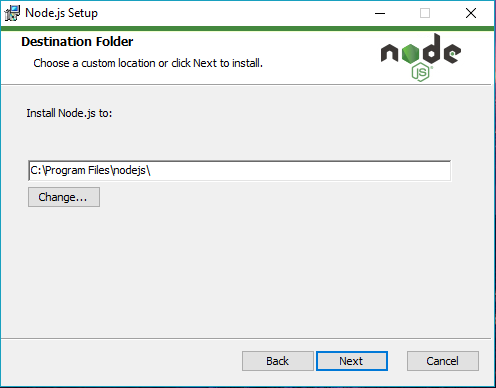
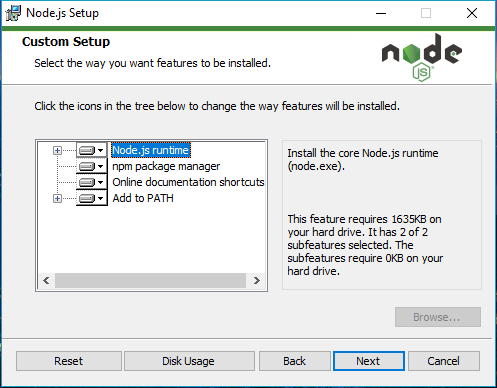
4. The default installation directory for Node.js is "C:\Program Files\nodejs\". You can modify the directory and click the Next button:
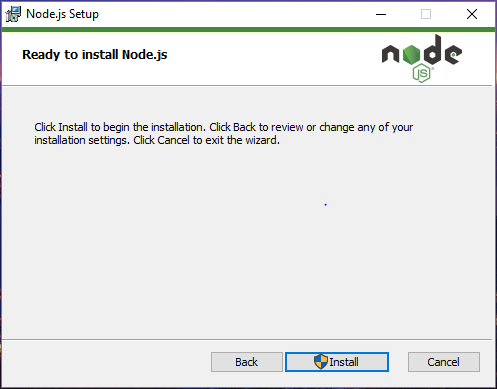
5. Click Install to start installing Node.js. You can also click Back to modify previous configurations:
Installation process:
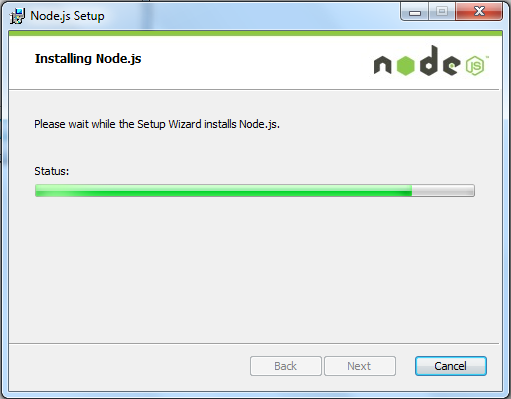
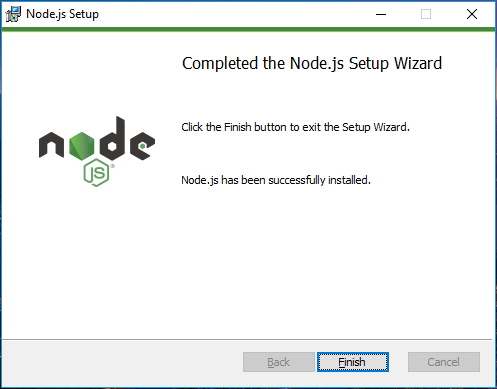
Click the Finish button to exit the installation wizard.
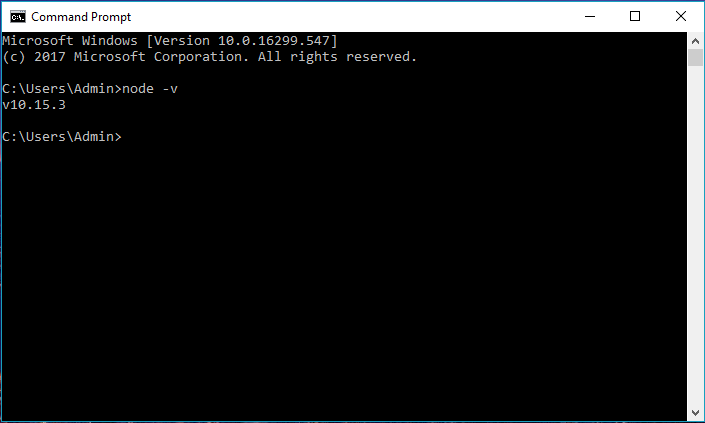
After installation is complete, we can run the following commands in the command line or Windows PowerShell to test:
node -v
npm -v
2. Windows Binary (.exe) Installation
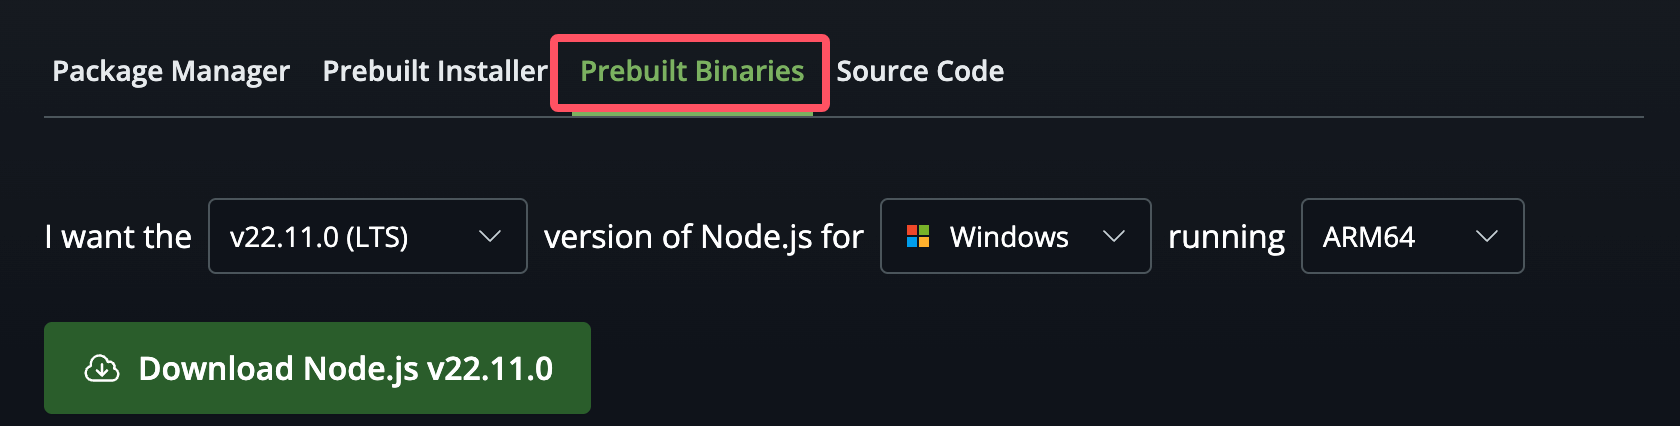
Click the "Prebuilt Binaries" option to download the binary file:
Installation steps
Step 1: Double-click the downloaded installer Node.exe, and the following interface will appear:
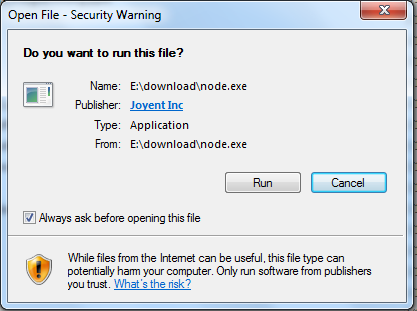
Click the Run button and a command-line window will appear:
After installation is complete, we can run the following commands in the command line or Windows PowerShell to test:
node -v
npm -v
If you get the above output, it means you have successfully installed Node.js.
Install via Command Line
You can also run the following commands in PowerShell to install:
# 安装 fnm(快速 Node 管理器)
winget install Schniz.fnm

# 配置 fnm 环境,使其在每次目录变更时自动使用
fnm env --use-on-cd | Out-String | Invoke-Expression

# 下载并安装 Node.js 版本 22
fnm use --install-if-missing 22

# 验证环境中 Node.js 的版本是否正确,输出应为 `v22.11.0`
node -v # 应该输出 `v22.11.0`

# 验证环境中 npm 的版本是否正确,输出应为 `10.9.0`
npm -v # 应该输出 `10.9.0`
Installing Node.js on Linux
1. Using the official installation script
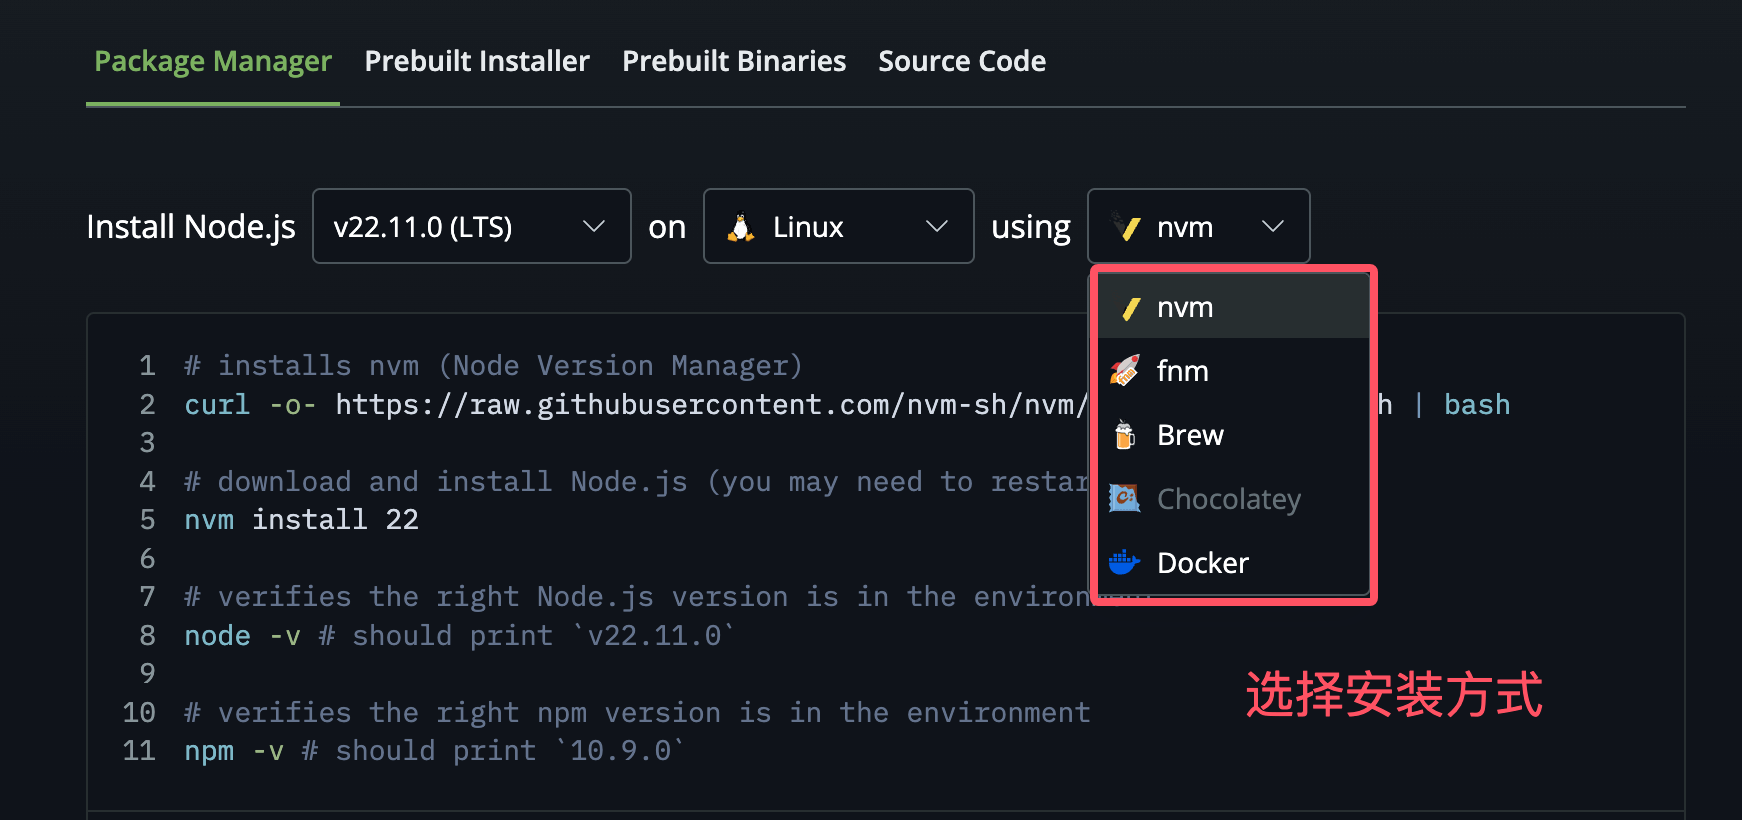
This example uses the fnm package manager for illustration (nvm, etc. can also be used). The commands are as follows:
# 安装 fnm(快速 Node 管理器)
curl -fsSL https://fnm.vercel.app/install | bash

# 激活 fnm
source ~/.bashrc

# 下载并安装 Node.js
fnm use --install-if-missing 22

# 验证环境中的 Node.js 版本是否正确
node -v # 应该输出 `v22.11.0`

# 验证环境中的 npm 版本是否正确
npm -v # 应该输出 `10.9.0`
2. Directly using precompiled packages
Click the "Prebuilt Binaries" option to download the binary file:
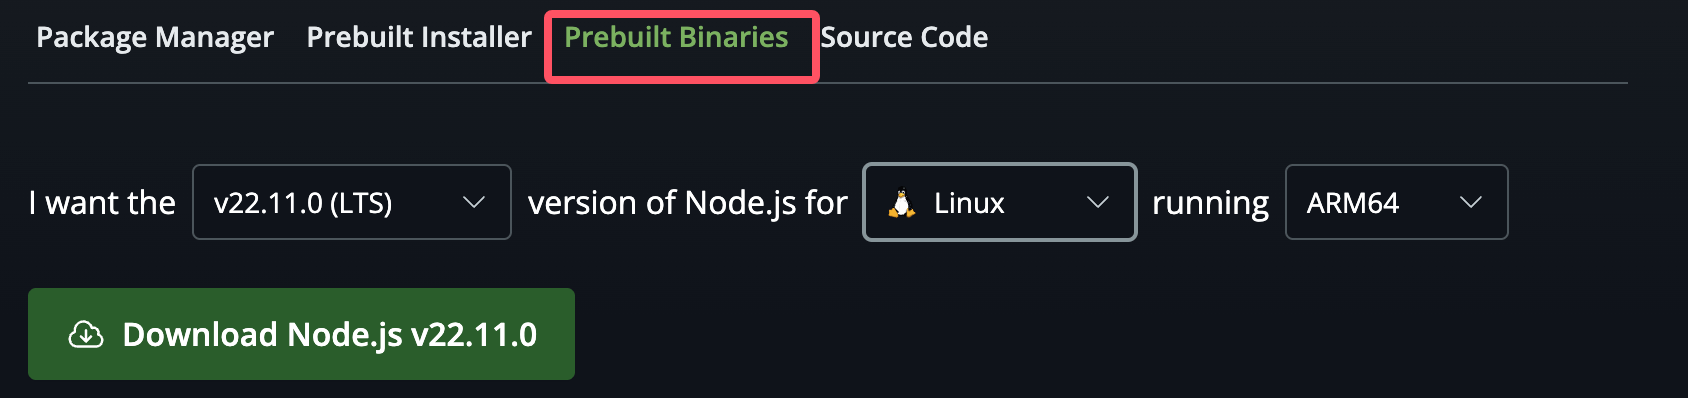
The Node official website has changed the Linux download version to the precompiled version. We can directly download and extract it for use:
# wget https://nodejs.org/dist/v22.11.0/node-v22.11.0-linux-arm64.tar.xz    // 下载
# tar xf  node-v22.11.0-linux-arm64.tar.xz       // 解压
# cd node-v22.11.0-linux-arm64/                  // 进入解压目录
# ./bin/node -v                                  // 执行node命令 查看版本
The bin directory of the extracted files contains commands such as node and npm. We can use the ln command to set up symbolic links:
ln -s /usr/software/nodejs/bin/npm   /usr/local/bin/
ln -s /usr/software/nodejs/bin/node   /usr/local/bin/
3. Install Node.js from Source
In the following section, we will introduce installing Node.js from source code on Ubuntu Linux. Other Linux systems, such as CentOS, have similar installation steps.
Get the Node.js source code on GitHub:
$ sudo git clone https://github.com/nodejs/node.git
Cloning into 'node'...
Modify directory permissions:
$ sudo chmod -R 755 node
Use./configureCreate the build files, and follow:
$ cd node
$ sudo ./configure
$ sudo make
$ sudo make install
Check the node version:
$ node --version
v0.10.25
Installing on Mac OS
1. Using the official installation script
This example uses the nvm package manager for illustration (fnm, etc. can also be used). The commands are as follows:
# 安装 nvm(Node 版本管理器)
curl -o- https://raw.githubusercontent.com/nvm-sh/nvm/v0.40.0/install.sh | bash

# 下载并安装 Node.js(可能需要重启终端)
nvm install 22

# 验证环境中的 Node.js 版本是否正确
node -v # 应该输出 `v22.11.0`

# 验证环境中的 npm 版本是否正确
npm -v # 应该输出 `10.9.0`
2. Using precompiled installation tools
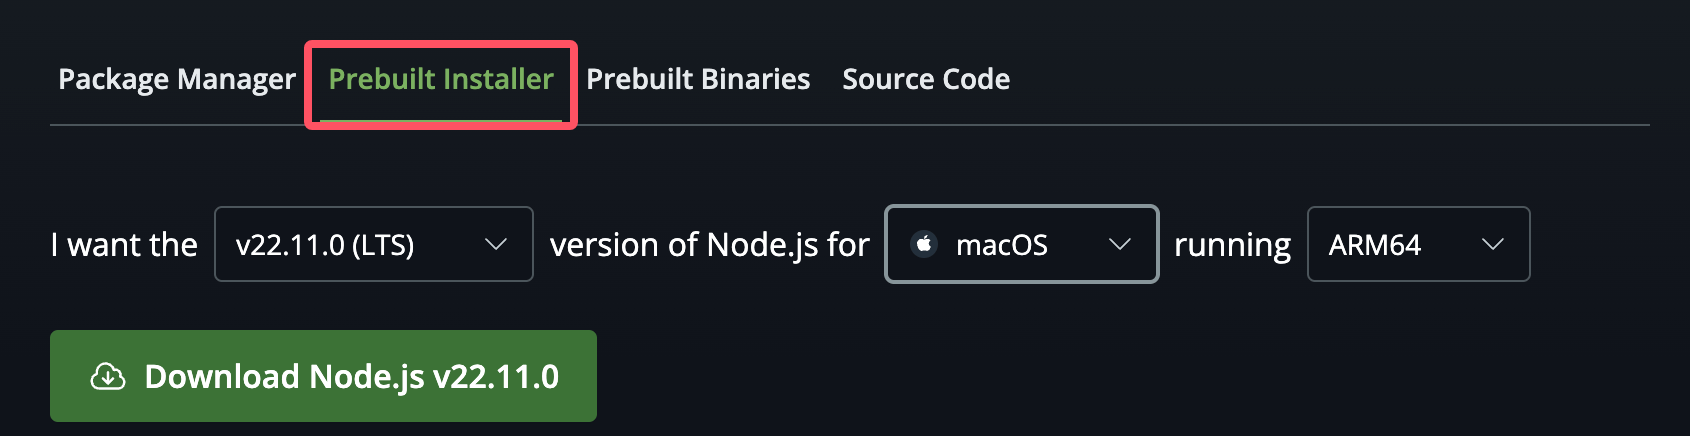
For the downloaded .pkg file, double-click the .pkg file to launch the installation wizard.
3. Directly using precompiled packages
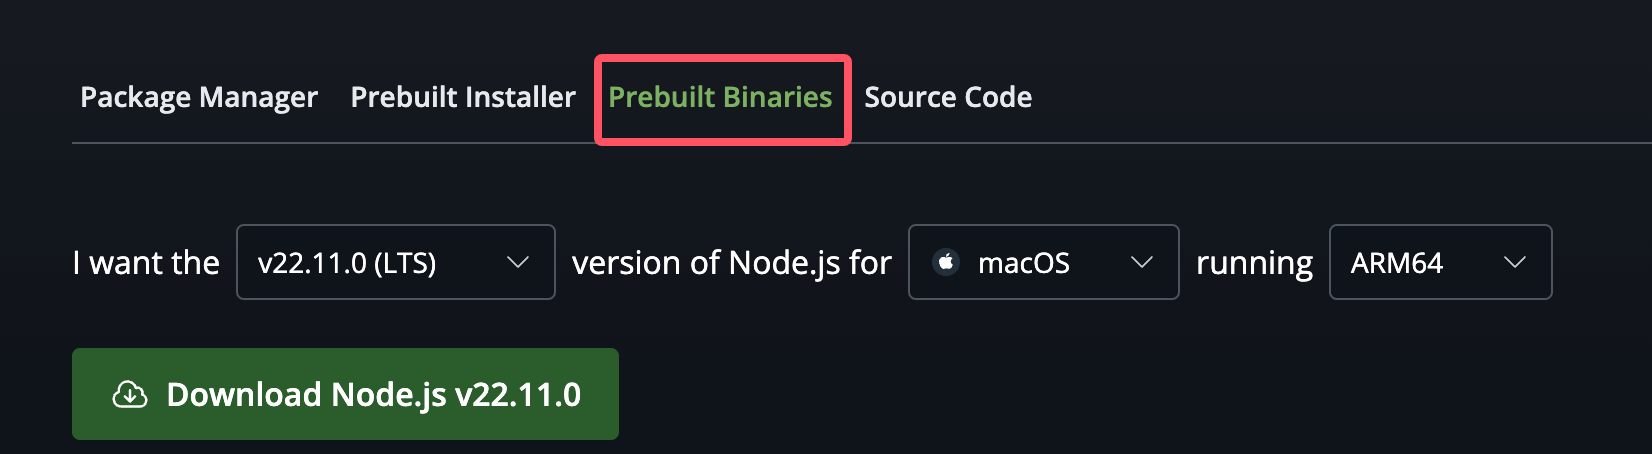
After downloading, extract the downloaded package, enter the bin directory of the archive, and you will see the compiled node and npm, which can be used directly in the command line.
Other Extensions