Obsidian Tutorial
Obsidian is positioned as a local Markdown note-taking system that uses folders and plain text to drive knowledge structure.
Obsidian does not rely on cloud formats or lock in user data. You can migrate at any time, and your data can be read by any editor.
Obsidian is essentially a powerful note-taking app, but it is more than just recording text. It is a tool that connects your notes, ideas, and knowledge points, aiming to build a networked, searchable, private knowledge web, just like the neural connections in your brain.
Why use Obsidian?
- Plain text and an open ecosystem, based on Markdown and local files.
- The linking system builds a networked knowledge structure, making it more suitable for learning and organizing than traditional tree-shaped notes.
- Runs locally, does not depend on the network, and there is no risk of data loss due to service shutdown.
- Highly customizable, with thousands of community plugins and themes.
Installation and Basic Settings
1. Download and Install
Obsidian official website:https://obsidian.md/
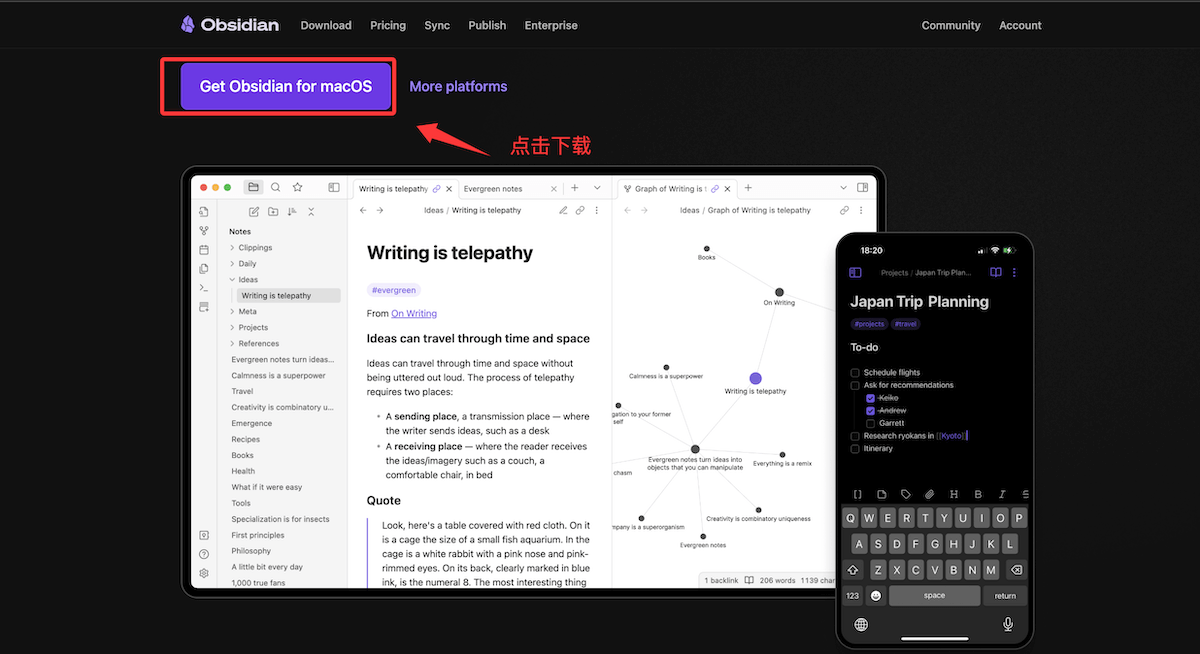
You can choose the version that matches your operating system (Windows/Mac/iOS/Android/Linux) to download and install.
Obsidian download page:https://obsidian.md/download
Obsidian GitHub address:https://github.com/obsidianmd
After downloading, double-click to install and select language and other configurations:
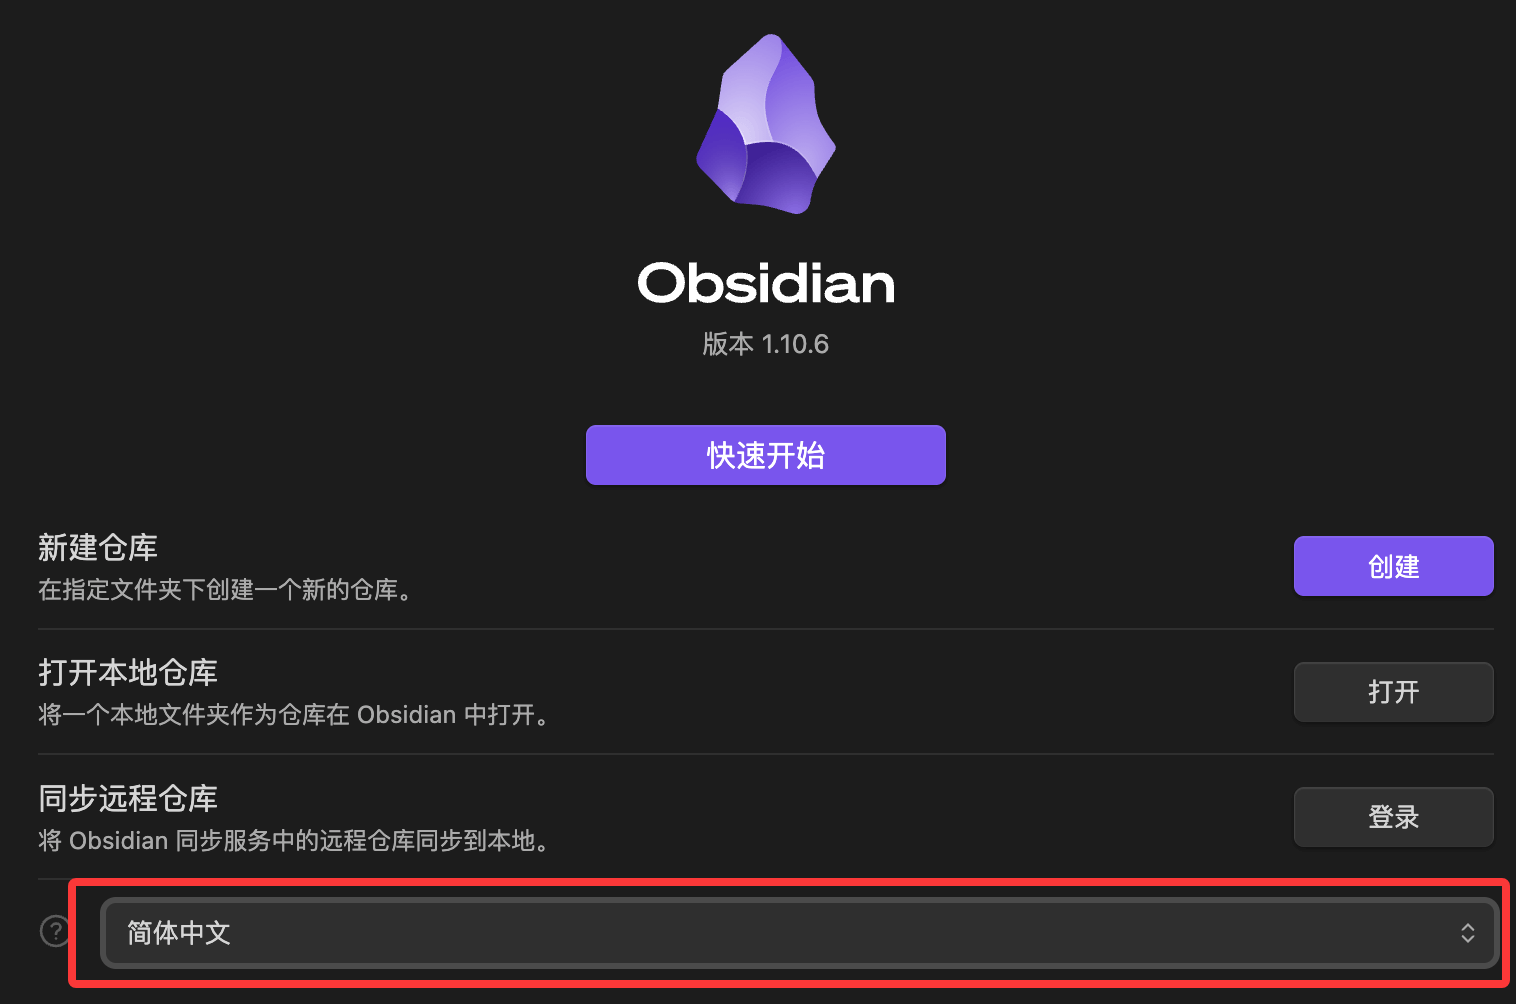
Then choose Quick Start to go directly to the page and check the layout:
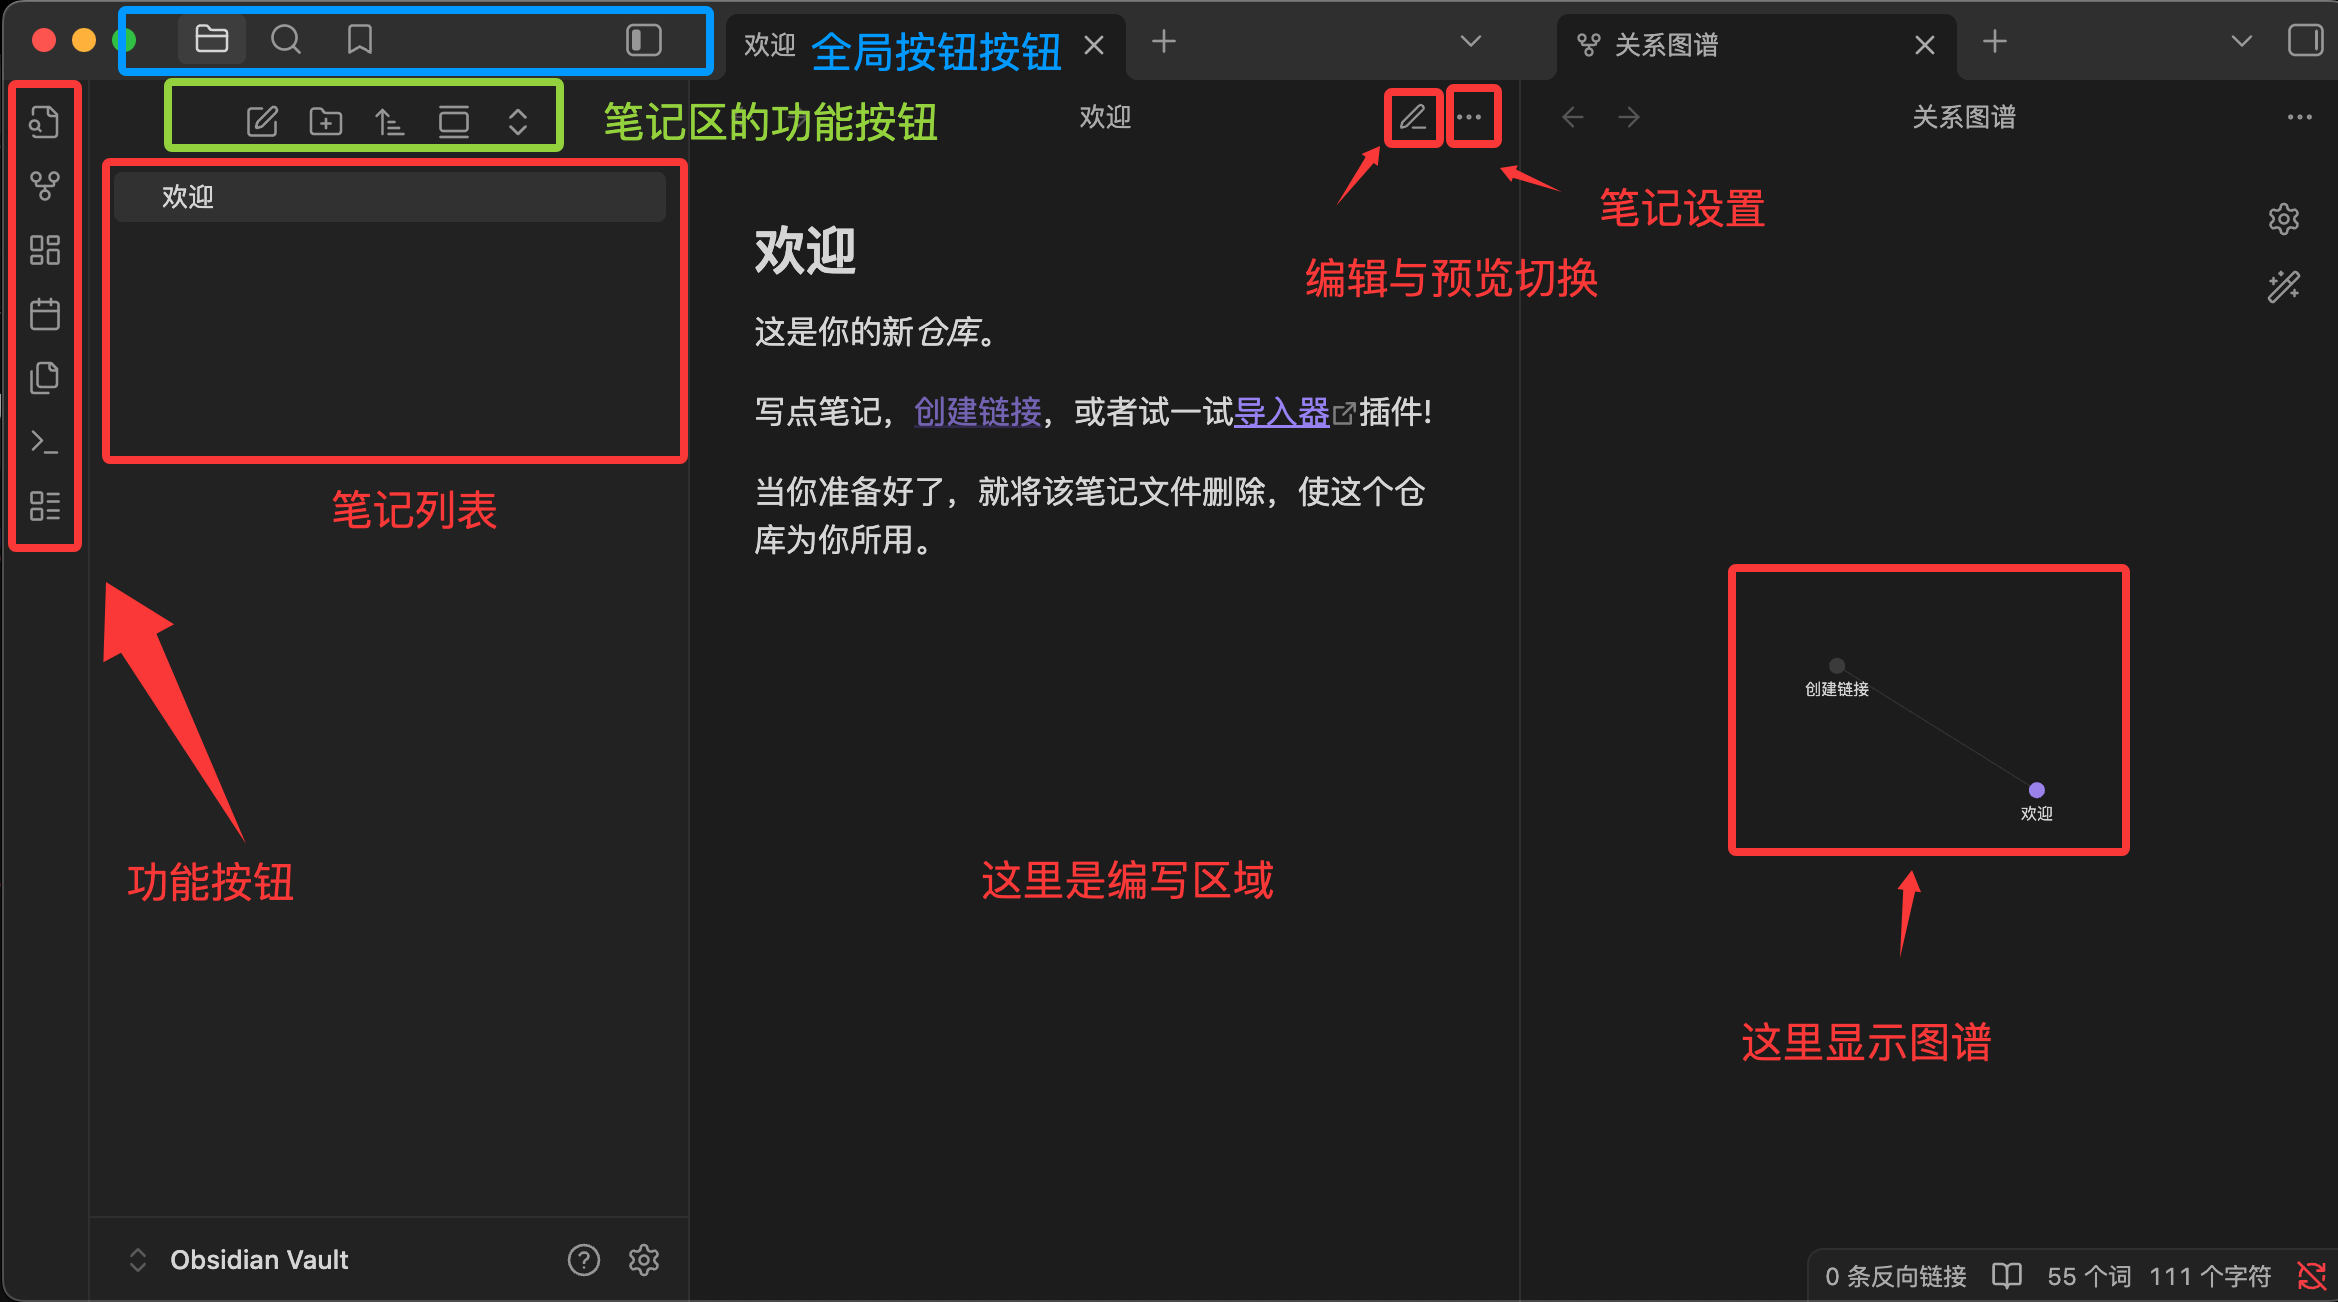
- Left sidebar (File Explorer):Manages your folders and note list.
- Middle area (Editor):The main place where you write. It supports "Live Preview" mode, meaning when you type Markdown symbols, it immediately renders them into formatting.
- Right sidebar (Panel):By default, it showsbacklinks(i.e., which other notes mention the note you are currently viewing) and the outline.
- Command Palette (Ctrl/Cmd + P):A newbie's best friend! Press this shortcut and type the action you want to perform (such as "Create new note"), without clicking through menus.
2. Create Your First Vault
A Vault is the most important concept in Obsidian.
Vault = a folder:libraryIt is simply a regular folder on your computer that stores all your note files.
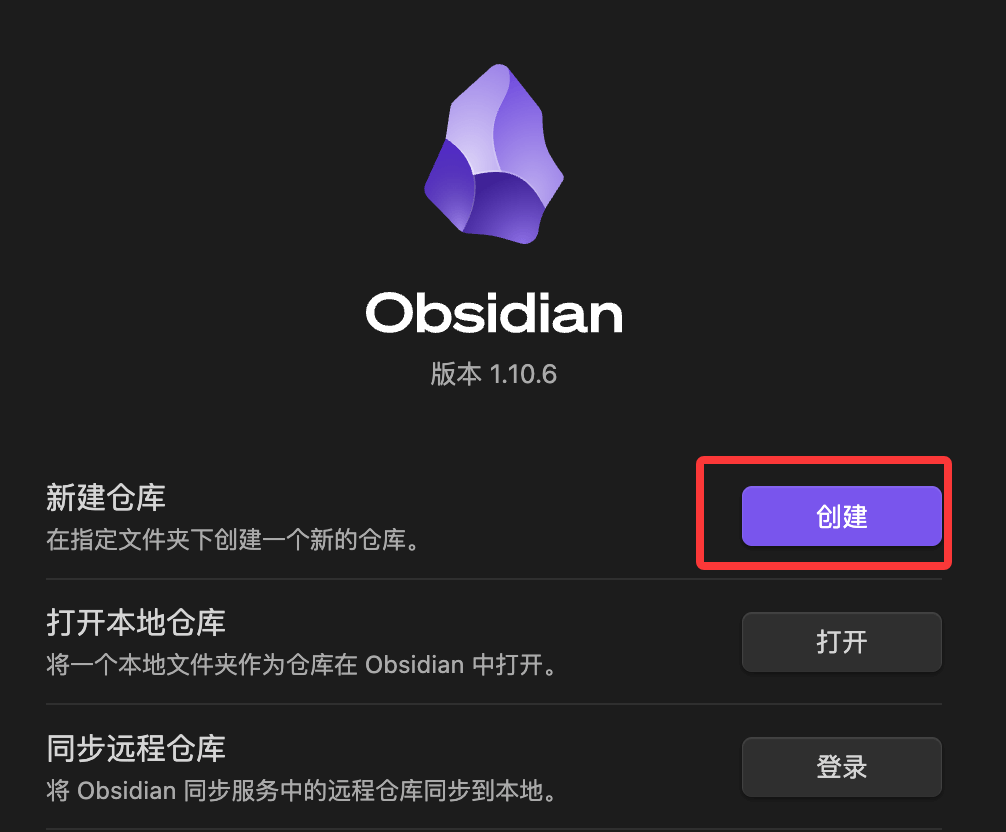
When you first open Obsidian, click the "Create" button under "Create new vault":
。
If you have already opened it, click the Obsidian Vault icon at the very bottom of the left sidebar to manage existing vaults, or you can also reconfigure the vault:
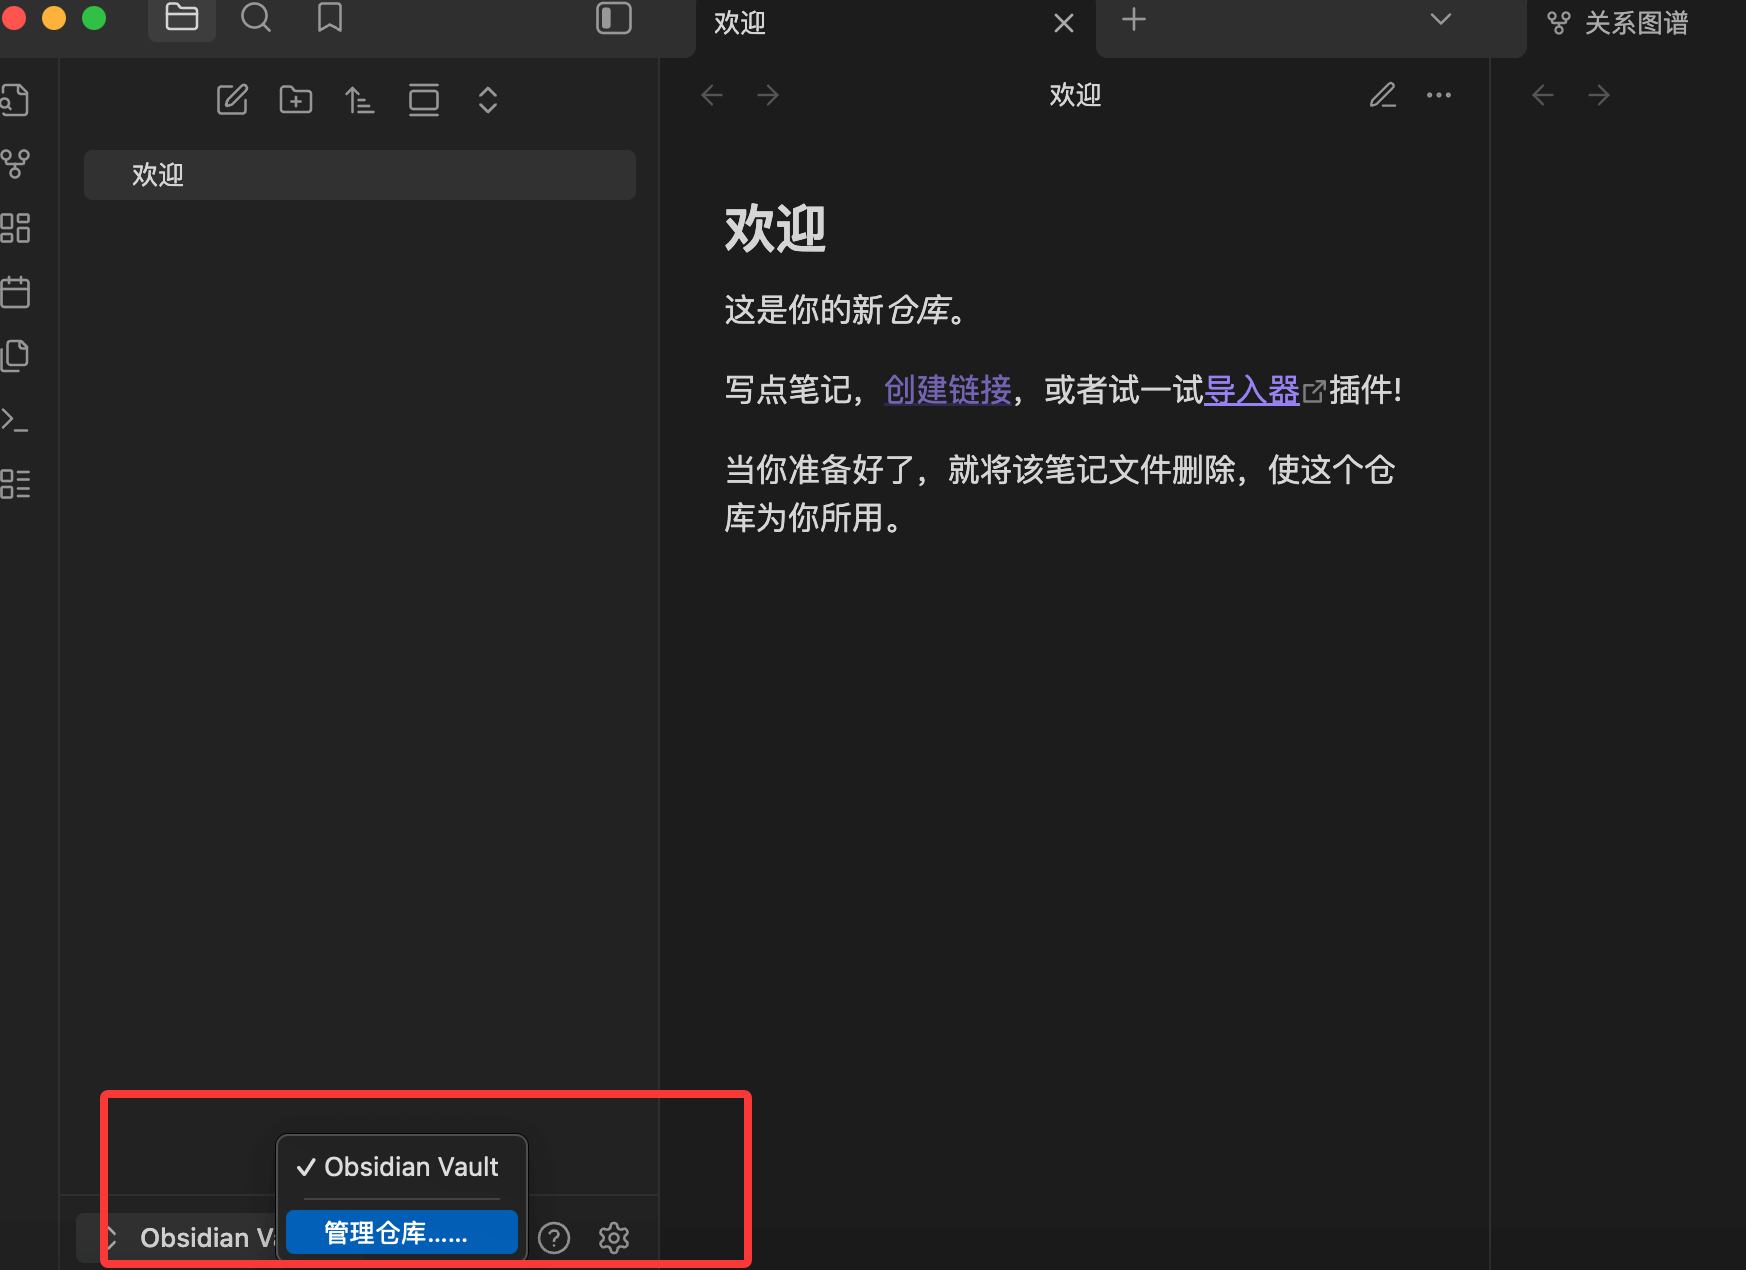
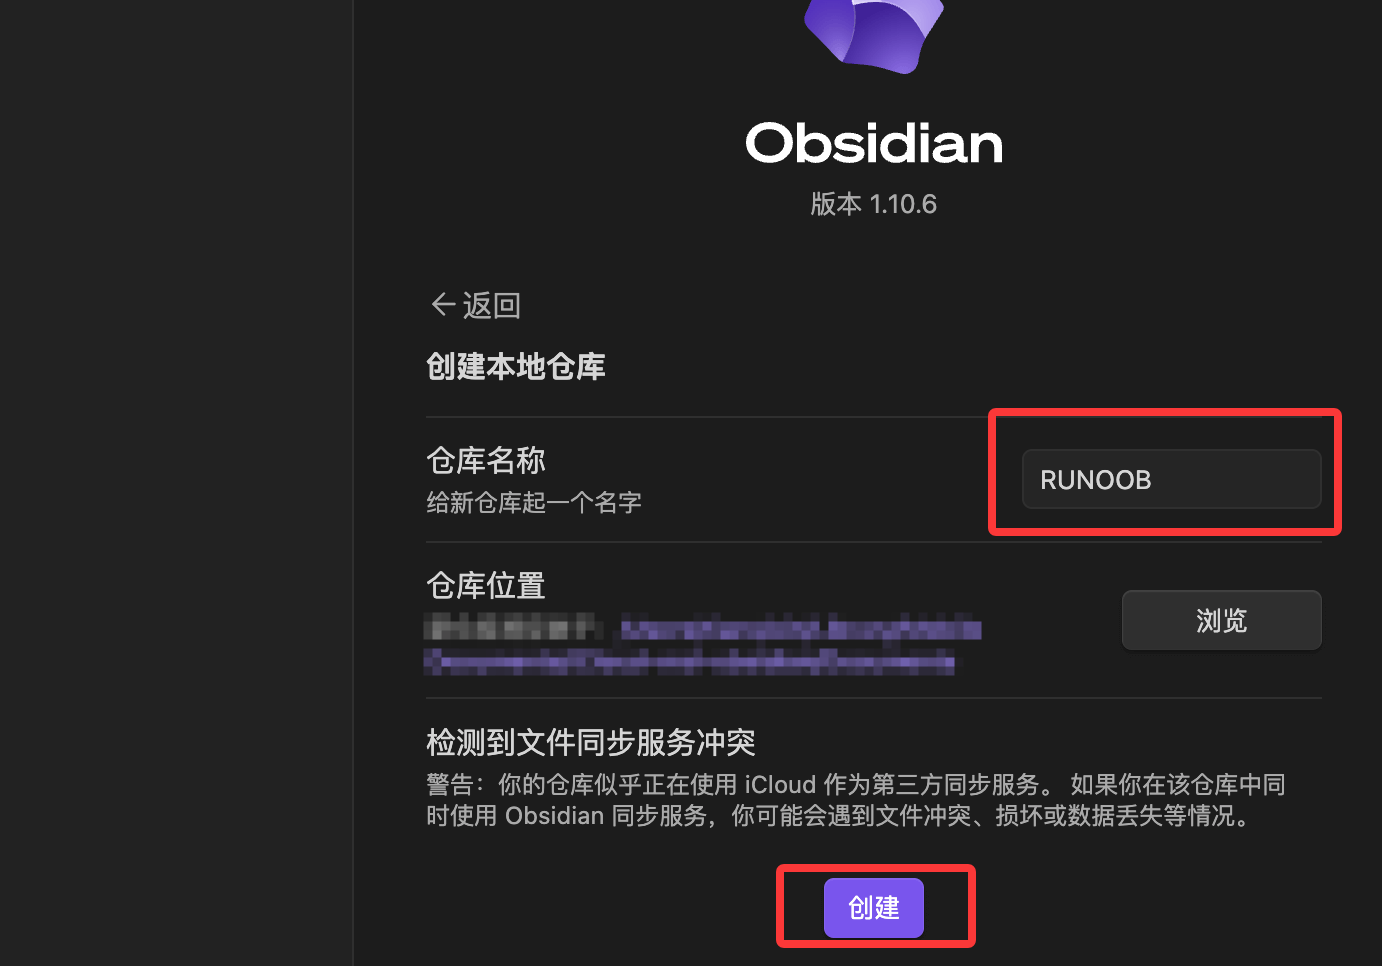
After creation, you will see the current vault name, such as my EXAMPLE. We can rename the default "Welcome" file to start writing your first note:
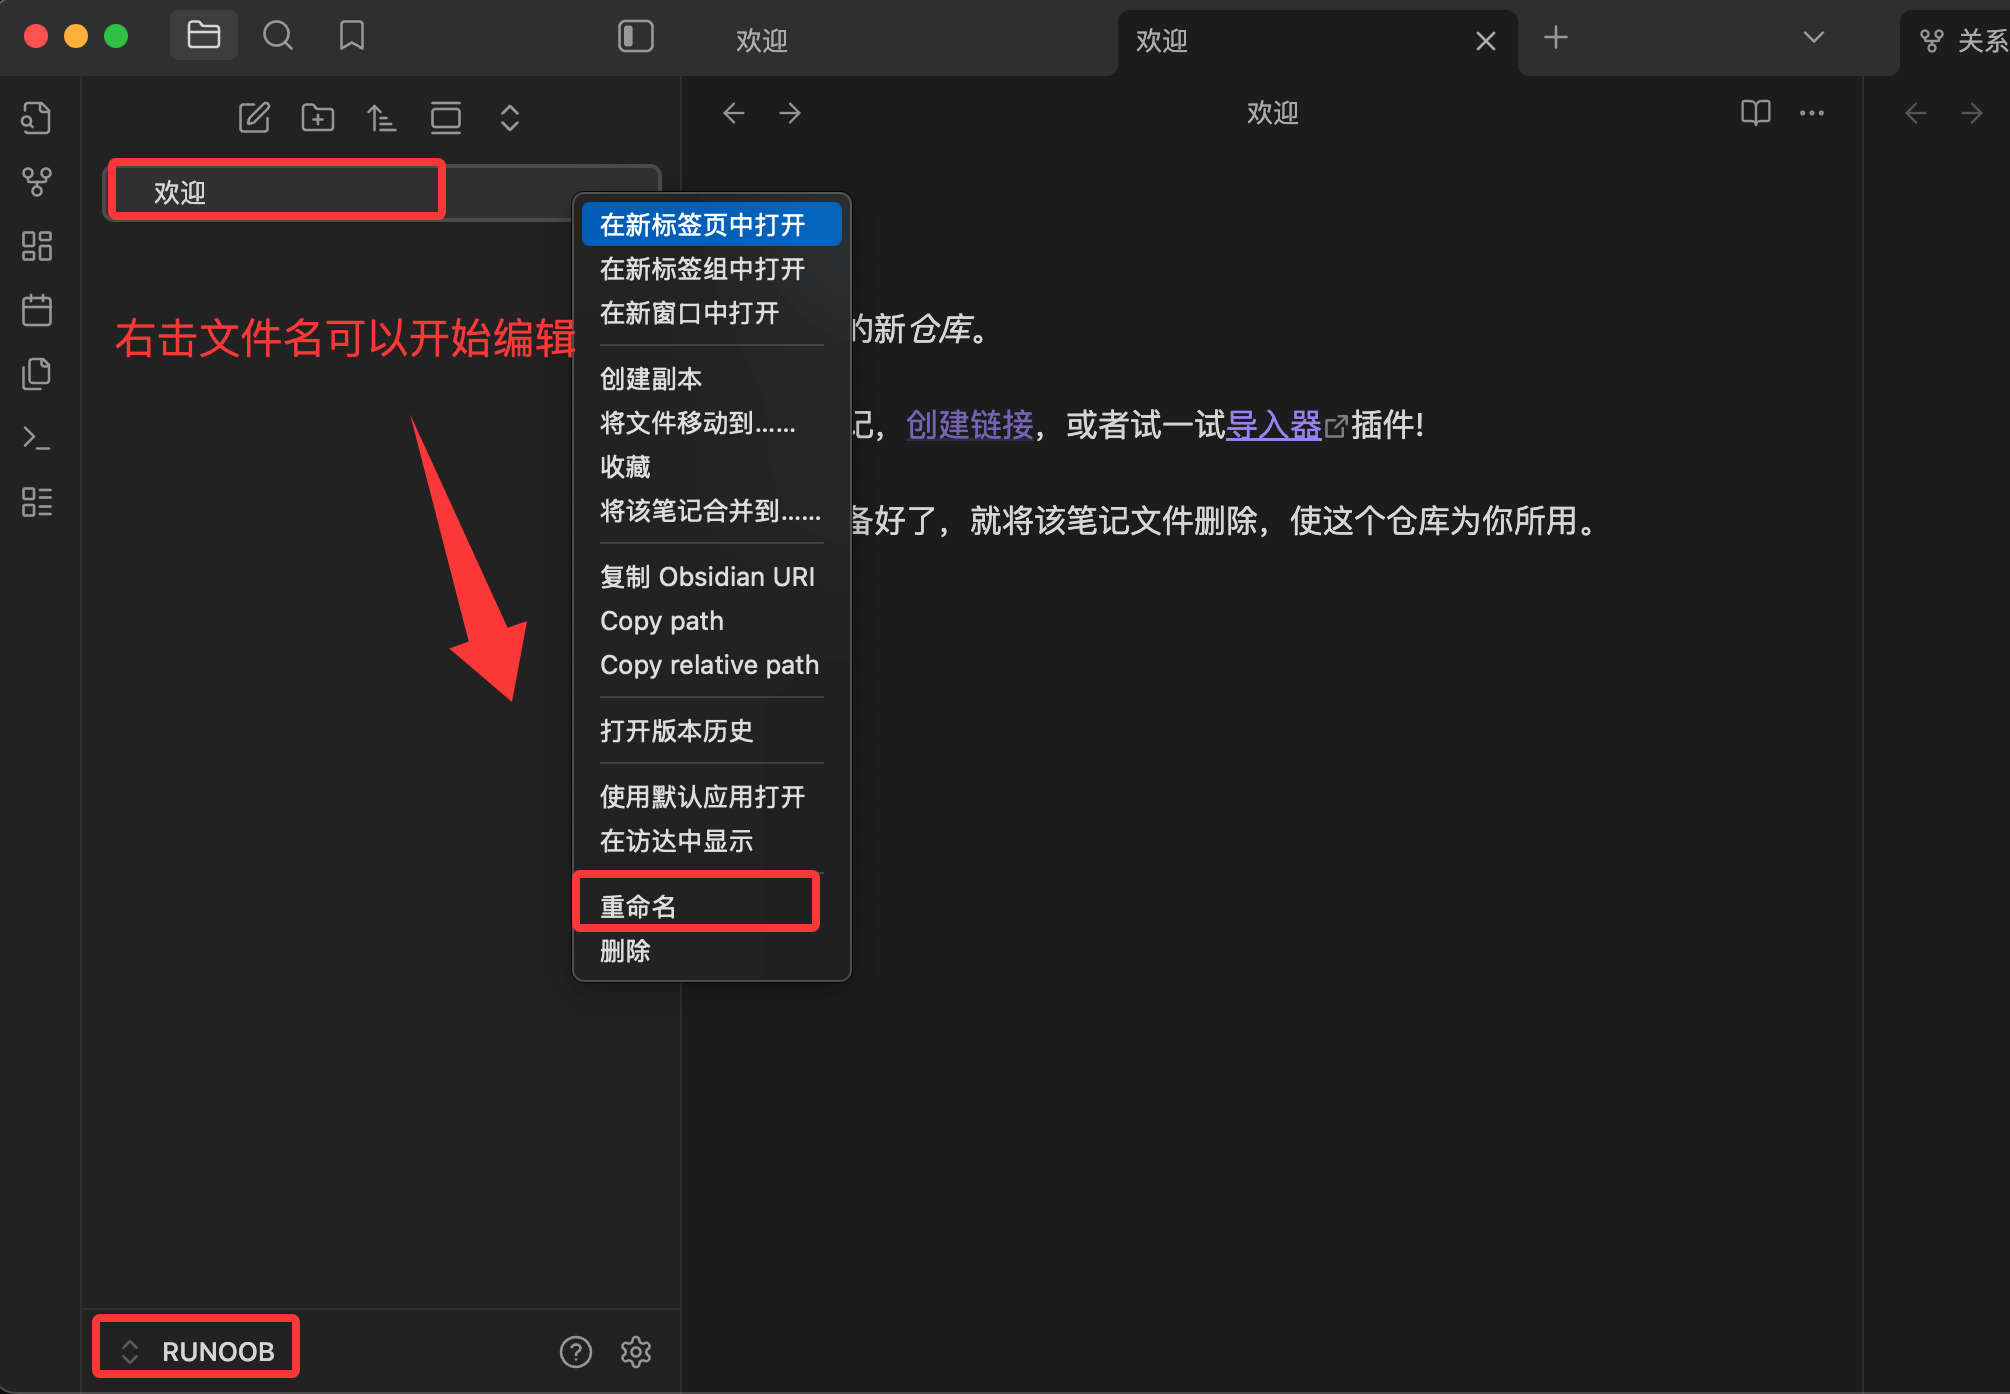
Change the file name toEXAMPLE-Obsidian Tutorial, then write the following Markdown content:
### 什么是 Obsidian?

Obsidian 本质上是一个**强大的笔记应用**,但它不仅仅是记录文字。它是一种将你的笔记、想法和知识点连接起来的工具,旨在构建一个**网状的、可搜索的、私人的知识网络**,就像你大脑中的神经元连接一样。

* **本地文件存储:** Obsidian 的所有文件都以纯文本的 **Markdown** 格式存储在你的本地电脑上。这意味着:
 * **安全可控:** 你的数据完全属于你自己,不需要依赖任何云服务商。
 * **永不过时:** Markdown 是最通用的纯文本格式,即使 Obsidian 停止服务,你仍然可以用任何文本编辑器打开你的笔记。

### 为什么要用 Obsidian?(核心优势)

你可能用过 Word、Evernote 或 Notion,为什么还要选择 Obsidian?

| 优势 | 描述 | 对你的好处 |
| :--- | :--- | :--- |
| **双向链接 (Bi-directional Linking)** | 使用 `[[笔记名]]` 语法,你可以将笔记像网页一样连接起来。 | 你能轻松发现知识点之间的**关联**,将零散的想法变成一个完整的知识体系。 |
| **关系图谱 (Graph View)** | 将所有笔记和连接以可视化网络图的形式展示出来。 | 直观地看到你的知识网是如何成长的,找到未连接的“孤岛”笔记。 |
| **纯文本与开放生态** | 基于 Markdown 和本地文件。 | 跨平台兼容性强,未来可导出性高,方便配合其他工具使用。 |
| **高度可定制** | 拥有数千个社区插件和主题。 | 无论是学生、程序员还是作家,你都可以根据需求定制功能和外观。 |
The displayed result is as follows:
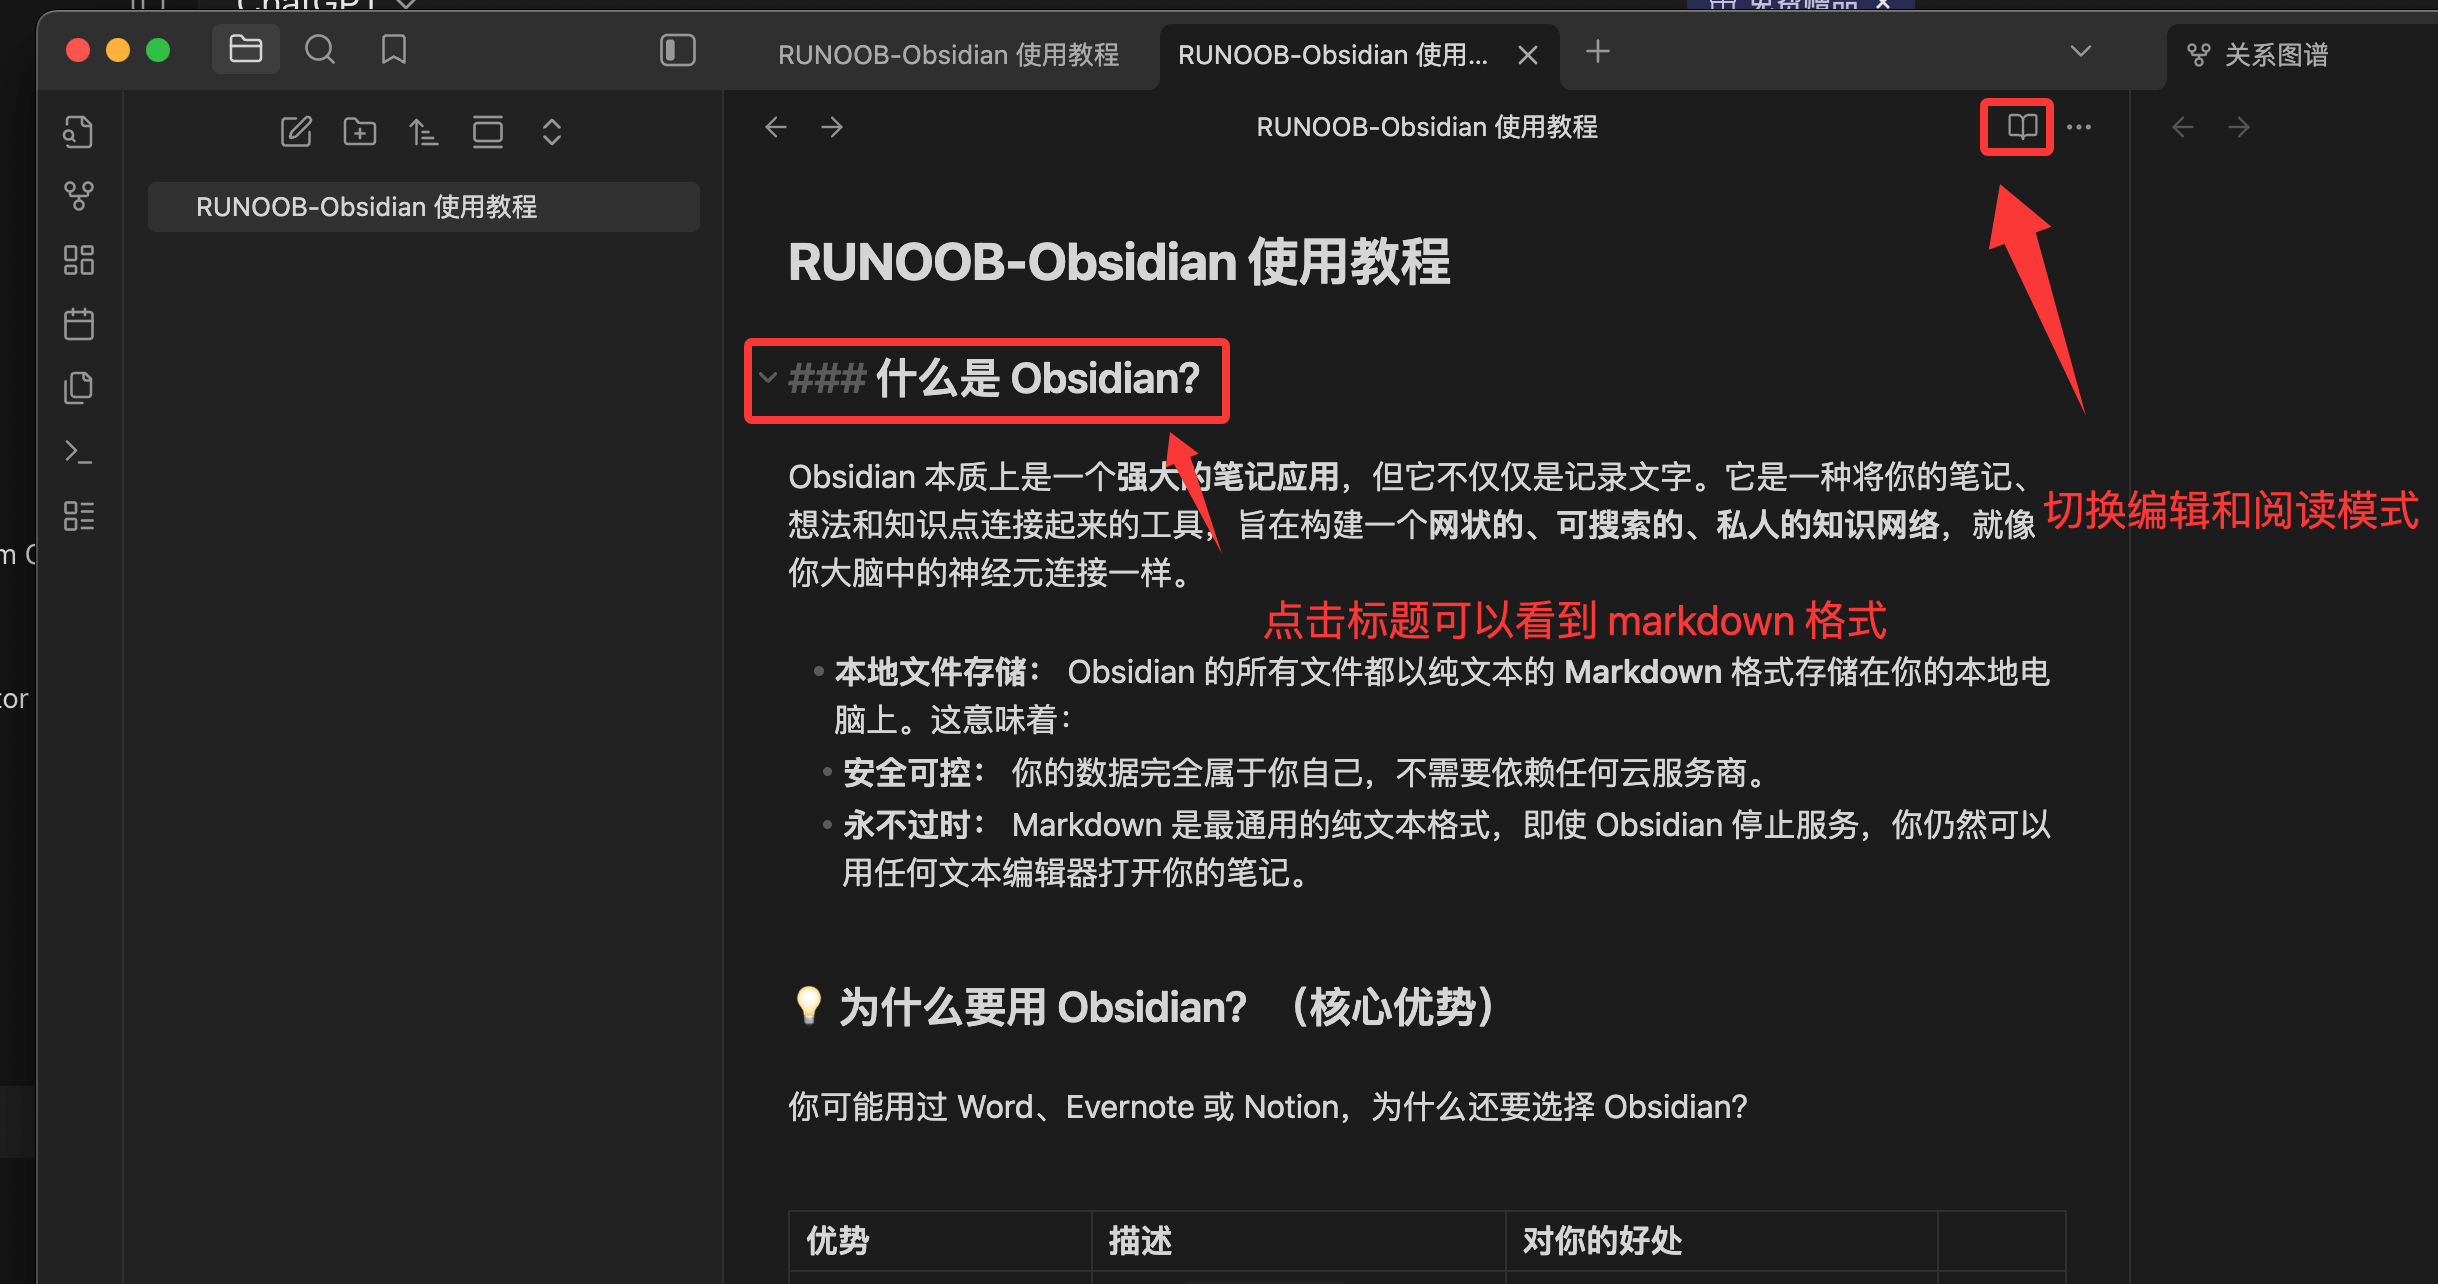
Note:All your Markdown files (.md.md suffix) will be stored in this folder. Obsidian is just a tool for reading and editing these files.
Obsidian Plugins
Much of Obsidian's power comes from its plugin ecosystem. Plugins allow users to extend Obsidian from a basic Markdown editor into a limitless Swiss Army knife based on their needs.
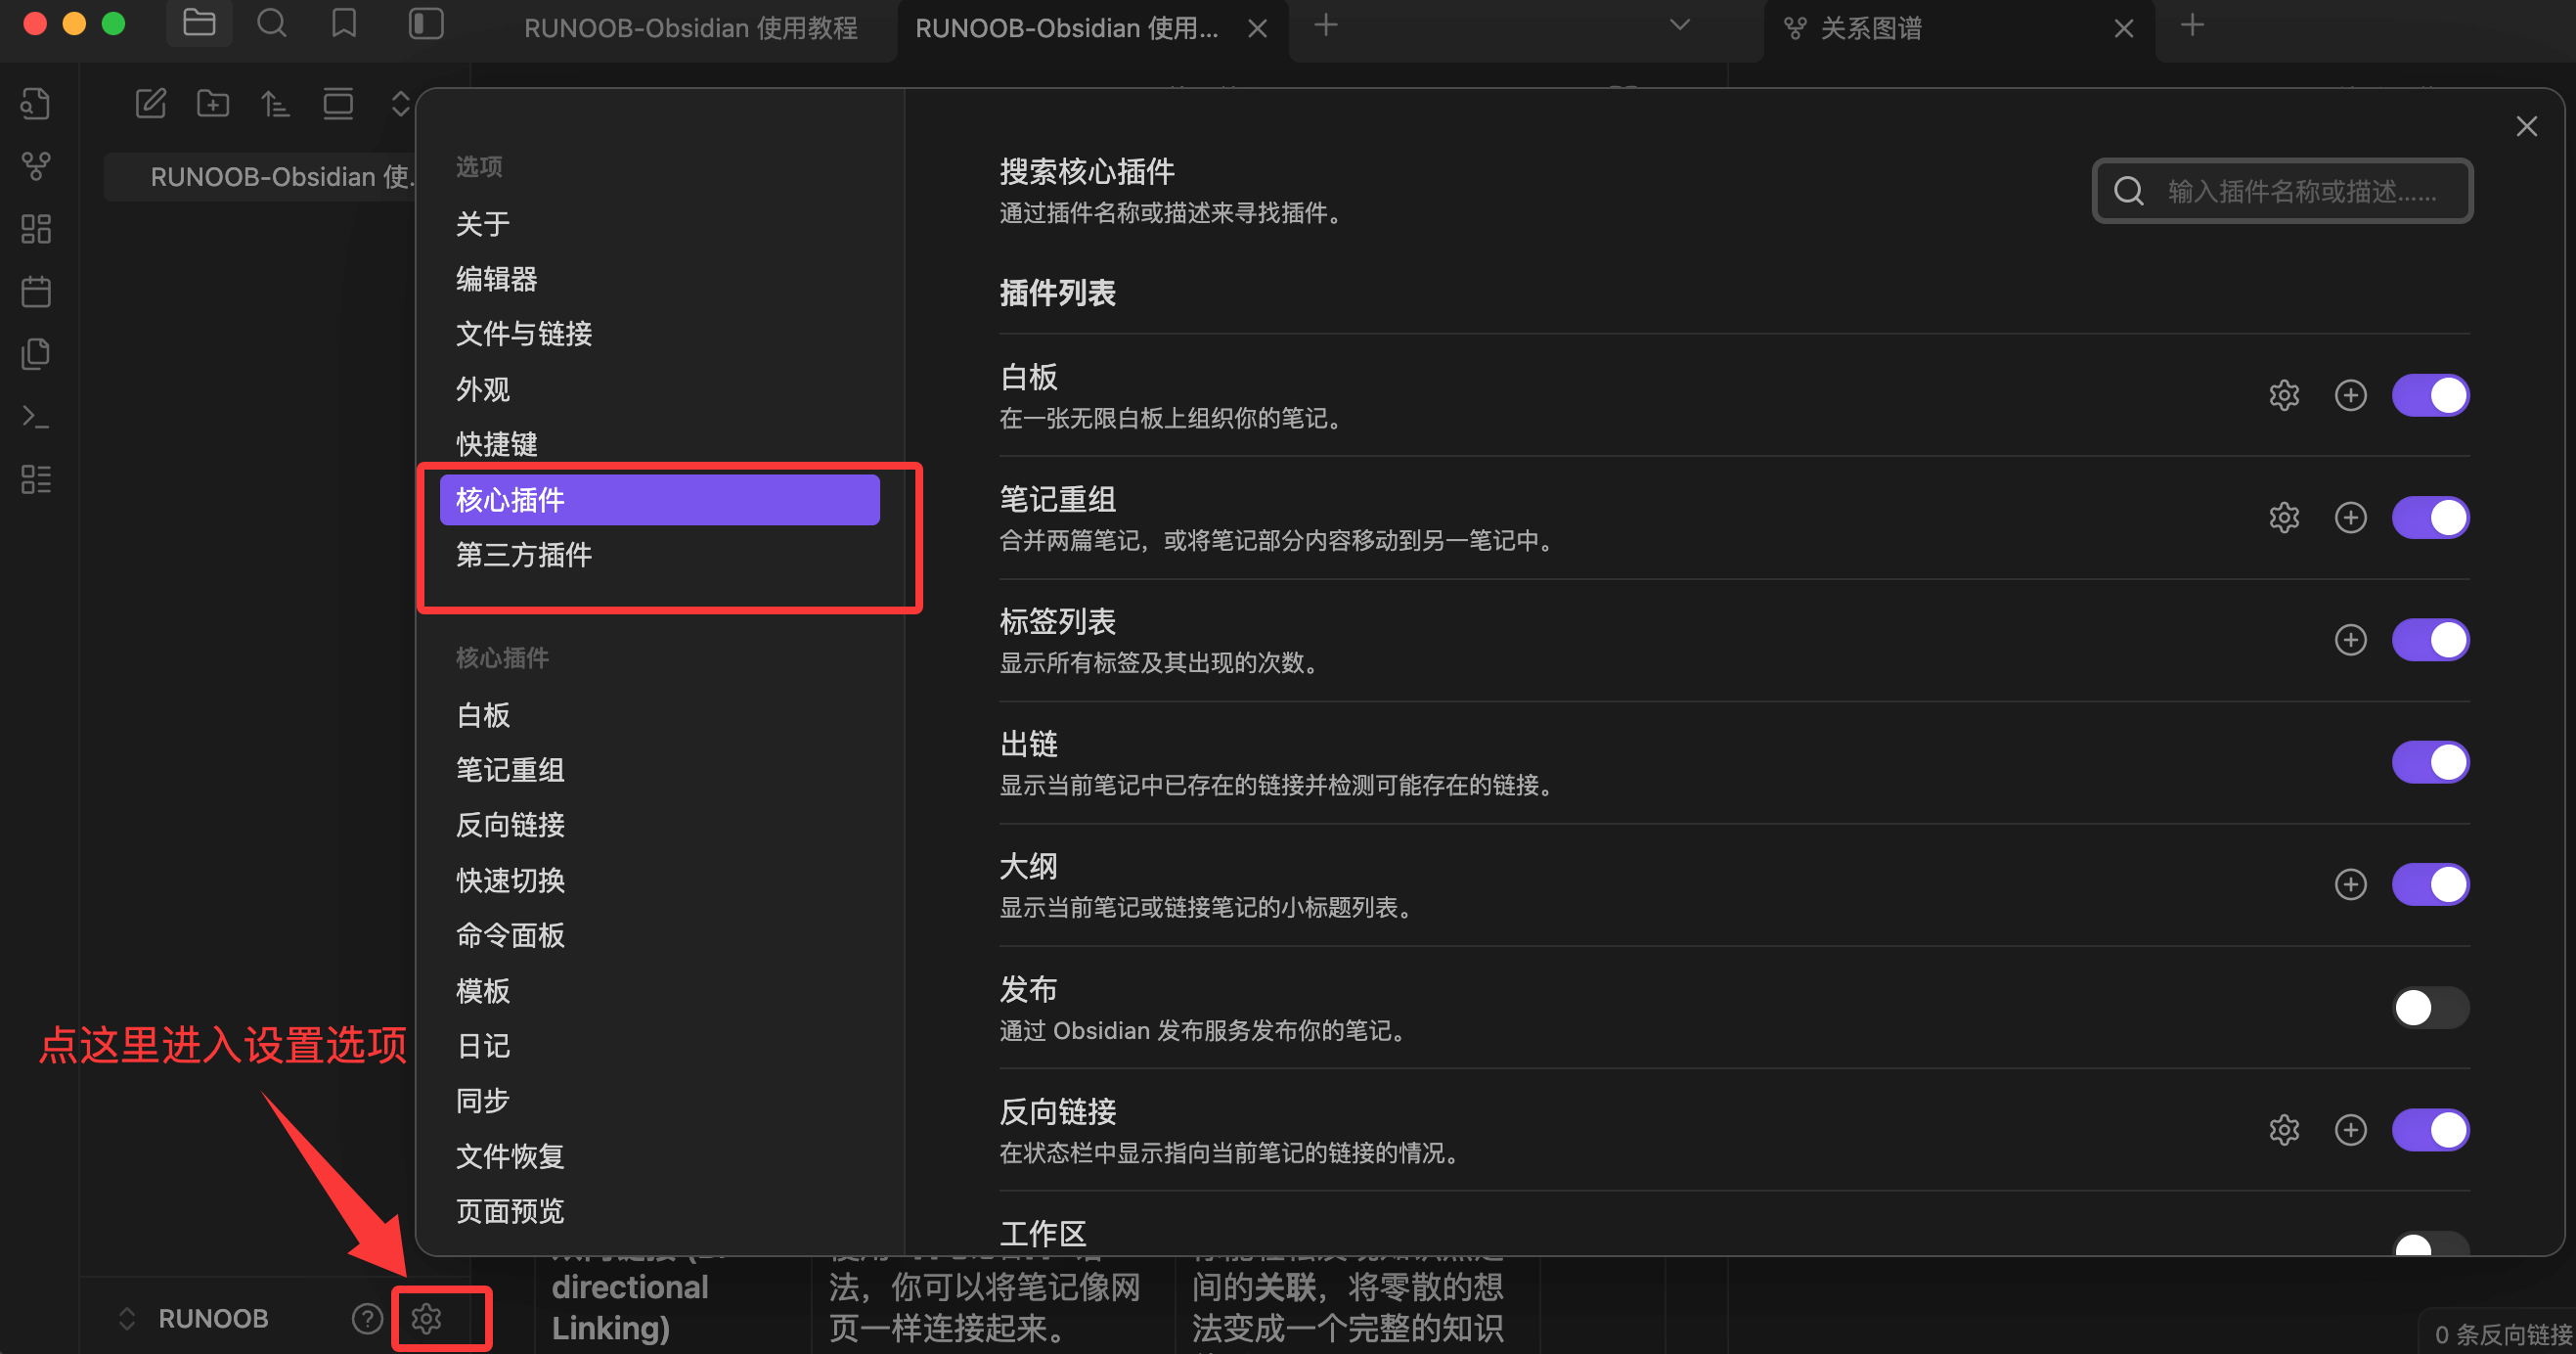
Obsidian plugins fall into two main categories:Core pluginsandCommunity plugins, which can be opened and viewed in Settings.
1. Core Plugins
- Definition:These are the official, maintained feature modules bundled with Obsidian. They are installed by default in every Obsidian instance, but can be toggled on or off as needed.
- Function:Provides the software's basic and important features, such asbidirectional links、graph view、daily notes、templates、tag paneletc.
- Examples:
- Daily Notes:Quickly create and jump to the note for the current day; ideal for daily journaling or task tracking.
- Canvas:Lets you freely arrange notes, images, and web pages on an infinite whiteboard for visual thinking organization.
- Templates:Lets you define reusable note structures (such as book notes, meeting minutes) to improve efficiency.
2. Third-Party Plugins
- Definition:These are third-party feature extensions created, maintained, and shared by Obsidian users (developers) worldwide.
- Features:Huge in number and varied in functionality, they greatly enrich the Obsidian ecosystem.
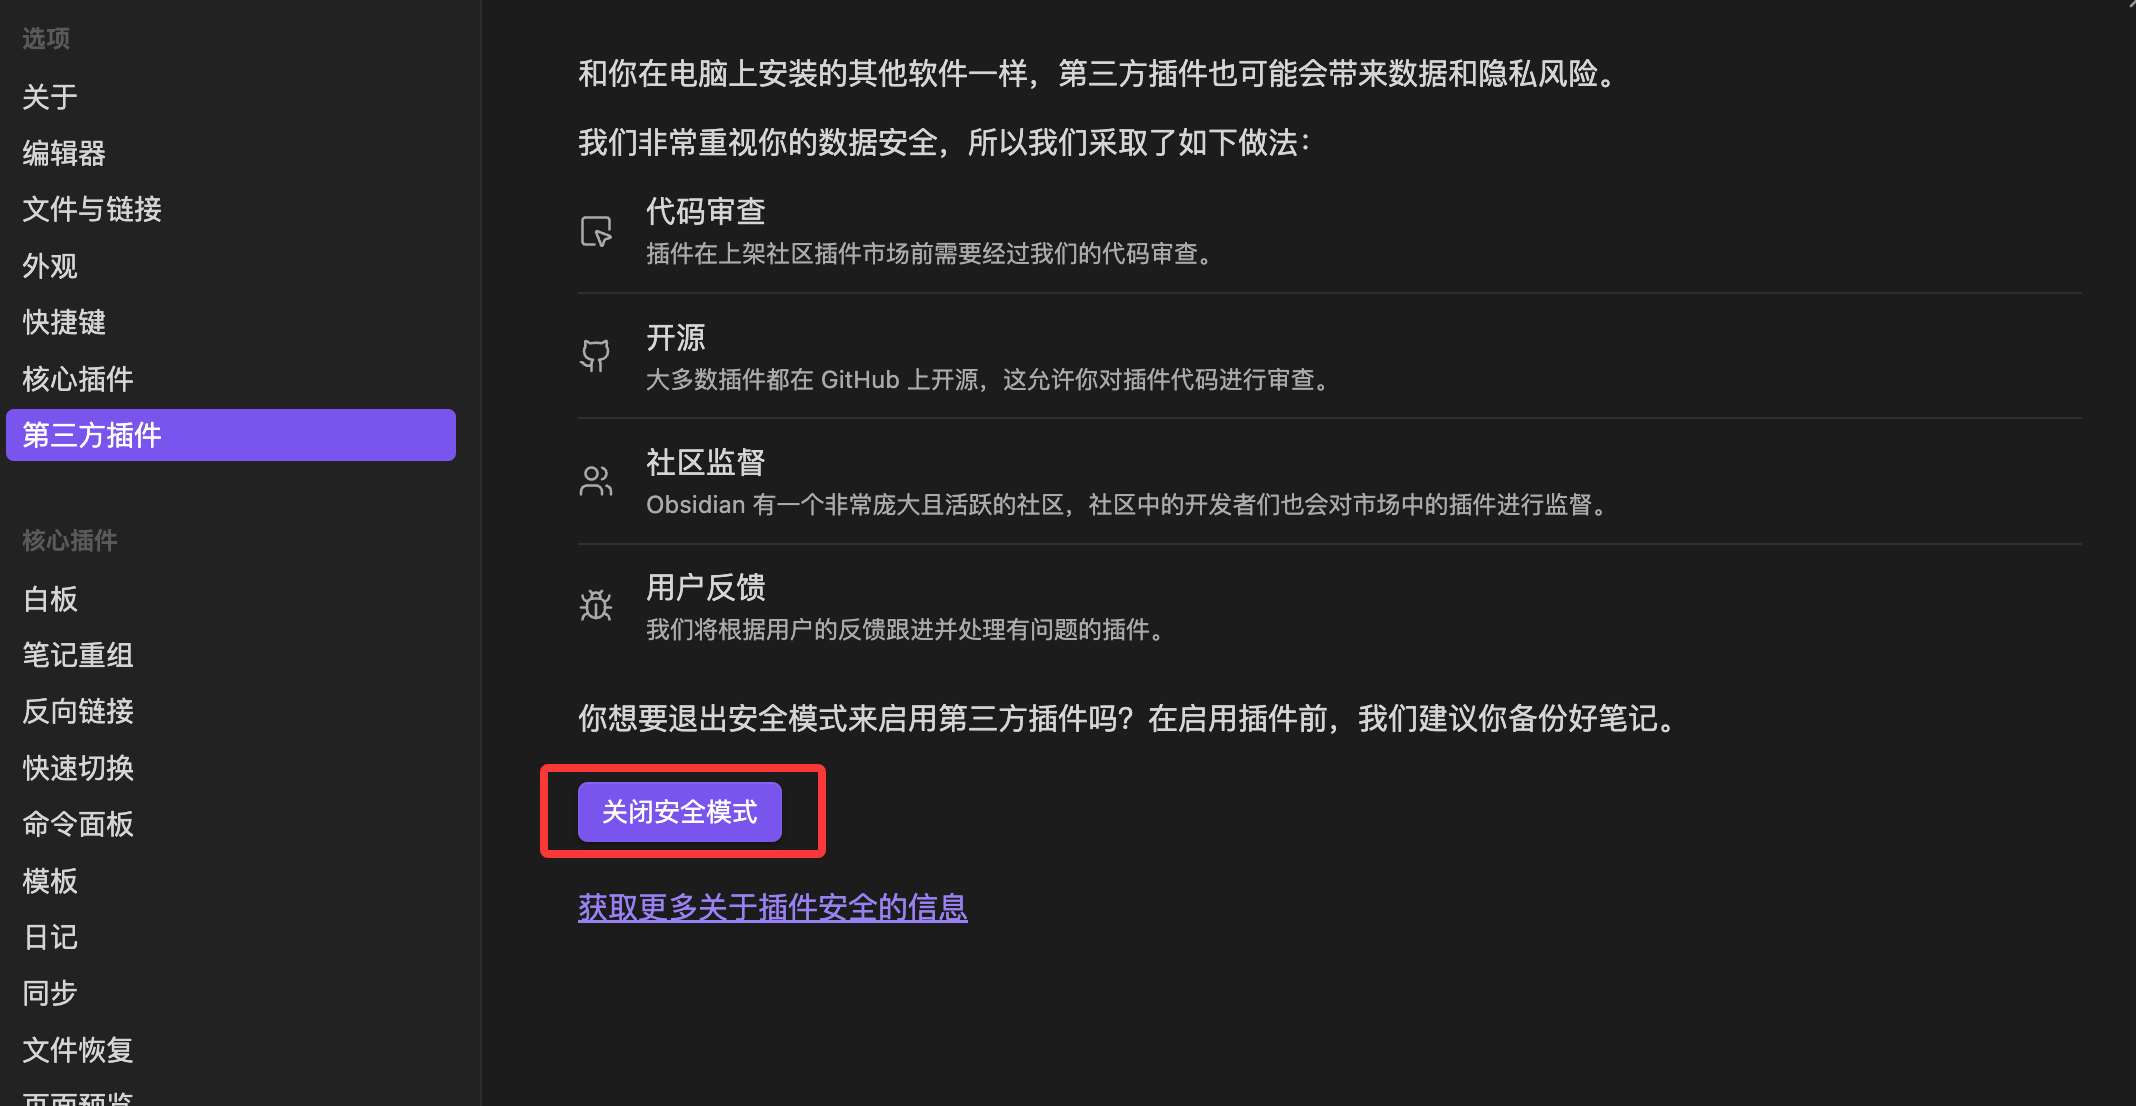
- Security:Before installing third-party plugins, Obsidian enablesSafe Modeby default. Installing plugins requires manually turning off Safe Mode, and Obsidian will warn users about security risks (it is recommended to only install plugins with high download counts, good ratings, and clear functionality).
For new users, here are some of the most popular, powerful third-party plugins that can quickly improve your experience:
| Plugin Name | Main Function | Typical Use Case |
|---|---|---|
| Dataview | Treats your vault as a database, allowing you to query and display data with code. | Automatically generates task lists, aggregates all projects or book lists with a specific tag. |
| Excalidraw | Create hand-drawn style diagrams and mind maps in Obsidian. | Create flowcharts, concept sketches, or make handwritten annotations. |
| Calendar | Displays a calendar view in the right sidebar. | Quickly view and jump to past daily notes for schedule review. |
| Advanced Tables | Simplifies the creation and formatting of Markdown tables. | Easily align and edit complex tables without manually adjusting spaces. |
| Kanban | Create Trello- or Notion-style board views in Obsidian. | Task management, project progress tracking, or dragging ideas from "To Do" to "Done". |
| Obsidian Git | Automatically backs up your vault to a Git repository (such as GitHub). | Enables version control and multi-device sync, providing extra security. |
How to Install and Manage Plugins
1. Enter Plugin Settings
- Click the"Settings"(gear icon) in the bottom-left corner.
- Find"Core plugins"and"Community plugins" in the sidebar.。
2. Steps to Install Third-Party Plugins
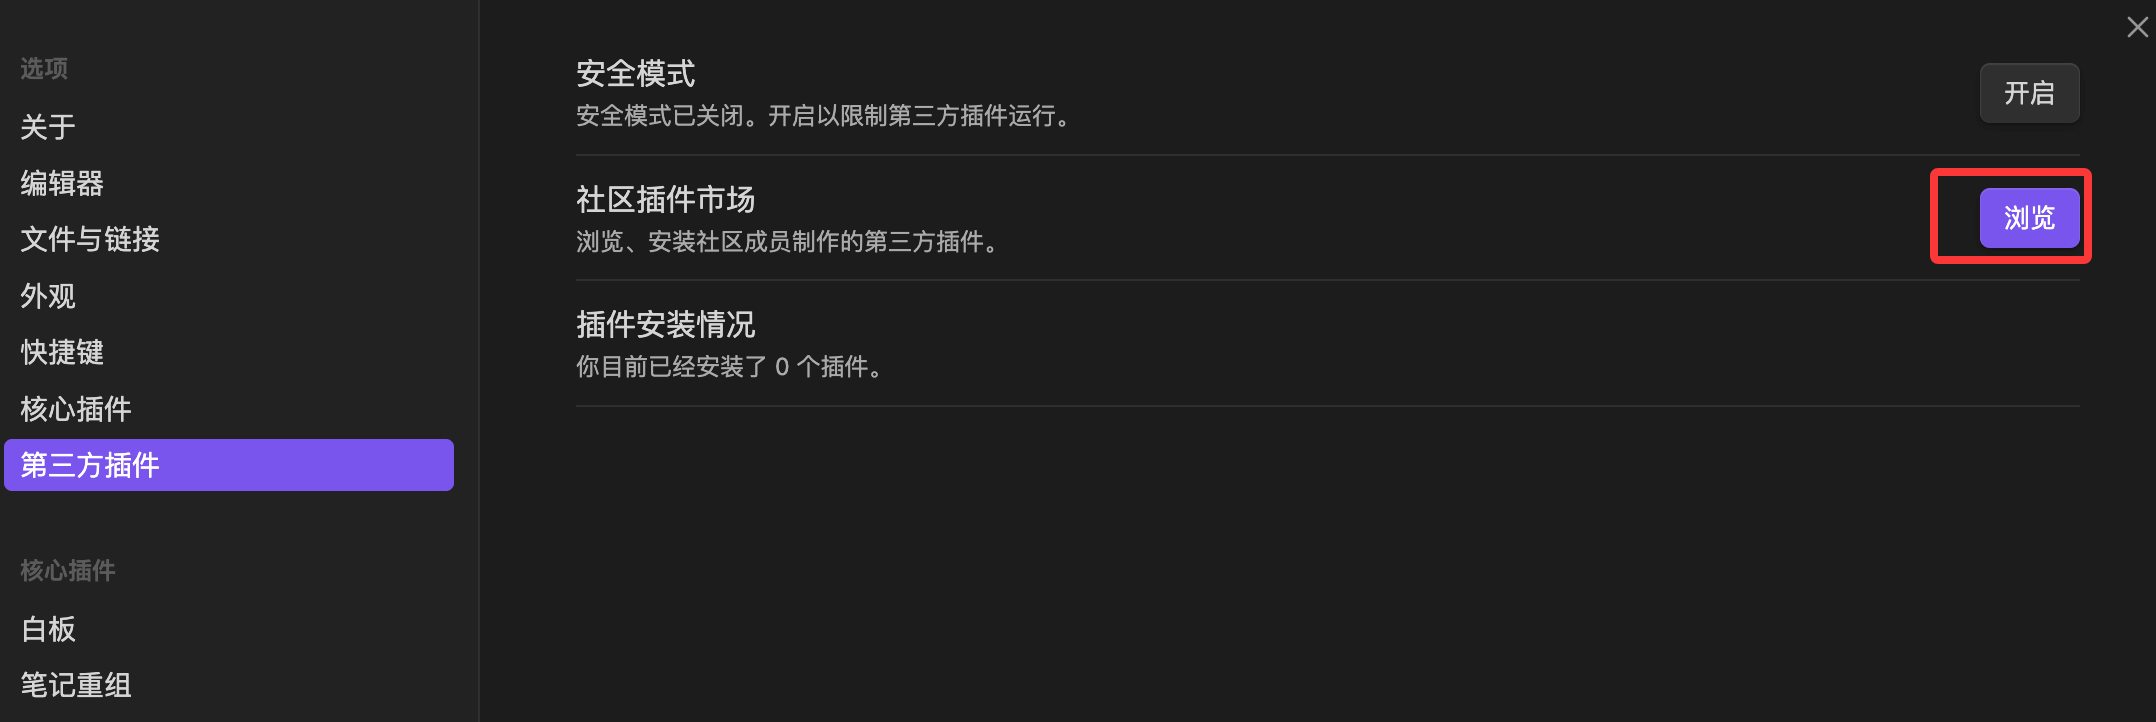
- Go to the"Community plugins"tab.
- Turn off Safe Mode:Obsidian will prompt you to do this.
- Click"Browse"。
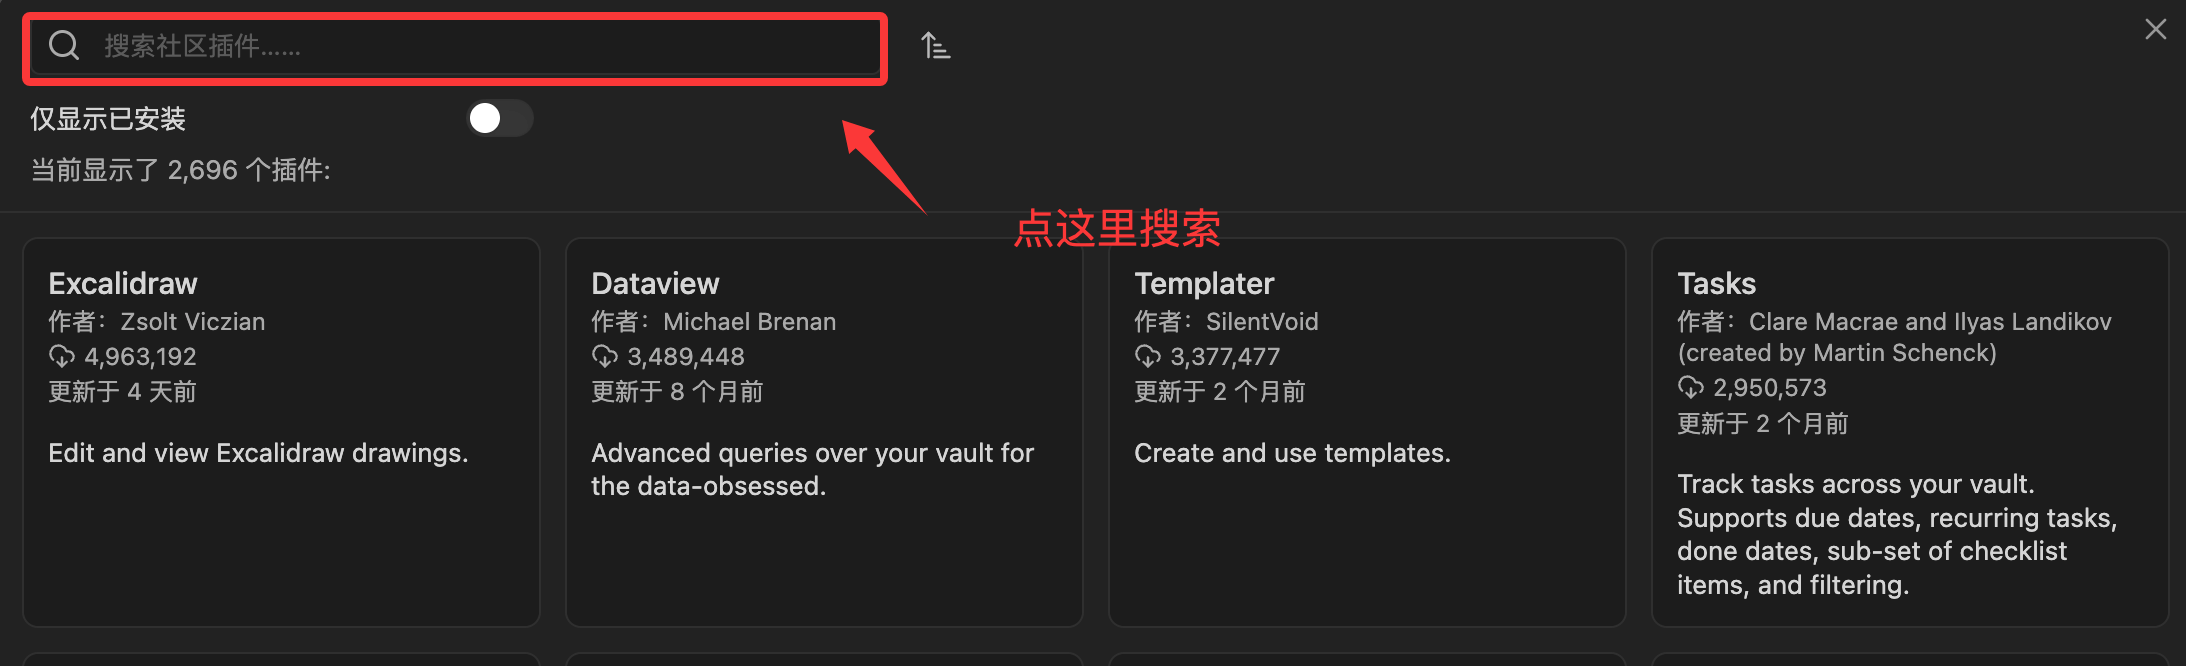
- In the search box, type the plugin name (e.g.,
Dataview)。 - Click the plugin, then click"Install"。
- Activate the plugin:After installation, click the"Enable"button. Only then will the plugin start working.
Other ExtensionsTip:After a plugin is installed, its functions are usually invoked from the left sidebar, right sidebar, or via theCommand Palette (
Ctrl/Cmd + P(Ctrl/Cmd + P).