VS Code MCP Service
MCP (Model Context Protocol) is an open standard that provides a unified interface, allowing AI models (such as Copilot Chat) to discover and call external tools, enabling multiple operations such as reading files, calling APIs, and executing tasks.
In VS Code, the MCP client (Copilot) completes tasks through the tools provided by the MCP server, while the server side can be deployed locally or remotely.
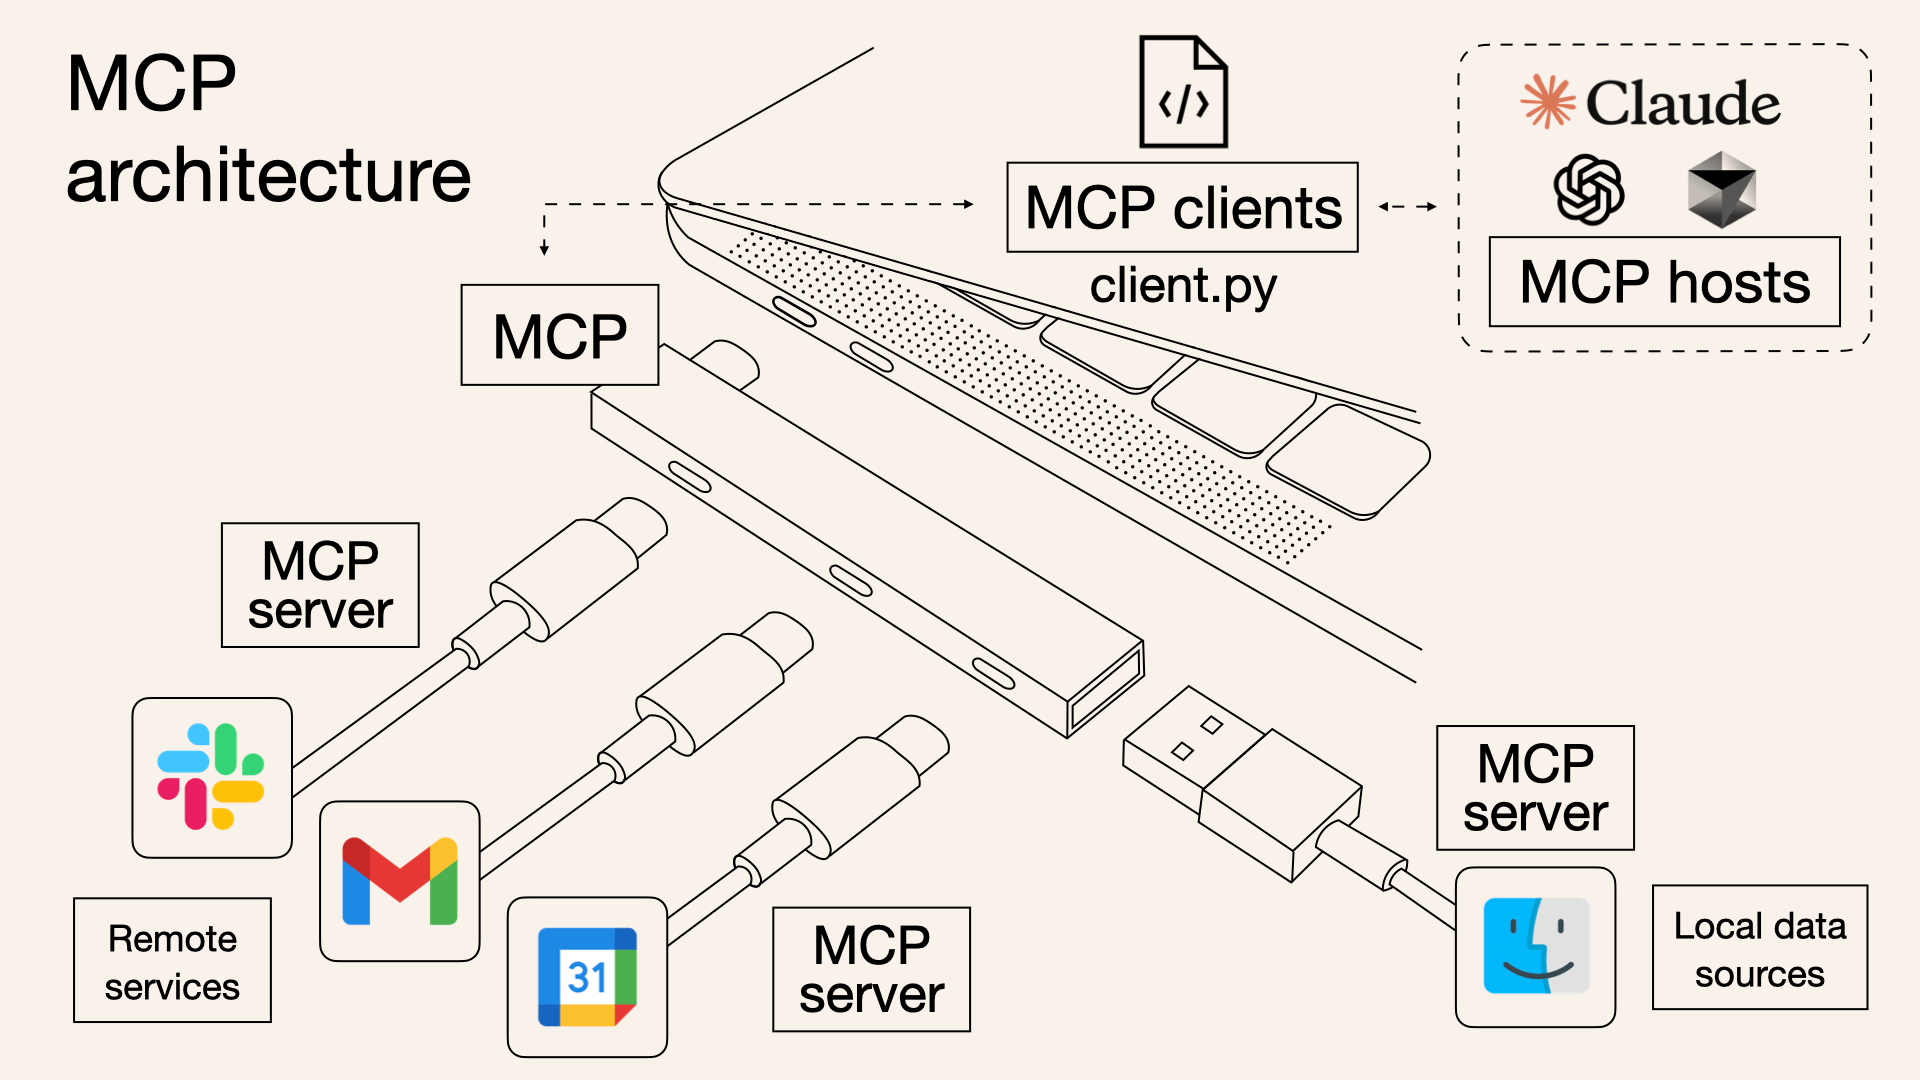
The above figure is the MCP architecture diagram:
MCP is the core, connecting to clients (MCP clients) on one side, such as programs written with client.py; on the other side, through the server (MCP server), it connects to remote services (such as the colorful icon Apps in the diagram) and local data sources (such as the blue smiley icon).
Clients can also connect to MCP hosts, such as Claude and ChatGPT, allowing MCP to call their capabilities and link all parties together to get work done~ It's like building a "collaboration network" for different tools, enabling MCP to connect remote and local resources while leveraging the power of external large models.
Before using the VS Code MCP service, make sure to install the latest version of Visual Studio Code.
You also need to install the related VS Code AI extension. We can use Microsoft's GitHub Copilot and simply log in with an account (including Free, Business, or Enterprise plans).
Starting from VS Code 1.102, MCP support in VS Code is fully available. You can check whether it is enabled in the settings.
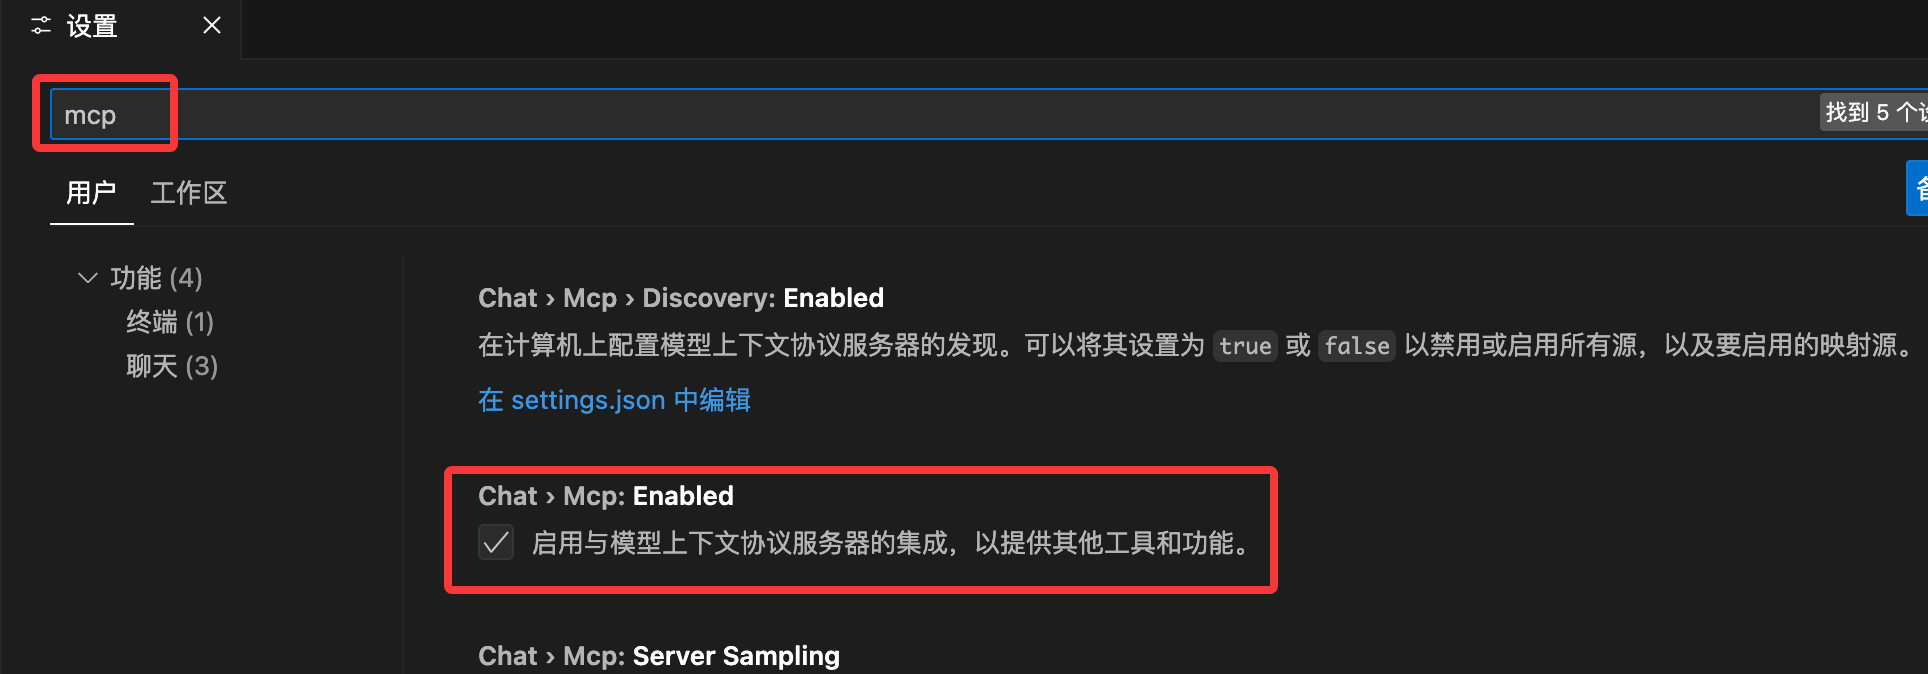
Configure MCP Server
There are multiple ways to add an MCP server in VS Code:
- Direct installation: visit the curated MCP server listhttps://code.visualstudio.com/mcp, select "Install" on any MCP server, and it will be automatically added to your VS Code instance.
- Workspace settings: add a.vscode/mcp.jsonfile in the workspace to configure the MCP server for that workspace and share the configuration with team members.
- User settings: specify the server in the user configuration (via "MCP: Open User Configuration") to enable the MCP server in all workspaces and sync it through "Settings Sync".
- Auto-discovery: enable the auto-discovery feature (chat.mcp.discovery.enabled) to discover MCP servers defined in other tools (such as Claude Desktop).
In this section, we use the workspace settings method.
Example
The following is a simple "Hello World" example of an MCP application in VS Code. First, we create a Python file test.py with the following code:
test.py File Code
import json
# Read MCP initialization request
_ = json.load(sys.stdin)
# Output MCP response (standard JSON)
json.dump({
"type": "text",
"text": "Hello World from MCP!"
}, sys.stdout)
Next, we create an MCP server configuration that can return "Hello World".
In your workspace folder, create.vscode/mcp.json(if the.vscodedirectory does not exist, create it) file, and fill in the following configuration (simulating a simple local MCP server):
.vscode/mcp.json File Code
"servers": {
"HelloWorldServer": {
"type": "stdio",
"command": "python3",
"args": ["test.py"]
}
}
}
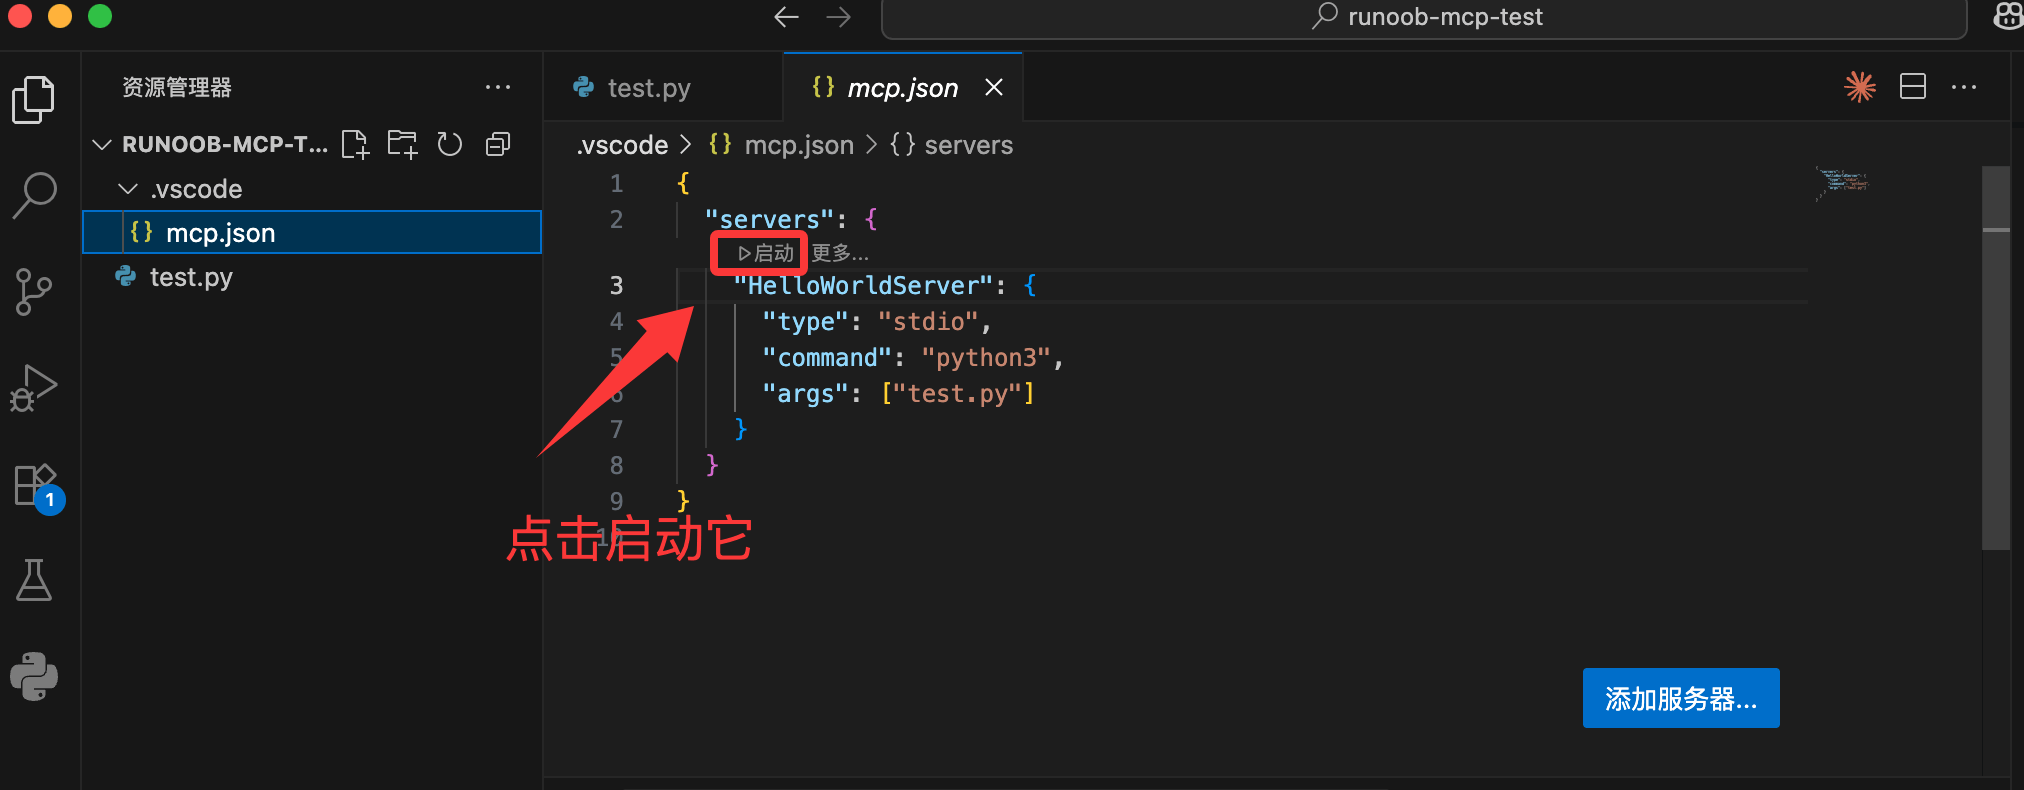
After saving the file, open the VS Code command palette (Ctrl+Shift+P): run the "MCP: Show Installed Servers" command:

You will see the configured "HelloWorldServer":
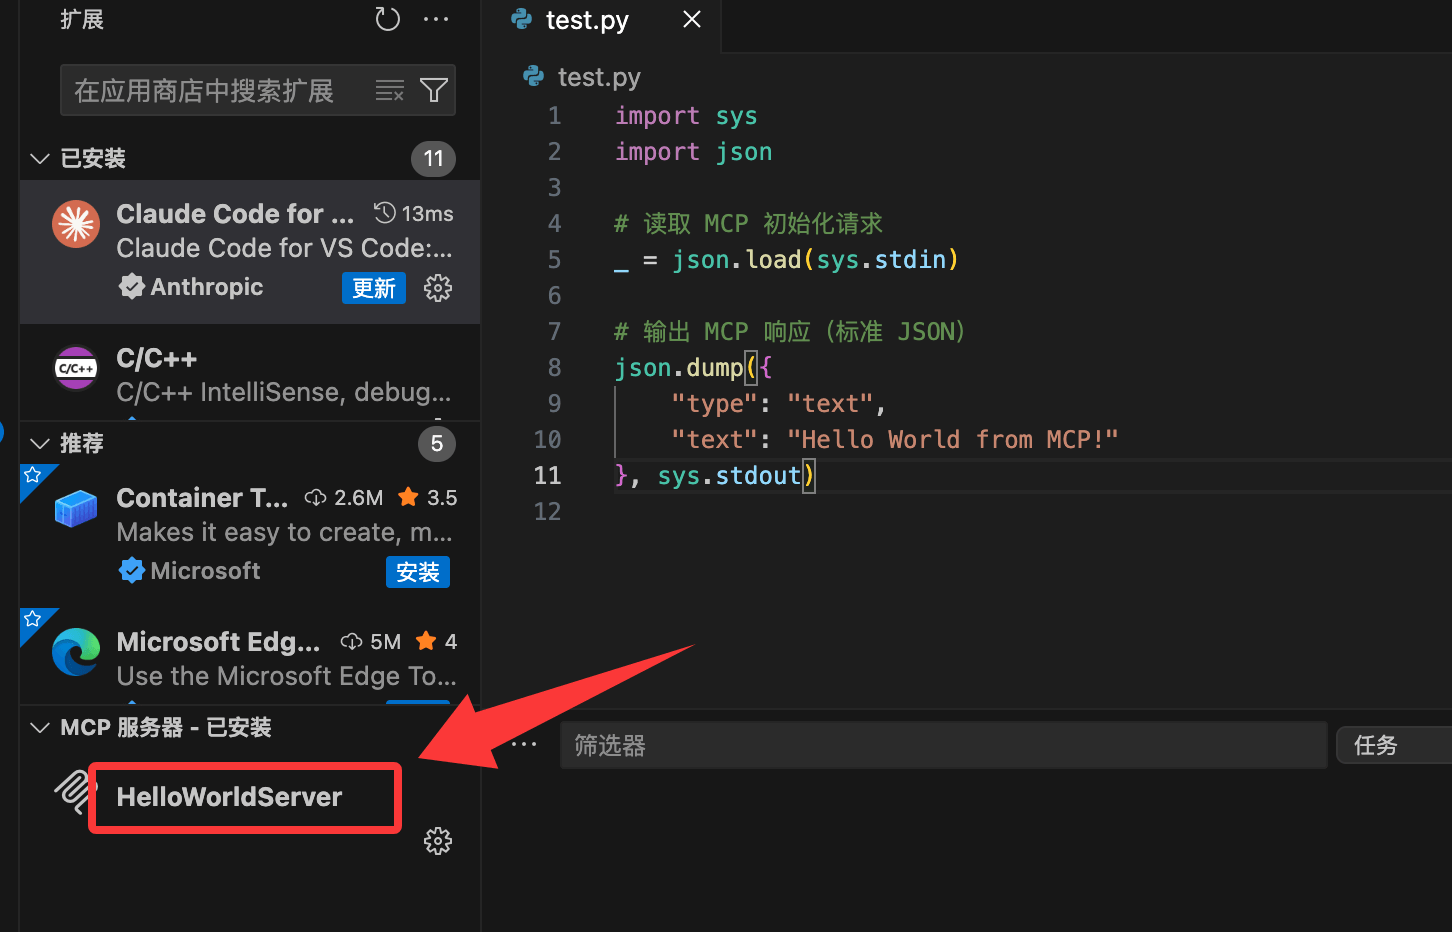
Start the server, and it will immediately return the message "Hello World from MCP!"
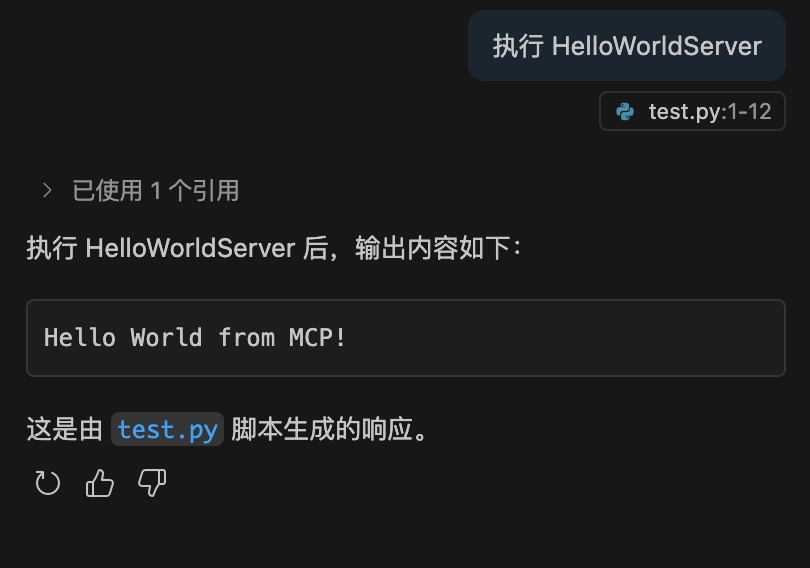
We can enter "execute HelloWorldServer" in the AI chat window and see the output result:
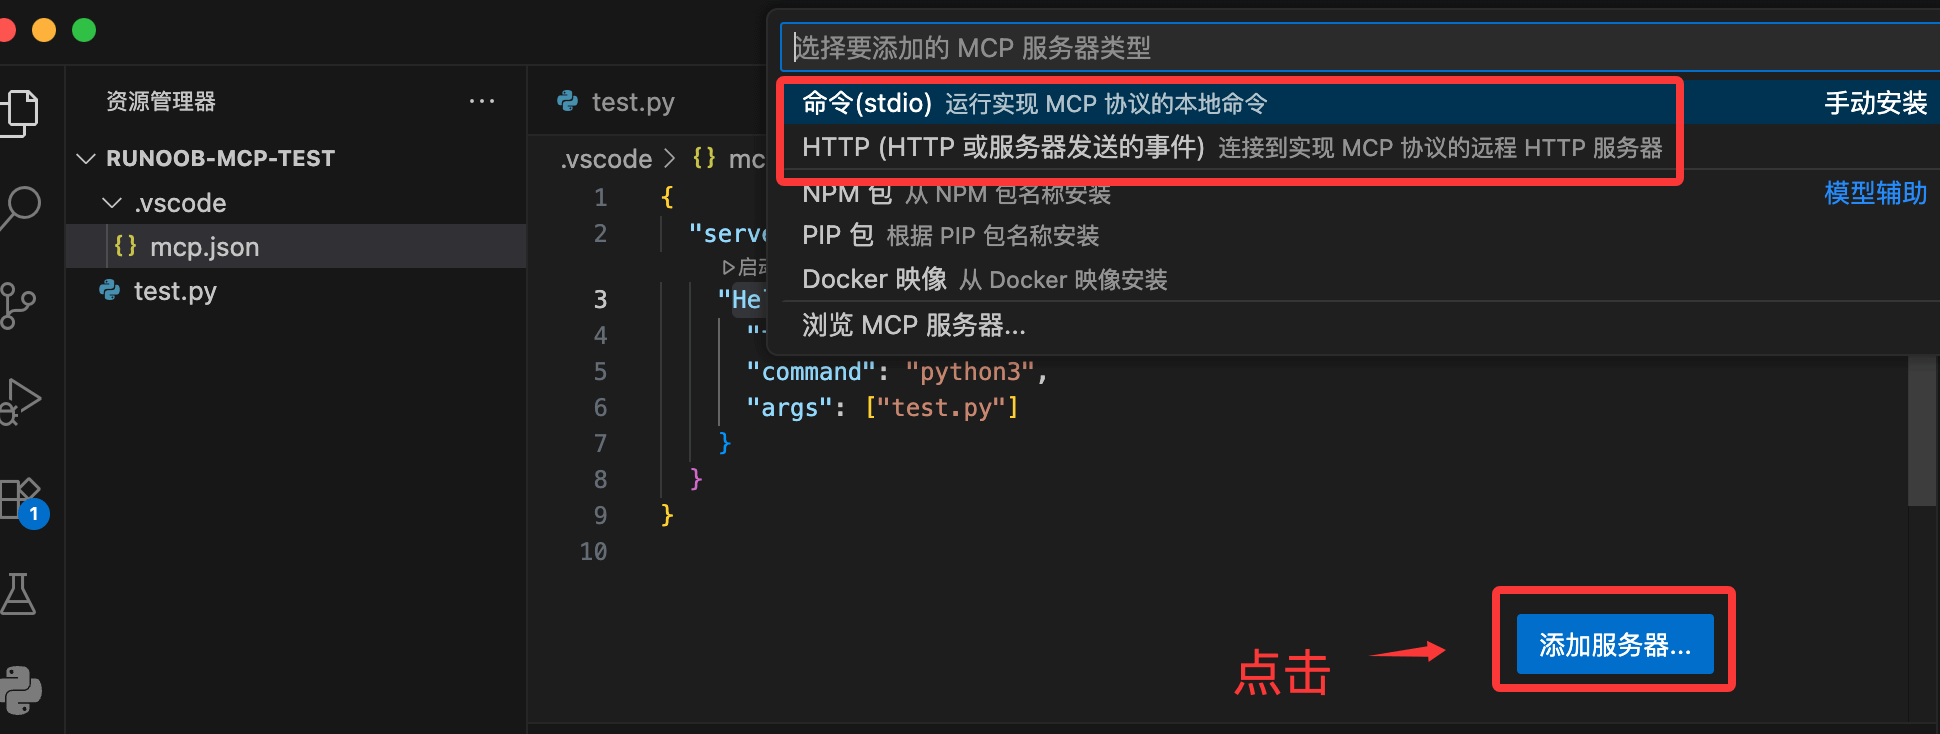
Open.vscode/mcp.jsonThere is an "Add Server..." icon in the bottom right corner, through which we can add more services, including commands to execute or remote HTTP services: