PyCharm Windows Installation
PyCharm is a Python Integrated Development Environment (IDE) produced by JetBrains, featuring intelligent code completion and graphical debugging capabilities, and supporting Windows/macOS/Linux across all platforms.
PyCharm is an all-in-one tool for writing code, running programs, debugging, managing projects, and collaborating, and is currently the most mainstream Python development tool in the industry.
This article describes the complete PyCharm installation steps, from visiting the official website for download to completing the installation and first-launch configuration.
The entire process only requires clicking "Next" in sequence and checking the recommended settings as needed, making it suitable for Python developers to quickly set up a development environment.
Installation Steps
The following is the installation process for Windows; the steps for macOS and Linux are similar.
The example version is PyCharm Community Edition 2026.x.
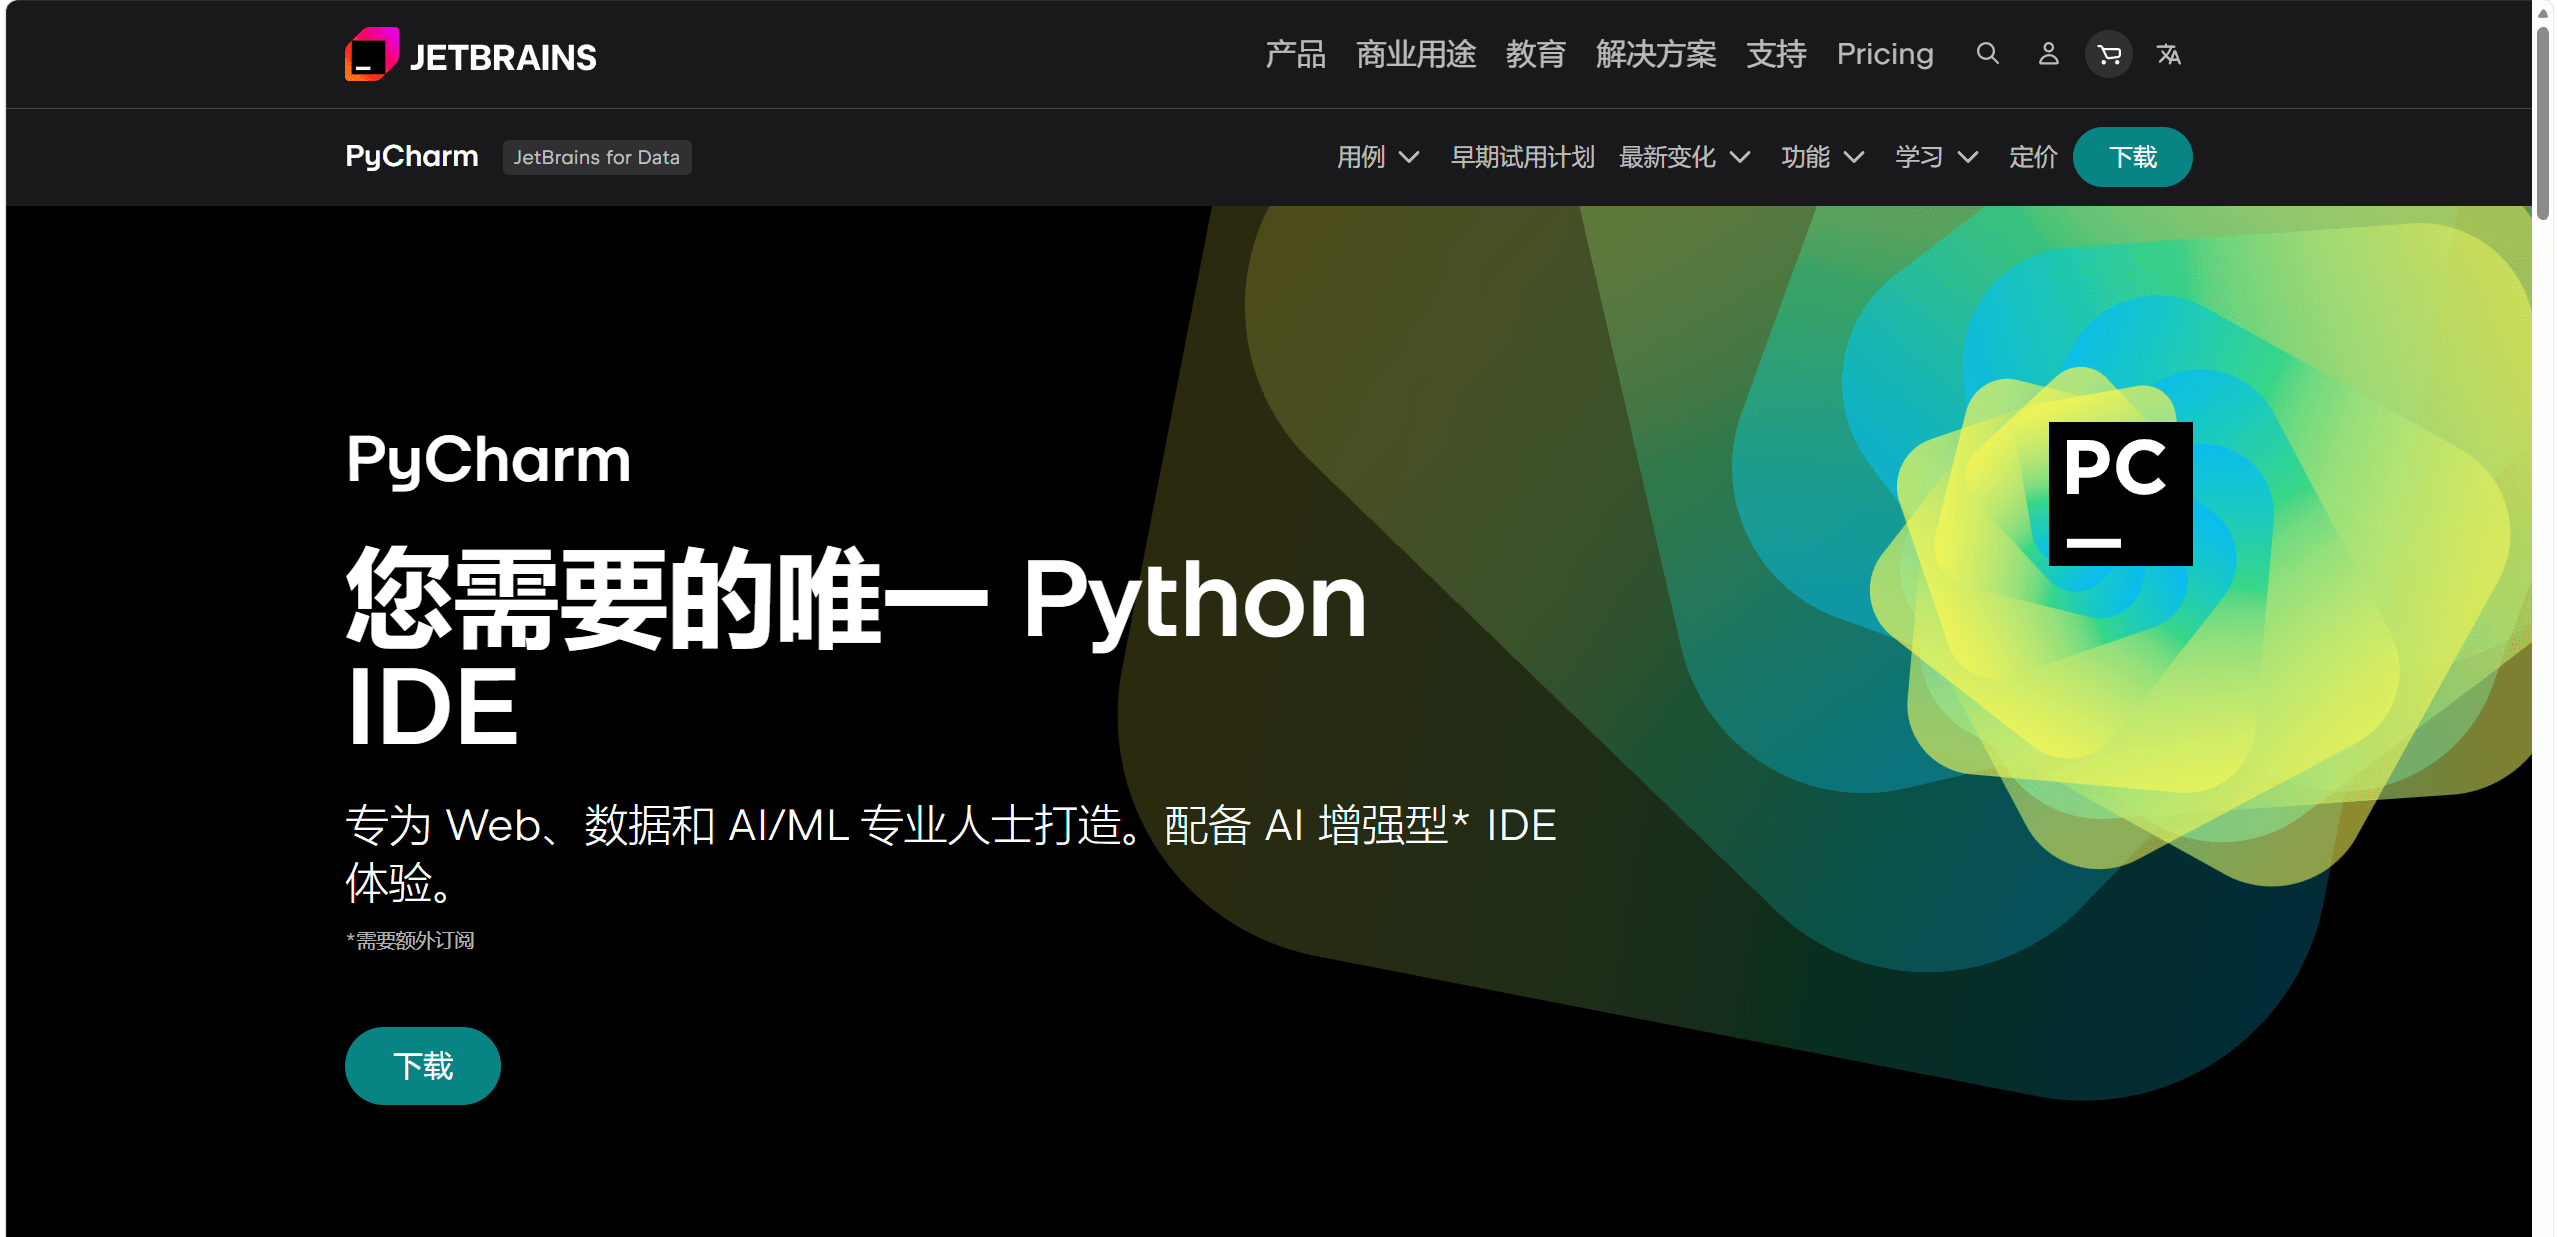
Step 1: Go to the PyCharm official website
In your browser, visit the PyCharm product page on the JetBrains official website:https://www.jetbrains.com/zh-cn/pycharm/。
Step 2: Click "Download"
After entering the official website, click the"Download"button on the page to enter the download page.
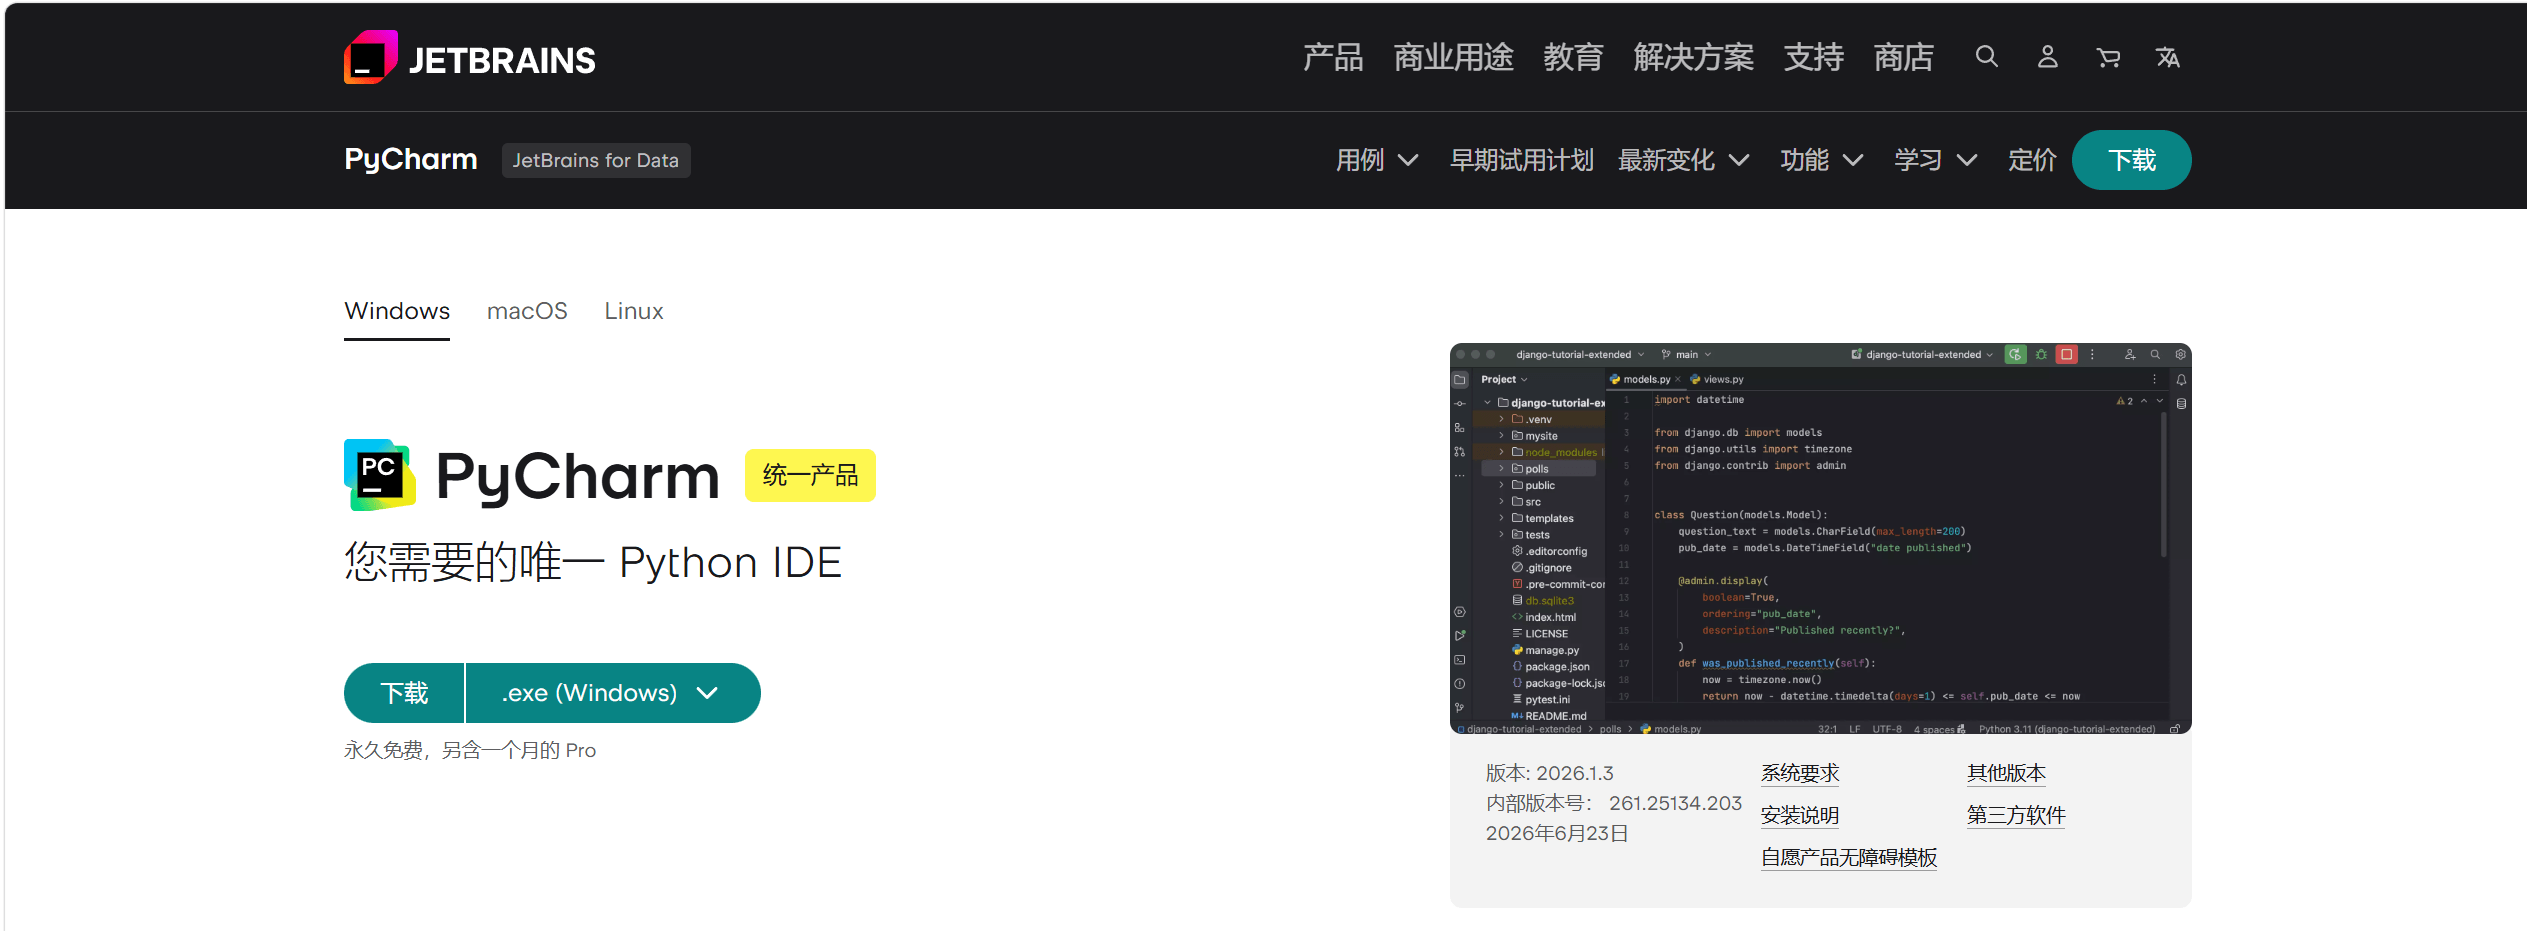
Step 3: Select the operating system and download
On the download page, select your operating system (Windows/macOS/Linux), then click the download button.
The page provides download entries for two versions by default:ProfessionalandCommunity—The Community Edition is free and meets most Python development needs.
Step 4: Double-click to run the installer
After the download is complete, locate the downloaded installer in File Explorer (e.g.,pycharm-community-2026.x.x.exe), and double-click to run it.

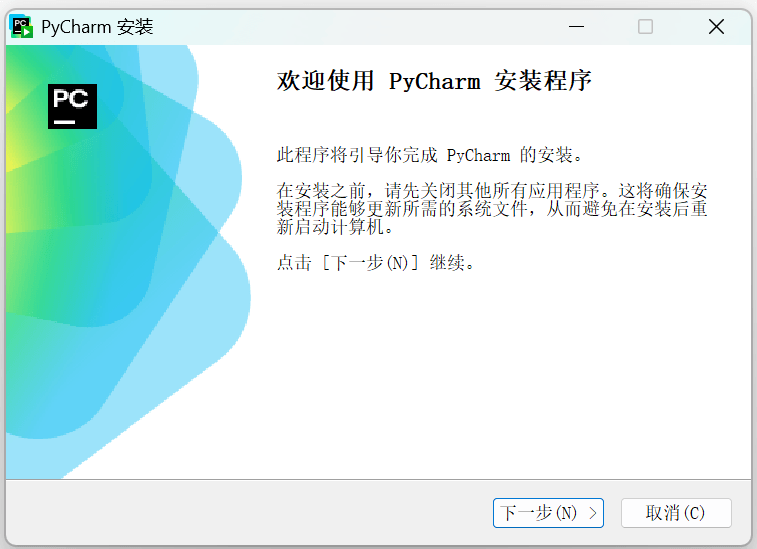
Step 5: On the welcome screen, click "Next"
After the installation wizard launches, directly clickNexton the welcome screen to continue.
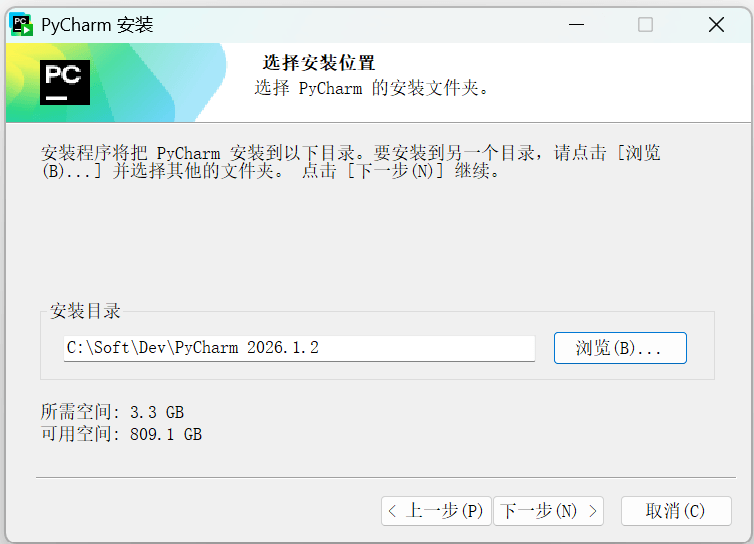
Step 6: Choose the installation directory
Select the destination folder for installing PyCharm.
The default path is usuallyC:\Program Files\JetBrains\PyCharm Community Edition 2026.x, and you can also clickBrowseto customize the installation location.
After confirming, click "Next".
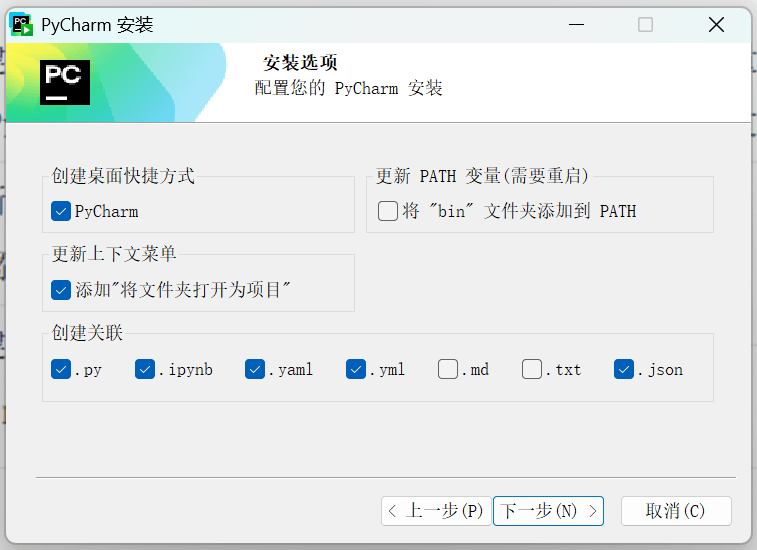
Step 7: Check the installation options
On the installation options screen, it is recommended to check the items as configured below.
The function of each option is as follows:
| Option | Description | Recommendation |
|---|---|---|
| Create Desktop Shortcut | Generate a PyCharm shortcut icon on the desktop | Recommended to check, for convenient quick launch |
| Add "Open Folder as Project" (right-click menu) | Add a PyCharm entry to the File Explorer right-click menu | Recommended to check, allows directly opening project folders |
| Add to PATH | Allows using thepycharmcommand in the terminal to launch the IDE |
Check as needed; recommended for heavy command-line users |
| Associate .py files | Set PyCharm as the default program for opening .py files | Recommended to check; double-click a .py file to edit it in PyCharm |
Step 8: Begin installation
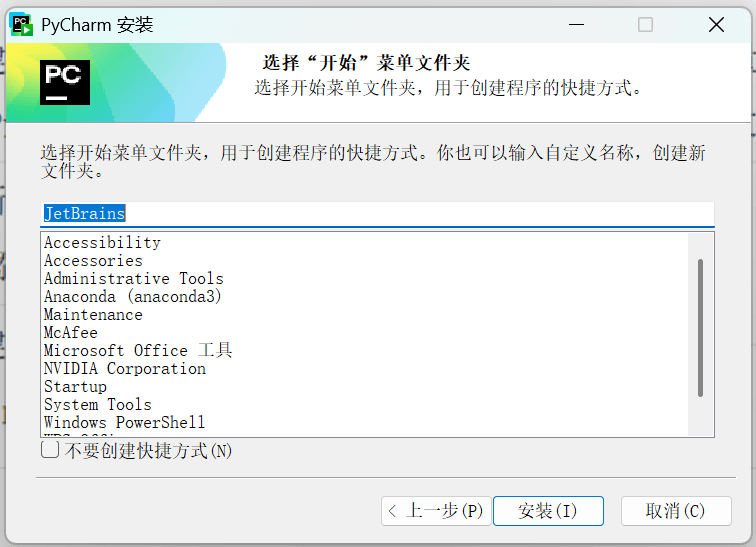
Confirm the Start Menu folder name (keep the default), then clickInstallto begin the installation.
Wait for the installation progress bar to complete; this process usually takes 1-3 minutes.
Step 9: Complete the installation
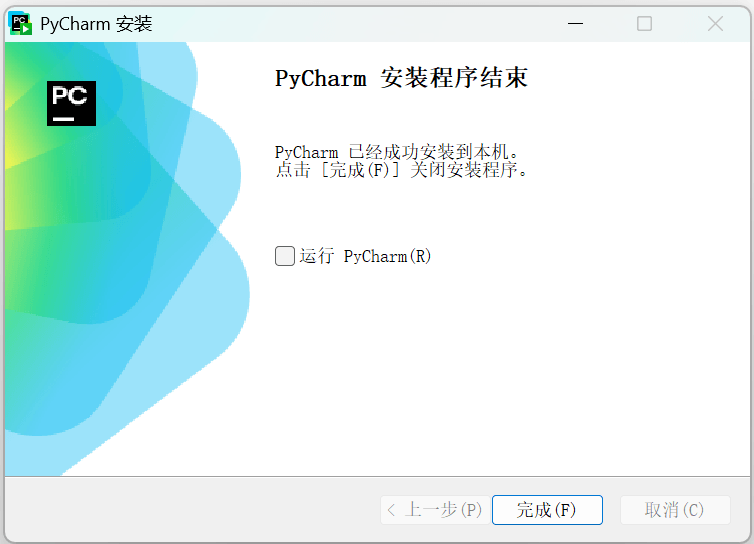
After the installation is complete, checkRun PyCharmto launch the IDE immediately.
Then clickFinishto end the installation wizard.
After installation, it is recommended to restart the computer to ensure the PATH environment variable and file associations take full effect.
Post-installation Configuration Suggestions
After launching PyCharm for the first time, completing the following configurations can improve your daily usage experience.
| Configuration Item | Action | Description |
|---|---|---|
| UI Theme | On first launch, choose a dark (Darcula) or light theme | The dark theme is more eye-friendly during long coding sessions |
| Keymap | The default IntelliJ scheme is recommended | If you need to match the shortcuts of other editors, you can switch in the dropdown box (e.g., VS Code, Eclipse) |
| Chinese Language Pack (optional) | Search for "Chinese (Simplified) Language Pack" in the Plugins marketplace and install it | After installation, restart PyCharm to switch to the Chinese interface |
| Python Interpreter | After opening or creating a project, go toFile → Settings → Project → Python InterpreterSettings |
Ensure the selected interpreter matches your Python installation path |
Other ExtensionsIf the IDE prompts"No Python interpreter configured", it means PyCharm cannot find Python. Go to Settings → Project → Python Interpreter, click the gear icon and select Add, then browse to the Python installation path (e.g.,
C:\Users\用户名\AppData\Local\Programs\Python\Python312\python.exe)。