Windows Platform InstallationMongoDB
MongoDB Download
The latest version of MongoDB provides precompiled binary packages for 64-bit systems. You can download and install them from the MongoDB official website. The MongoDB precompiled binary package download address is:https://www.mongodb.com/try/download/community
Note: Since MongoDB version 2.2, Windows XP is no longer supported. The latest versions no longer have installation files for 32-bit systems.
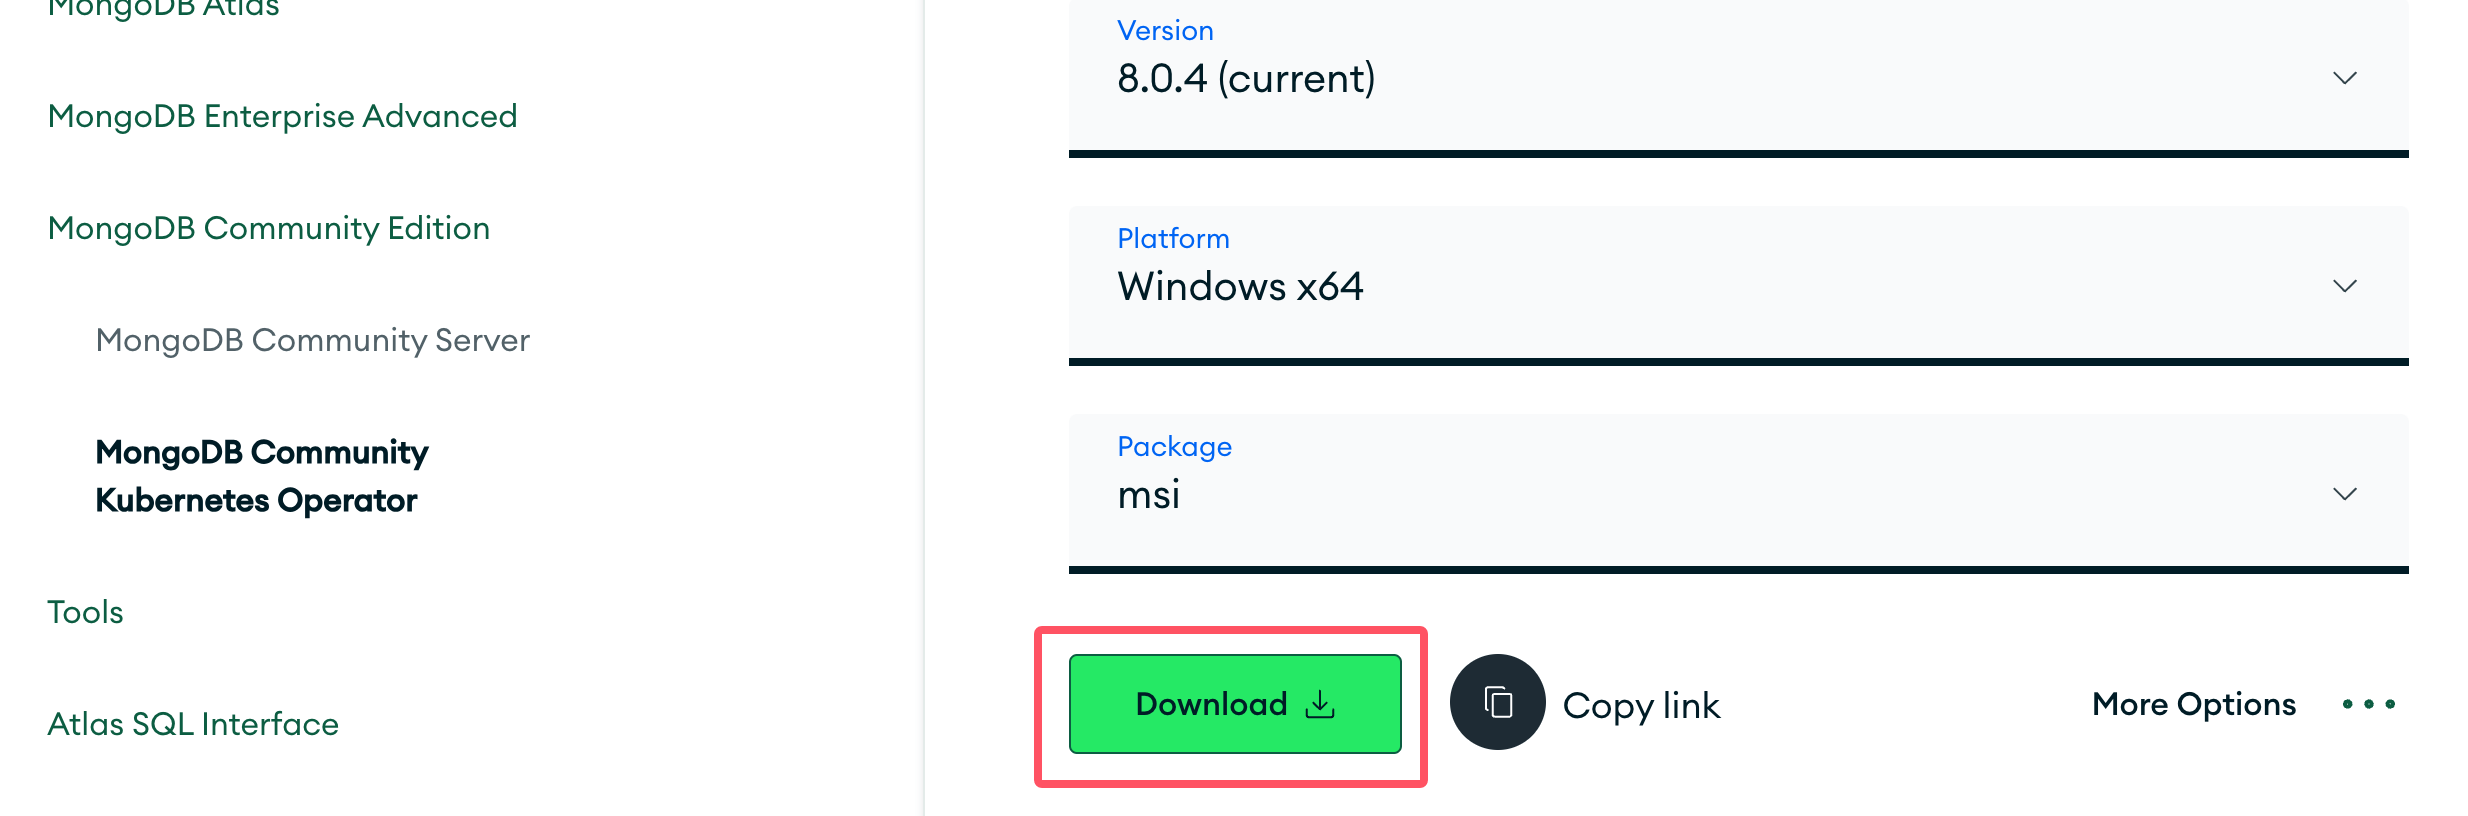
- MongoDB for Windows 64-bitSuitable for 64-bit Windows Server 2008 R2, Windows 7, and the latest versions of Windows systems.
- MongoDB for Windows 32-bitSuitable for 32-bit Windows systems and the latest Windows Vista. The maximum database size for MongoDB on 32-bit systems is 2GB.
- MongoDB for Windows 64-bit LegacySuitable for 64-bit Windows Vista, Windows Server 2003, and Windows Server 2008.
Download.msifile. After downloading, double-click the file and follow the prompts to install.
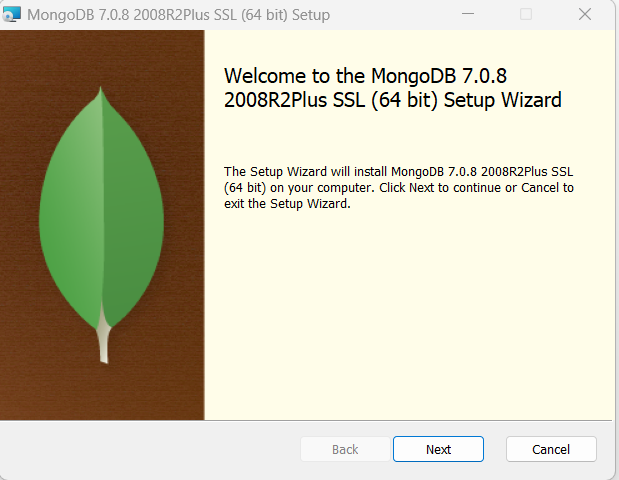
Click the "Next" button to start the installation process:
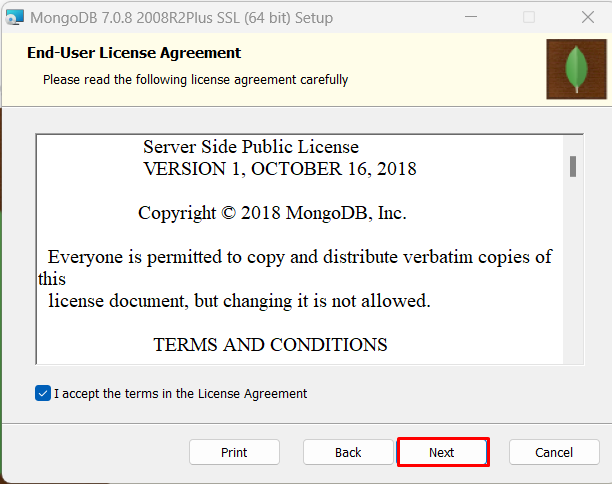
Next, a license agreement window will appear. Select the option to agree, then click the "Next" button:
Now, two options appear: you can run MongoDB as a network service user, or run it as a local or domain user.
If you need simplicity and basic functionality, the network service user option is sufficient. If you need more control over permissions, or need to access and restrict resources using specific user credentials, choosing the local or domain user option would be more appropriate.
。For a simple test, choose the first one, then click the "Next" button:
Next, we can choose Complete installation. This installation method installs all MongoDB components and tools with default configuration. Of course, you can also choose Custom installation.
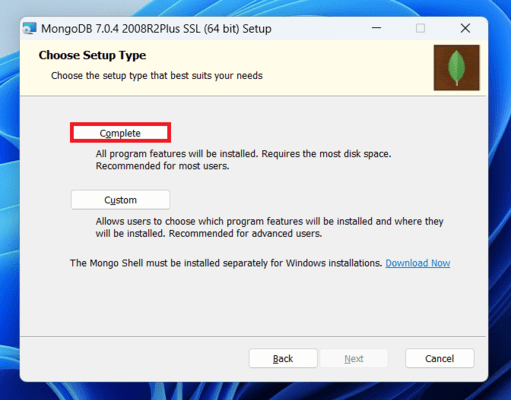
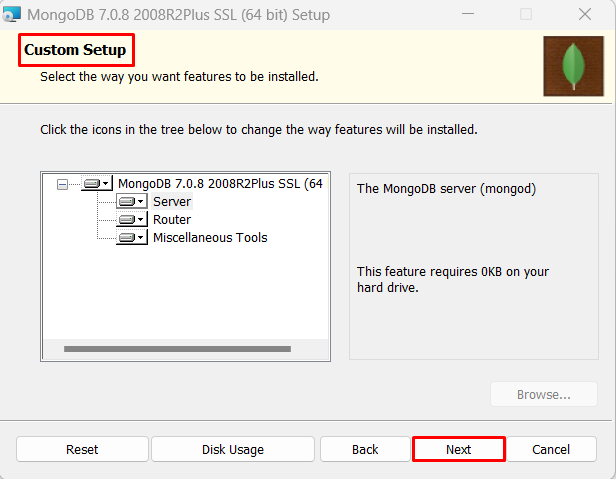
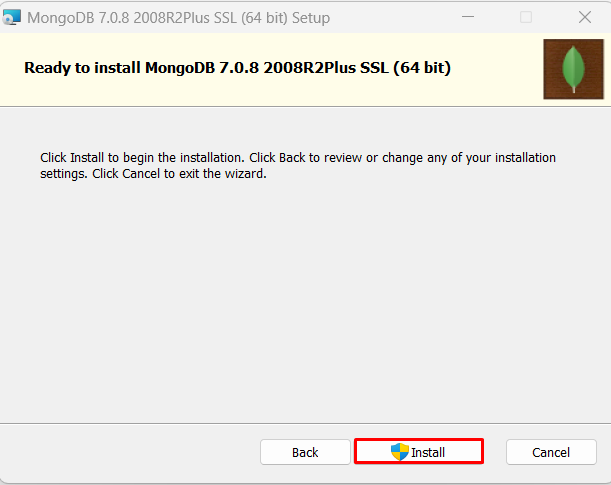
After choosing the installation method, you need to click the "Install" button to start the installation process:
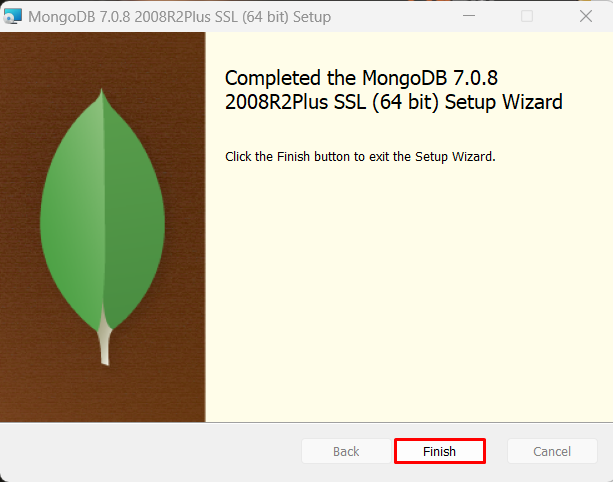
After installation is complete, click the "Finish" button to close the installer:
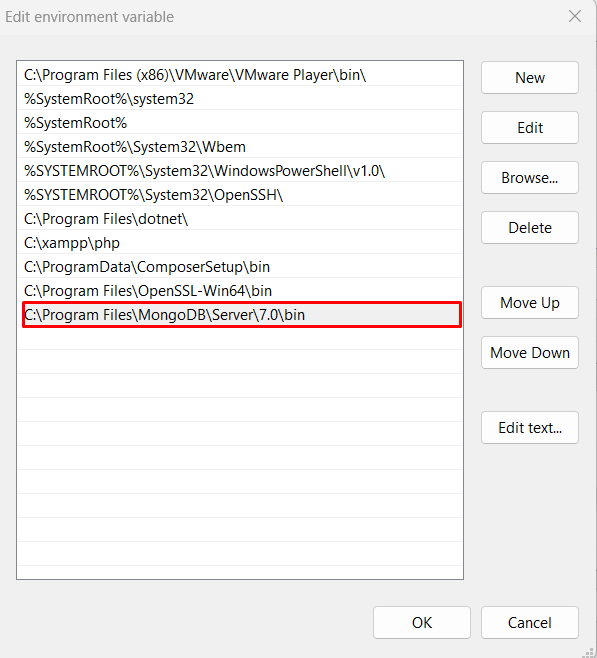
Set environment variables: System Properties -> Environment Variables -> System Variables -> Path -> Edit Environment Variables:
Create Data Directory
MongoDB stores data directories in the db directory. We can create it after installation.
Please note that the data directory should be placed in the root directory (e.g., C:\ or D:\, etc.).
In this tutorial, we have already installed MongoDB on the C drive. Now let's create a data directory, then create a db directory inside the data directory.
cd C:\
md "\data\db"
You can also create these directories through Windows Explorer, not necessarily through the command line.
Run MongoDB Server from the Command Line
Executemongodthe command:
mongod --dbpath c:\data\db
If executed successfully, it will output the following information:
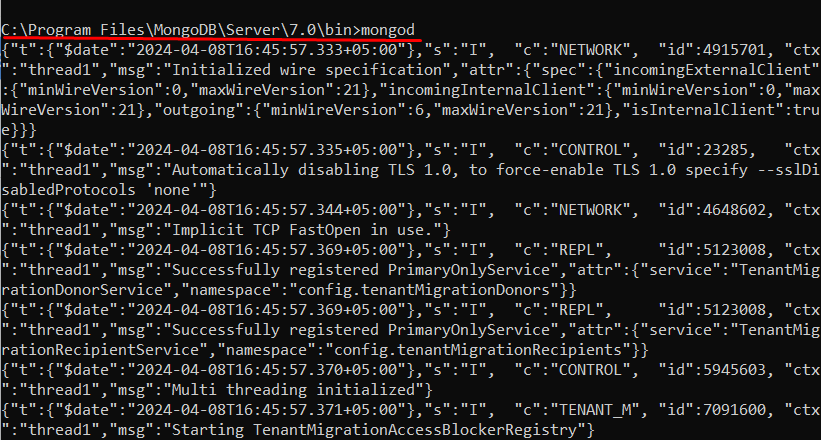
Connect to MongoDB
Major changes have been made since MongoDB 6.0. MongoDB no longer installs the shell tool by default; you need to install an additional shell tool:MongoDB Shell
We can connect to MongoDB by running the mongo command in the command window. Execute the following command:
mongo
Configure MongoDB Service
Note:In some newer versions of MongoDB, most of the configuration is done automatically during installation. If the following directories already exist, you can skip this section directly.
Open a command line window in administrator mode
Create directories. Execute the following statements to create directories for the database and log files.
mkdir c:\data\db
mkdir c:\data\log
Create a configuration file
Create a configuration file. This file must set the systemLog.path parameter, and it is better to include some additional configuration options.
For example, create a configuration file located at C:\mongodb\mongod.cfg, specifying systemLog.path and storage.dbPath. The specific configuration content is as follows:
systemLog:
    destination: file
    path: c:\data\log\mongod.log
storage:
    dbPath: c:\data\db
Install MongoDB Service
By executing mongod with the --install option to install the service, and using the --config option to specify the previously created configuration file.
mongod --config "C:\mongodb\mongod.cfg" --install
To use an alternate dbpath, you can specify it in the configuration file (e.g., C:\mongodb\mongod.cfg) or through the --dbpath option on the command line.
If needed, you can install services for multiple instances of mongod or mongos. Just specify different instance names using --serviceName and --serviceDisplayName. Only do this when sufficient system resources exist and the system design requires it.
Start the MongoDB service
net start MongoDB
Stop the MongoDB service
net stop MongoDB
Remove the MongoDB service
mongod --remove
Just choose any one operation.Run MongoDB Server from the Command LineandConfigure MongoDB ServiceYou can start it using either method.
MongoDB Background Management Shell
If you need to enter MongoDB background management, you first need to open the bin directory under the MongoDB installation directory, then execute the mongo.exe file. MongoDB Shell is an interactive JavaScript shell provided with MongoDB, an interactive environment for operating and managing MongoDB.
Once you enter the MongoDB backend, it will connect to the test database by default:
> mongo
MongoDB shell version: 3.0.6
connecting to: test
……
Because it is a JavaScript shell, you can run some simple arithmetic operations:
> 2 + 2
4
>
dbThe command is used to view the currently active document (database):
> db
test
>
Insert some simple records and find them:
> db.example.insert({x:10})
WriteResult({ "nInserted" : 1 })
> db.example.find()
{ "_id" : ObjectId("5604ff74a274a611b0c990aa"), "x" : 10 }
>
The first command inserts the number 10 into the x field of the example collection.
Other Extensions