Android Studio Installation
Step 1 - System Requirements
You can start Android application development on the following operating systems:
- Microsoft® Windows® 8/7/Vista/2003 (32-bit or 64-bit).
- Mac® OS X® 10.8.5 or higher
- GNOME or KDE desktop
All of the tools required to develop Android applications are open source and can be downloaded from the Internet. The following is a list of software needed before starting Android application programming:
- Java JDK 5 and later versions
- Java Runtime Environment 6
- Android Studio
Step 2 - Installing Android Studio
Overview
Android Studio is the official IDE for developing Android applications, based on IntelliJ IDEA. You can download the latest version from the official websiteAndroid Studio DownloadDownload the latest version of Android Studio.
If you want to install Android Studio on Mac or Linux, you canAndroid Studio Mac DownloadorAndroid Studio Linux Downloadto download the latest version and view the instructions provided with the downloaded file. This tutorial assumes you are installing your environment on the Windows 8.1 operating system.
Installation
Make sure that Java JDK is installed before installing Android Studio. For installing Java JDK, please seeJava Development Environment Setup |section.
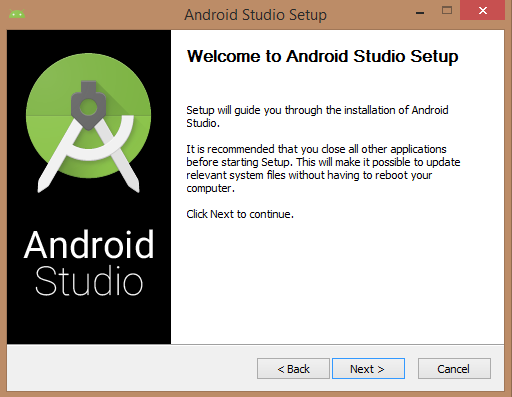
Once you start the Android Studio installation, you need to set the JDK 5 or later version path in the Android Studio installer.
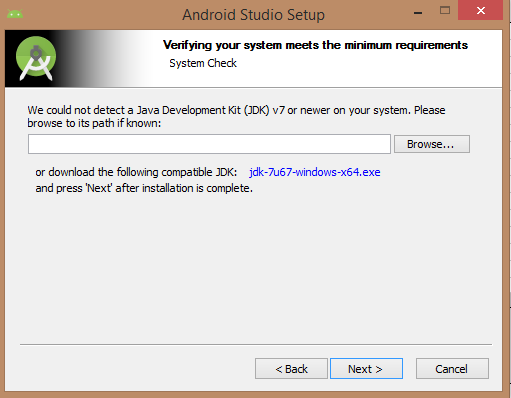
The following image shows the Android SDK initializing the JDK.
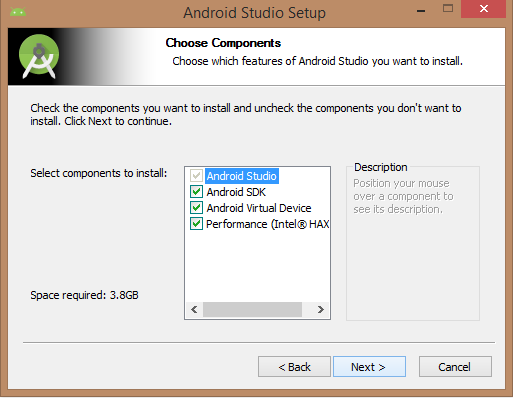
Check the components required to create applications. The figure below selects "Android Studio", "Android SDK", "Android Virtual Machine", and "Appearance (Intel chip)".
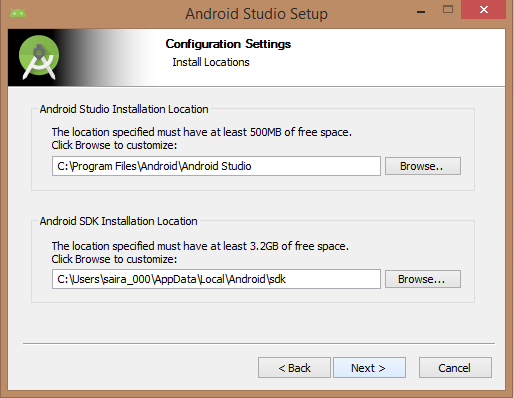
You need to specify the paths of Android Studio and Android SDK on your machine. The figure below shows the default installation locations on a Windows 8.1 64-bit architecture.
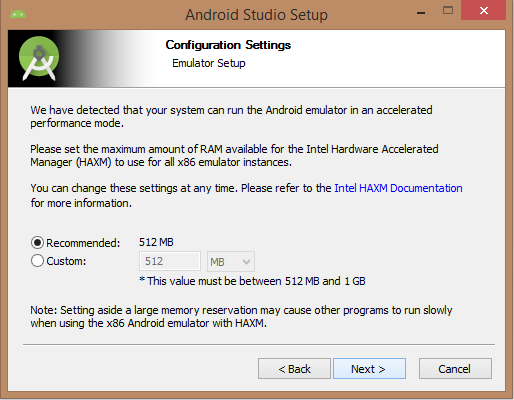
Specify the default RAM space of 512M required for the Android emulator.
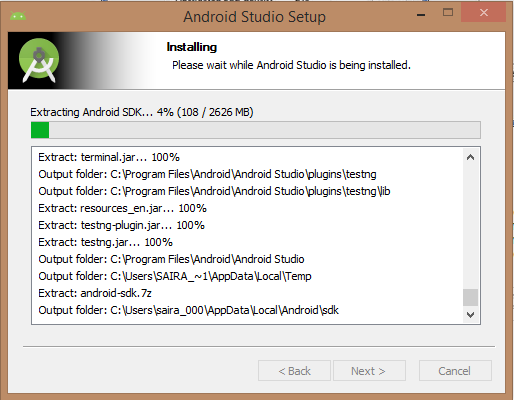
Finally, unpack the SDK package to the local machine. This will take some time and occupy 2626M of hard disk space.
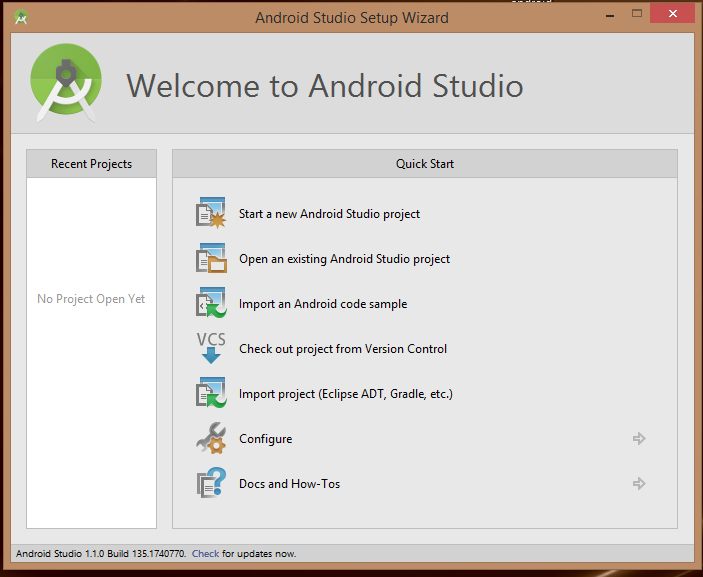
After completing the above steps, you will see the Finish button and can open Android Studio projects on the welcome screen, as shown below:
Start Android application development by launching a new Android Studio project. On the new installation page, you are required to fill in the application name, package name information, and project path.
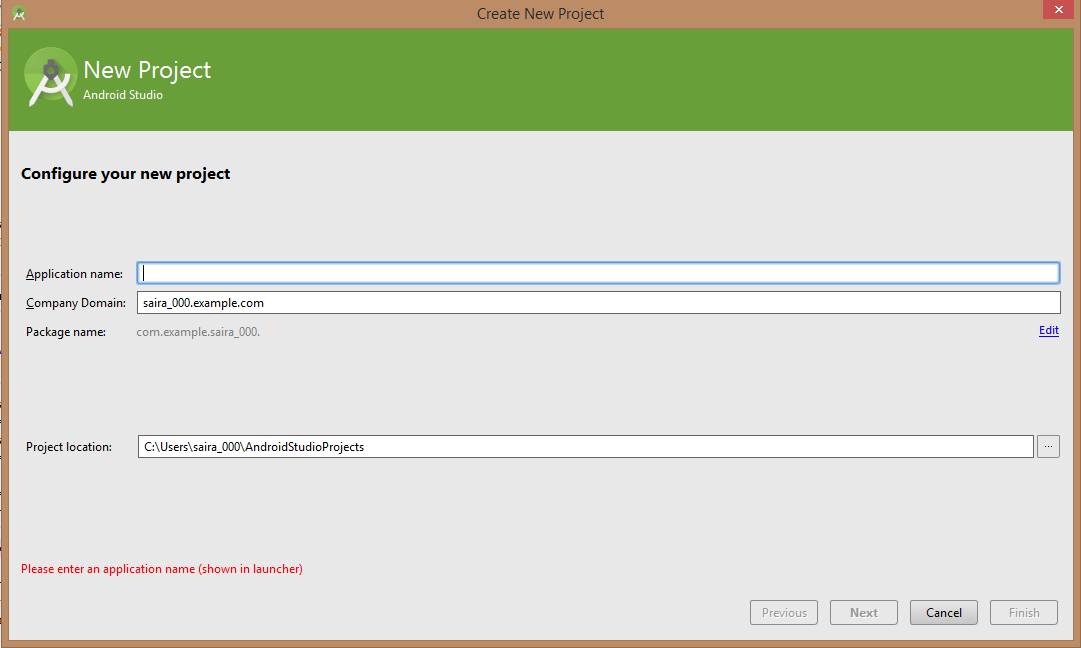
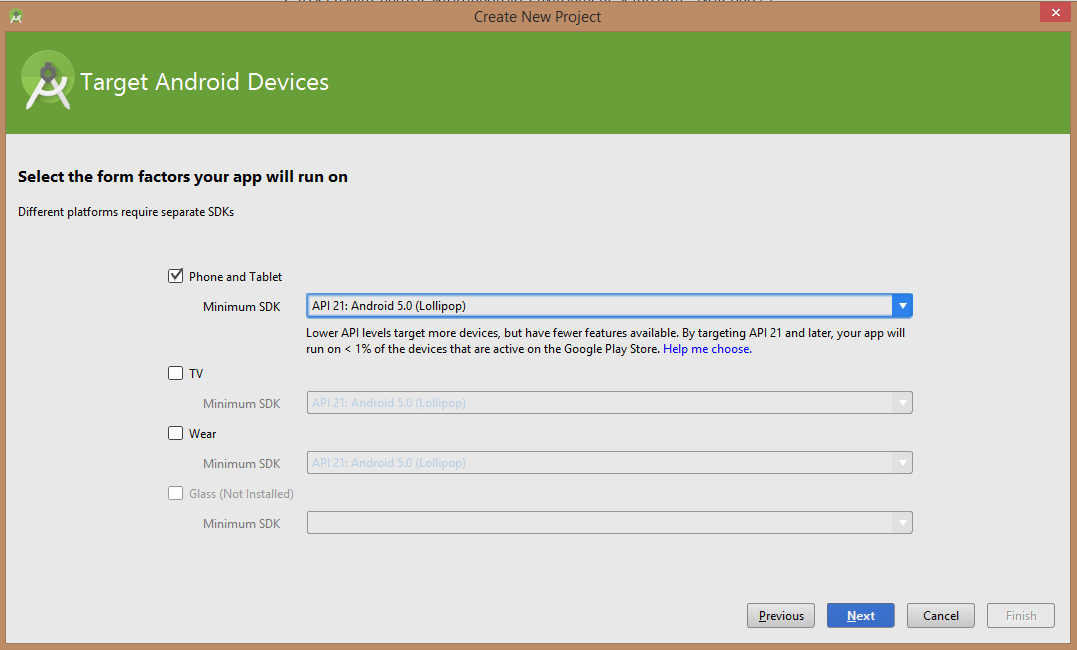
After entering the application name, start selecting the environment parameters for running the application. Here you need to specify the minimum SDK. In this tutorial, we choose API 21: Android 5.0 (Lollipop).
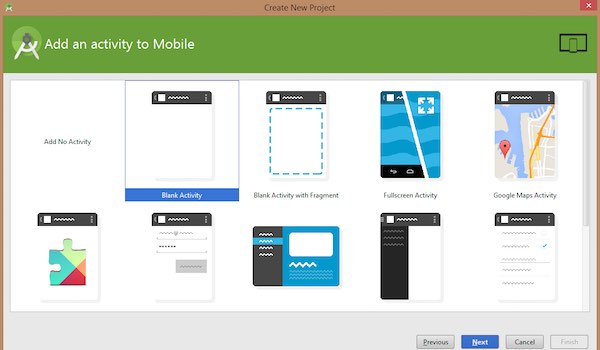
The next step in the installation requires selecting the activity for mobile devices and specifying a default layout for the application.
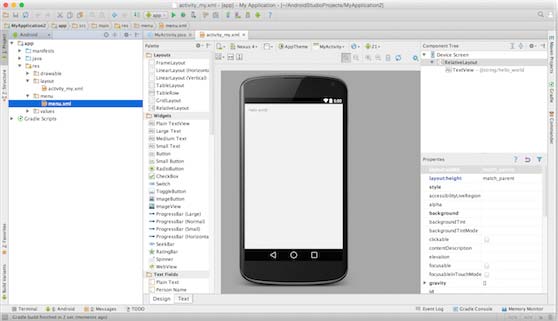
In the final stage, open the development tools to write application code.
Step 3 - Creating an Android Virtual Device
To test Android applications, you need an Android Virtual Device. Therefore, before writing code, let's create an Android Virtual Device. Click the AVD Manager icon in the image below to launch the Android AVD Manager.
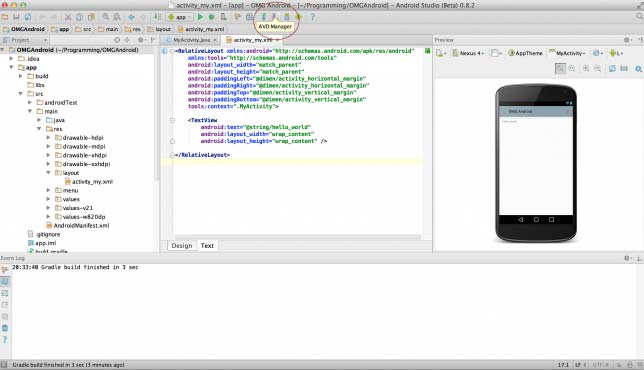
After clicking the virtual device icon, the default virtual devices already in the SDK will be displayed. Click the "Create new Virtual device" button to create a virtual device.
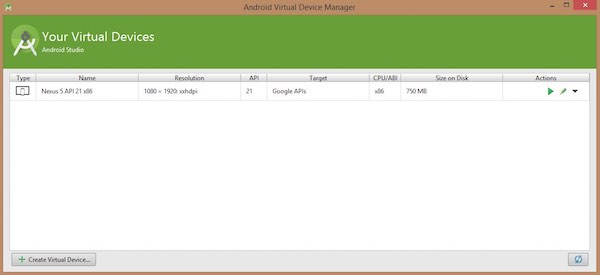
If the AVD is created successfully, it means you are ready for Android application development. Click the close button in the upper-right corner to close the window. After completing the last step, finally restart your machine. Before starting the first Android example, you need to understand some concepts related to Android application development.
Hello World Example
Before writing the Hello World code, we need to know XML tags. Follow app > res > layout > activity_main.xml to open the file.
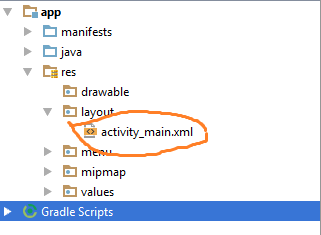
The specific code is as follows:
<RelativeLayout xmlns:android="http://schemas.android.com/apk/res/android"
   xmlns:tools="http://schemas.android.com/tools" android:layout_width="match_parent"
   android:layout_height="match_parent" android:paddingLeft="@dimen/activity_horizontal_margin"
   android:paddingRight="@dimen/activity_horizontal_margin"
   android:paddingTop="@dimen/activity_vertical_margin"
   android:paddingBottom="@dimen/activity_vertical_margin" tools:context=".MainActivity">

   <TextView android:text="@string/hello_world"
      android:layout_width="550dp"
      android:layout_height="wrap_content" />
</RelativeLayout>
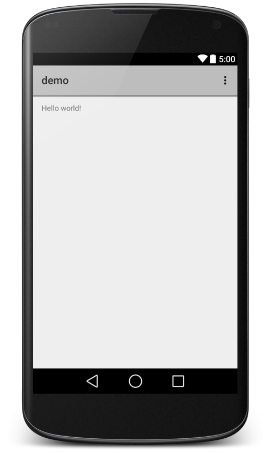
Click Run > Run App to run the program; the result is as follows:
 Other Extensions