Qoder Quest Mode
Quest Mode is Qoder's autonomous coding feature, allowing AI agents to complete development tasks end-to-end.
You just need to describe your goal, and Quest will autonomously handle requirements clarification, solution planning, code execution, and result verification—the entire process requires almost no manual intervention.
Qoder's core philosophy is just two phrases: define the goal, review the results.
Unlike Agent Mode, Quest Mode is specifically designed for complex, long-running tasks—such as implementing a brand-new feature or fixing a deep-seated bug.
You provide a clear requirements description, and the AI handles all the how.
Register and Install Qoder
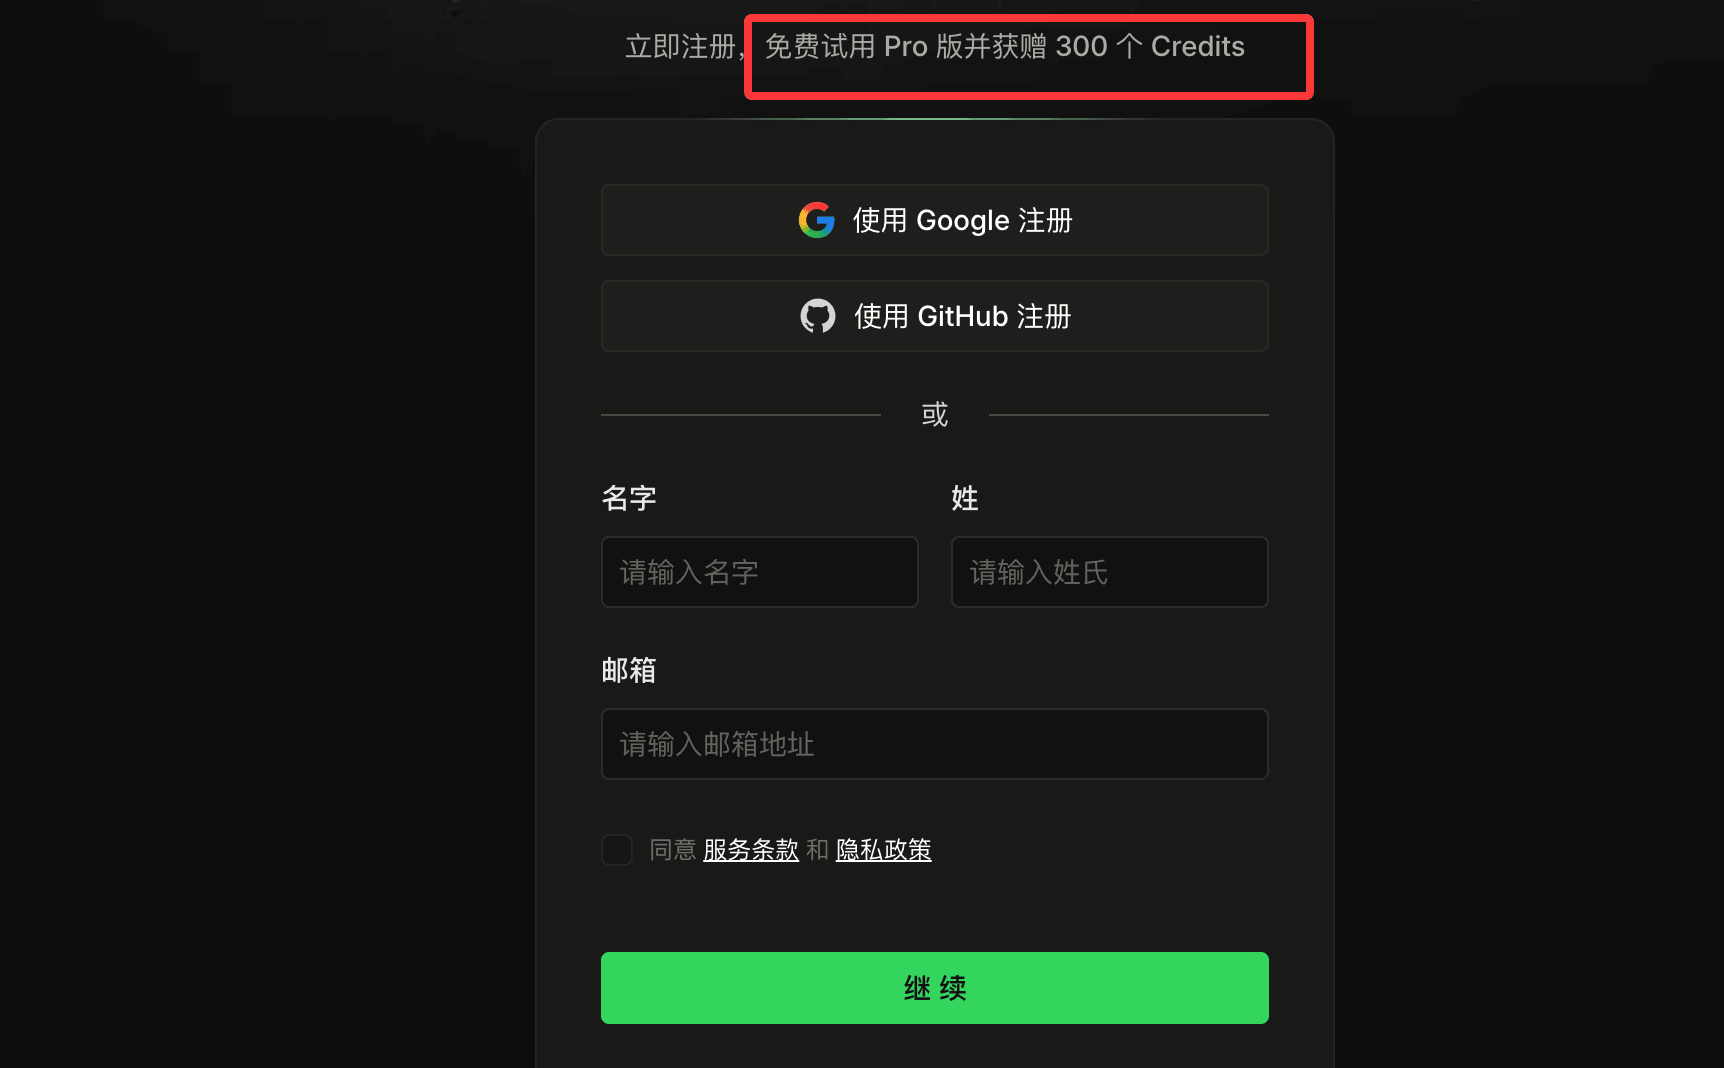
After registration, click theDownloadbutton in the top-right corner, and download the installer based on your computer's operating system.

After downloading, double-click the file to start installation, then double-click the Qoder IDE icon to launch Qoder.
Agent Mode vs. Quest Mode: How to Choose?
Qoder offers two working modes, suitable for different scenarios:
| Comparison Dimension | Agent Mode (Editor Mode) | Quest Mode (Task Mode) |
|---|---|---|
| Interaction | Real-time conversation, step-by-step confirmation | Delegated execution, autonomous completion |
| Best For | Short-cycle debugging, learning, small-scale refactoring | Complex feature development, long-running tasks |
| Human Intervention | Full participation throughout | Minimal intervention |
| Result Delivery | Review as you go | Review after complete delivery |
-
Agent Mode is more like an intelligent pair-programming partner, suitable for scenarios where you want to stay in control of the pace, such as quick refactoring, fixing bugs, or exploring new libraries.
-
Quest Mode, on the other hand, makes Qoder an autonomous expert. You define what to do, and the AI takes care of how.
Switch to Quest Mode
Click the Editor / Quest toggle button in the top-left corner of the interface to switch between the two modes:
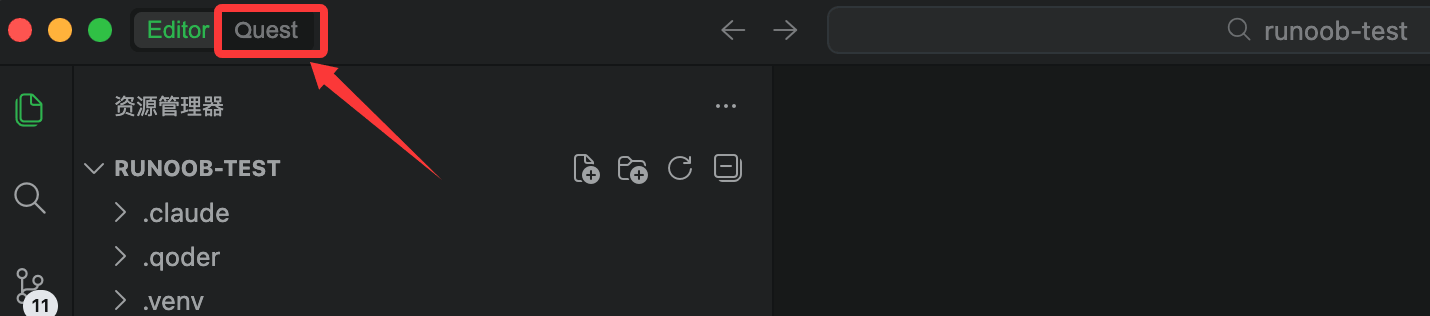
The interface is shown below:
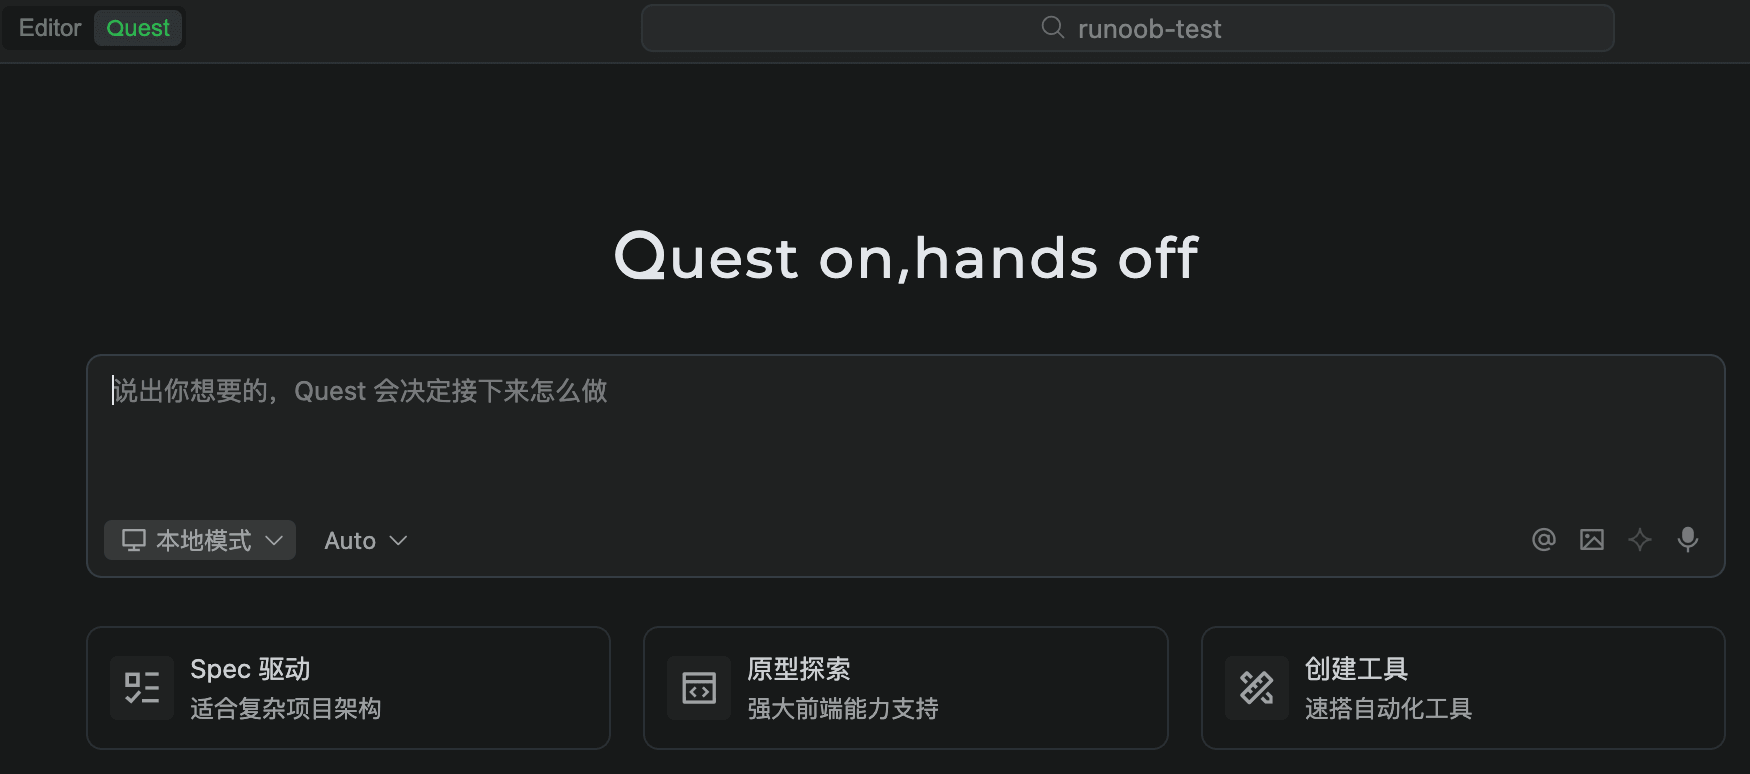
The Quest Mode interface is as follows:
If you want to set Quest Mode as the default mode, go to Settings > Quest Mode and enable "Quest Mode Layout".

Create Your First Quest Task
ClickCreate Quest
At the top of the task list on the left, click theCreate Questbutton to create a new task.
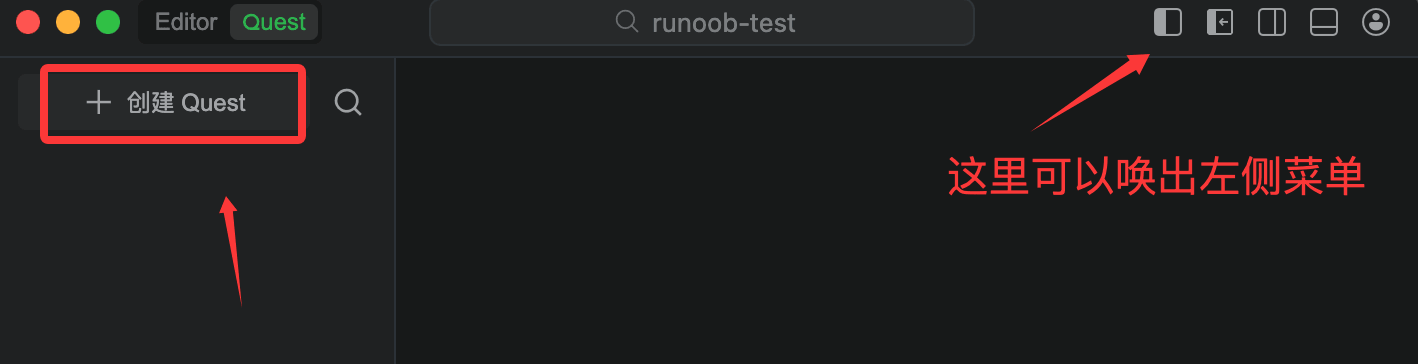
2. Select a Scenario
Quest provides three scenarios; choose based on your needs:
| Scenario | Suitable For | Quest Behavior |
|---|---|---|
| Spec-Driven | Complex features, refactoring, strict quality control | Align on scope first, design the implementation plan and acceptance criteria, then execute |
| Prototype Exploration | 0-to-1 website building, rapid prototyping | Describe your website, and Quest automatically builds the page structure |
| Tool Creation | Quickly validate ideas, creative experiments | Starting from an idea, Quest turns it into a runnable prototype |
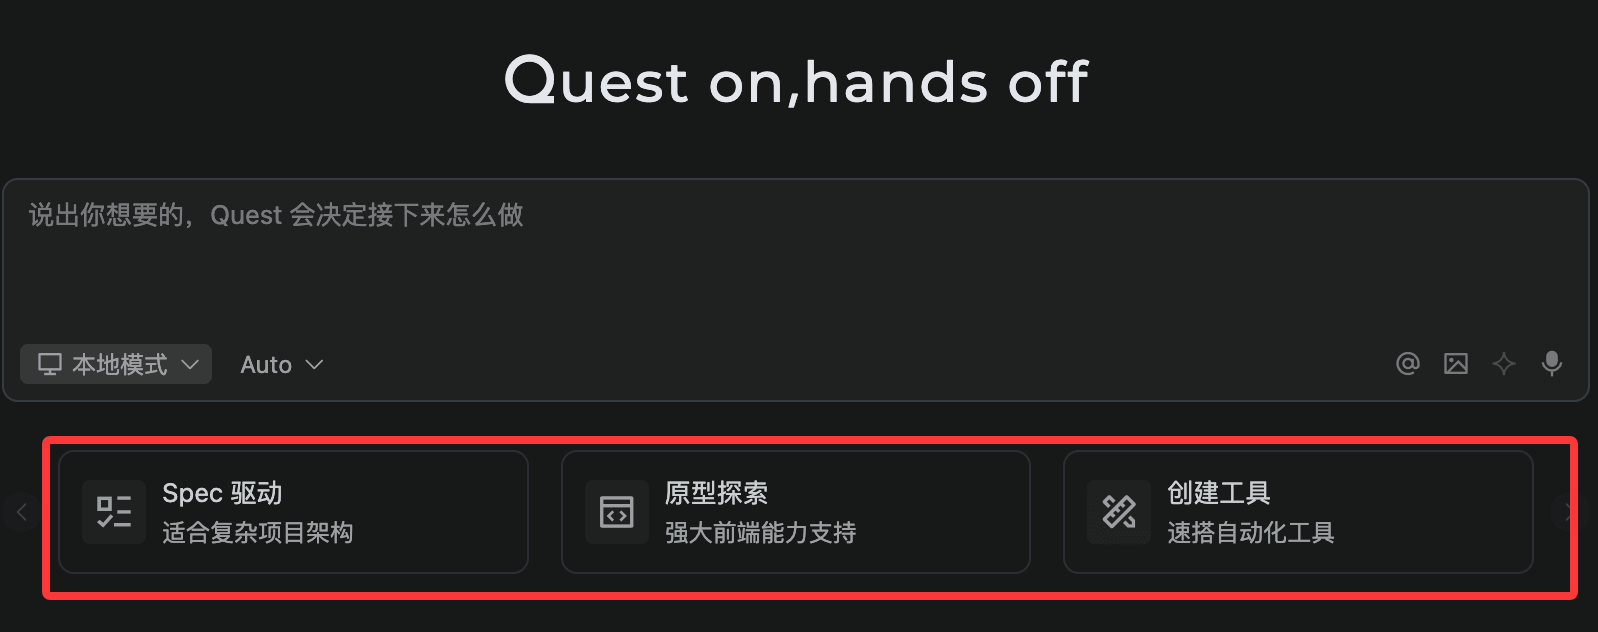
Tip: Not sure which to choose? Just leave it blank, and Quest will automatically determine the most suitable approach. Once the task starts, the scenario cannot be switched.
Spec-Driven Mode
This is the mode best suited for formal development tasks. The complete process is as follows:
Step 1: Requirements Clarification
After you enter a task, Quest may ask clarifying questions in the form of multiple-choice questions. You can let Quest automatically choose the default answers, manually select and continue, or simply skip ahead to the conversation.
Step 2: Generate Spec Document
Quest automatically generates a structured Spec document, including: requirements description, design plan, task breakdown, and acceptance criteria. The Spec document is displayed in the Spec Tab of the right output area, with support for streaming output and download.
Step 3: Review and Modify the Spec
View the complete document in the Spec Tab on the right. You can modify the Spec through conversation (adjustments can be made before clicking Run). Once satisfied, clickRun SpecStart Execution.
Step 4: Execution and Monitoring
During execution, the conversation area updates the to-do list in real time, and the Changed Files Tab in the output area lets you view code changes. You can even add new requirements directly in the input box during execution, and Quest will dynamically adjust the plan.
Step 5: Review Results
After execution is complete, the following operations are available depending on the environment:
- Local Mode: Accept (apply all changes) or Reject (discard all changes)
- Parallel Mode: Apply (merge to the main branch)
- Remote Mode: Create PR (create a Pull Request)
Prototype Exploration/Tool Creation Mode
These two modes are designed specifically for quickly producing finished results. They completely skip the Spec document and go directly to the execution phase.
How to Describe Your Idea?
Directly describe the effect you want in natural language, for example:
- Website: Create a travel blog website, including a homepage, article list, and detail pages, using a modern design style and responsive layout
- Prototype: Build a Todo app that supports adding, deleting, and marking tasks as complete, using card-based design and priority labels
Subsequent Process
Quest automatically selects the tech stack and automatically runs the preview once the code is complete. The Preview Tab in the output area displays the running results in real time. If the page has errors, Quest automatically checks and fixes them. You can continue the conversation to iterate and adjust, for example: change the primary color to blue, add a search box, or optimize the mobile display.
Execution Environment Selection
Quest supports three execution environments:
| Environment | Features | Suitable Scenarios |
|---|---|---|
| Local | Directly modifies the main workspace with zero startup cost | Simple tasks, quick validation |
| Worktree | Creates a hidden workspace in the background; the main branch stays clean | Moderately complex tasks, parallel multi-tasking |
| Remote | Executes in a remote container; the local machine can be shut down | Complex long-running tasks, resource-intensive jobs (requires configuring a GitHub repository) |
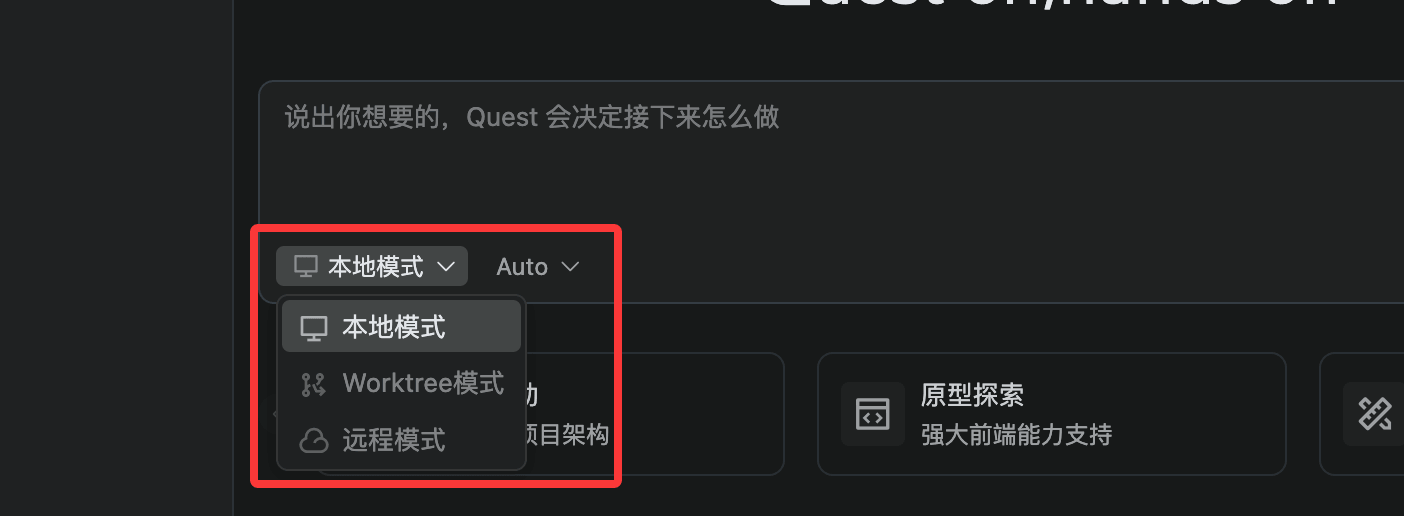
Without a Git repository, only the Local environment is supported by default.
Interface Layout Overview
Quest Mode uses a three-column layout:
- Left column (Task List): Manages all Quest tasks; statuses are divided into Running / Action Required / Ready / Error
- Middle column (Conversation Area): Displays conversation history and updates the to-do list in real time during execution
- Right column (Output Area): Contains Spec Tab (view/download Spec), Changed Files Tab (code changes and Accept/Reject), and Preview Tab (real-time preview of the website/prototype)
Related Links
- Qoder official website:https://qoder.com/
- Qoder documentation:https://docs.qoder.com/zh/quick-start
- Qoder Quest Mode:https://docs.qoder.com/zh/user-guide/quest-mode