Python3 SMTP Sending Email
SMTP (Simple Mail Transfer Protocol) is a set of rules for transferring mail from a source address to a destination address, and it controls the way messages are relayed.
Python's smtplib provides a convenient way to send emails. It is a simple wrapper around the SMTP protocol.
The syntax for creating an SMTP object in Python is as follows:
import smtplib

smtpObj = smtplib.SMTP( [host [, port [, local_hostname]]] )
Parameter description:
- host: SMTP server host. You can specify the host's IP address or domain name such as example.com. This is an optional parameter.
- port: If you provide the host parameter, you need to specify the port number used by the SMTP service. Generally, the SMTP port number is 25.
- local_hostname: If SMTP is on your local machine, you only need to specify the server address as localhost.
Python SMTP object uses the sendmail method to send email. The syntax is as follows:
SMTP.sendmail(from_addr, to_addrs, msg[, mail_options, rcpt_options]
Parameter description:
- from_addr: Sender's email address.
- to_addrs: A list of strings, the recipient addresses.
- msg: The message to send.
Here you need to pay attention to the third parameter. msg is a string representing the email. We know that an email generally consists of subject, sender, recipient, email content, attachments, etc. When sending email, pay attention to the format of msg. This format is defined in the SMTP protocol.
Example
The following is a simple example of sending an email using Python:
Example
import smtplib
from email.mime.text import MIMEText
from email.header import Header
sender = 'from@example.com'
receivers = ['429240967@qq.com']
message = MIMEText('Python email sending test...', 'plain', 'utf-8')
message['From'] = Header("Example", 'utf-8')
message['To'] = Header("Test", 'utf-8')
subject = 'Python SMTP email test'
message['Subject'] = Header(subject, 'utf-8')
try:
smtpObj = smtplib.SMTP('localhost')
smtpObj.sendmail(sender, receivers, message.as_string())
print ("Email sent successfully")
except smtplib.SMTPException:
print ("Error: Unable to send email")
We use three quotes to set the email information. A standard email requires three header pieces of information:From, To, andSubjectEach piece of information is separated by a blank line.
We instantiate the SMTP object of the smtplib modulesmtpObjto connect to SMTP access, and usesendmailmethod to send the message.
Run the above program. If you have sendmail installed on your machine, it will output:
$ python3 test.py
邮件发送成功
Check your inbox (usually in the spam folder), and you can see the email message:

If we don't have sendmail access on our machine, we can also use SMTP access from other service providers (QQ, NetEase, Google, etc.).
Example
import smtplib
from email.mime.text import MIMEText
from email.header import Header
mail_host="smtp.XXX.com"
mail_user="XXXX"
mail_pass="XXXXXX"
sender = 'from@example.com'
receivers = ['429240967@qq.com']
message = MIMEText('Python email sending test...', 'plain', 'utf-8')
message['From'] = Header("Example", 'utf-8')
message['To'] = Header("Test", 'utf-8')
subject = 'Python SMTP email test'
message['Subject'] = Header(subject, 'utf-8')
try:
smtpObj = smtplib.SMTP()
smtpObj.connect(mail_host, 25)
smtpObj.login(mail_user,mail_pass)
smtpObj.sendmail(sender, receivers, message.as_string())
print ("Email sent successfully")
except smtplib.SMTPException:
print ("Error: Unable to send email")
Using Python to Send HTML Emails
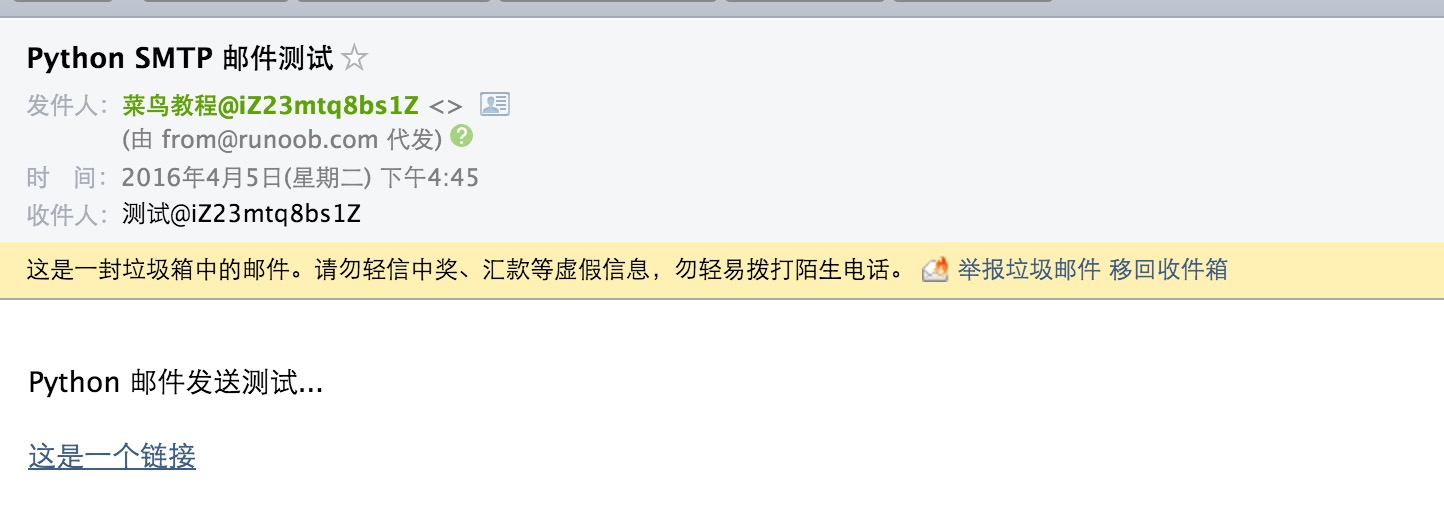
The difference between sending an HTML email and a plain text email in Python is setting the _subtype in MIMEText to html. The specific code is as follows:
Example
import smtplib
from email.mime.text import MIMEText
from email.header import Header
sender = 'from@example.com'
receivers = ['429240967@qq.com']
mail_msg = """<p>Python email sending test...</p>
<p><a href="http://www.example.com">This is a link</a></p>"""
message = MIMEText(mail_msg, 'html', 'utf-8')
message['From'] = Header("Example", 'utf-8')
message['To'] = Header("Test", 'utf-8')
subject = 'Python SMTP email test'
message['Subject'] = Header(subject, 'utf-8')
try:
smtpObj = smtplib.SMTP('localhost')
smtpObj.sendmail(sender, receivers, message.as_string())
print ("Email sent successfully")
except smtplib.SMTPException:
print ("Error: Unable to send email")
Run the above program. If you have sendmail installed on your machine, it will output:
$ python3 test.py
邮件发送成功
Check your inbox (usually in the spam folder), and you can see the email message:
Python Sending Emails with Attachments
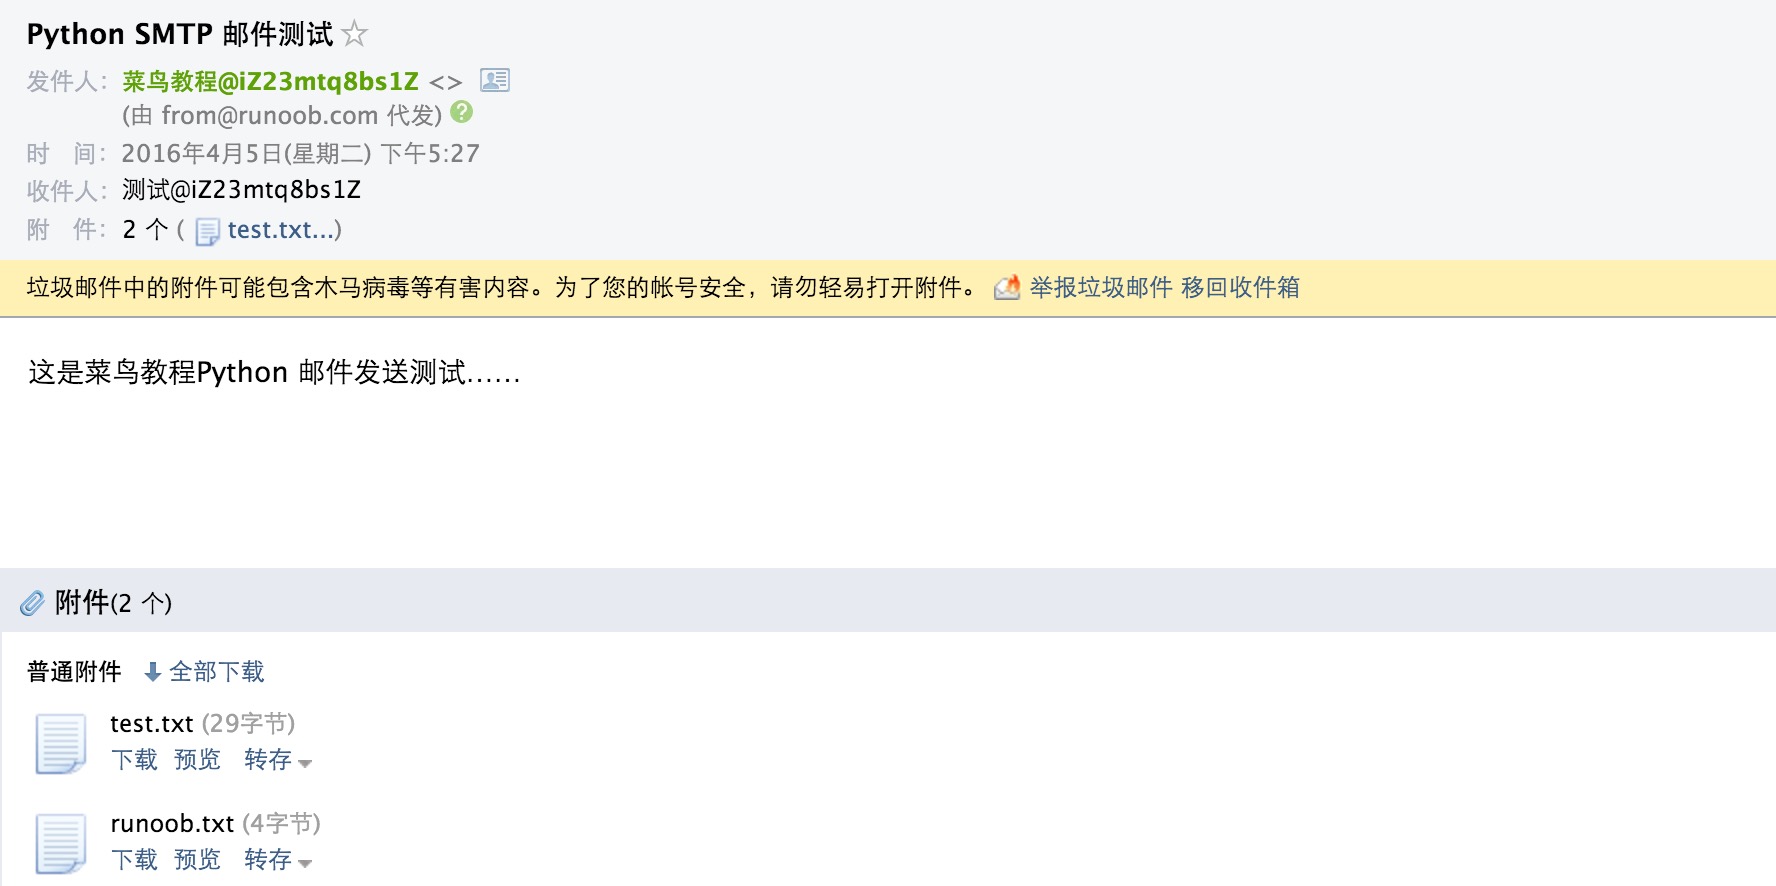
To send an email with attachments, first create a MIMEMultipart() instance, then construct the attachments. If there are multiple attachments, construct them one by one, and finally use smtplib.smtp to send.
Example
import smtplib
from email.mime.text import MIMEText
from email.mime.multipart import MIMEMultipart
from email.header import Header
sender = 'from@example.com'
receivers = ['429240967@qq.com']
message = MIMEMultipart()
message['From'] = Header("Example", 'utf-8')
message['To'] = Header("Test", 'utf-8')
subject = 'Python SMTP email test'
message['Subject'] = Header(subject, 'utf-8')
message.attach(MIMEText('This is the Example Python email sending test...', 'plain', 'utf-8'))
att1 = MIMEText(open('test.txt', 'rb').read(), 'base64', 'utf-8')
att1["Content-Type"] = 'application/octet-stream'
att1["Content-Disposition"] = 'attachment; filename="test.txt"'
message.attach(att1)
att2 = MIMEText(open('example.txt', 'rb').read(), 'base64', 'utf-8')
att2["Content-Type"] = 'application/octet-stream'
att2["Content-Disposition"] = 'attachment; filename="example.txt"'
message.attach(att2)
try:
smtpObj = smtplib.SMTP('localhost')
smtpObj.sendmail(sender, receivers, message.as_string())
print ("Email sent successfully")
except smtplib.SMTPException:
print ("Error: Unable to send email")
$ python3 test.py
邮件发送成功
Check your inbox (usually in the spam folder), and you can see the email message:
Adding Images to HTML Text
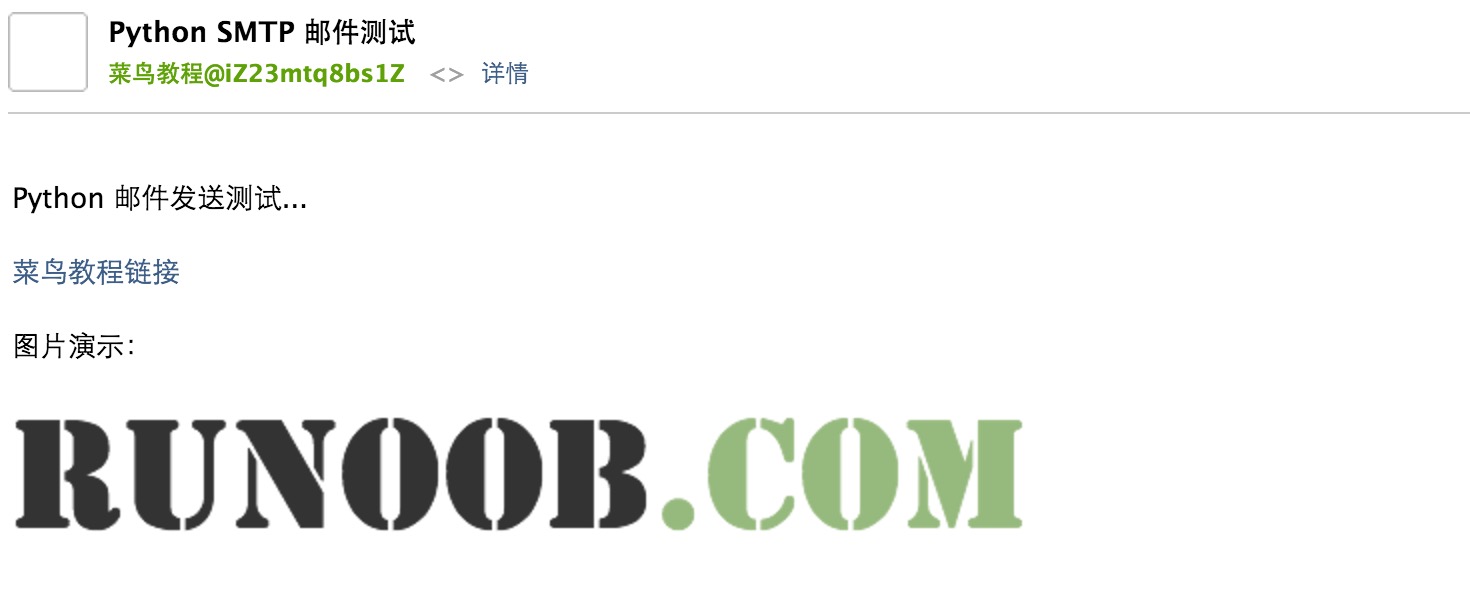
In the HTML text of an email, adding external links is generally invalid with email service providers. A correct example of adding images is shown below:
Example
import smtplib
from email.mime.image import MIMEImage
from email.mime.multipart import MIMEMultipart
from email.mime.text import MIMEText
from email.header import Header
sender = 'from@example.com'
receivers = ['429240967@qq.com']
msgRoot = MIMEMultipart('related')
msgRoot['From'] = Header("Example", 'utf-8')
msgRoot['To'] = Header("Test", 'utf-8')
subject = 'Python SMTP email test'
msgRoot['Subject'] = Header(subject, 'utf-8')
msgAlternative = MIMEMultipart('alternative')
msgRoot.attach(msgAlternative)
mail_msg = """<p>Python email sending test...</p>
<p><a href="http://www.example.com">Example Tutorial Link</a></p>
<p>Image demo:</p>
<p><img src="cid:image1"></p>"""
msgAlternative.attach(MIMEText(mail_msg, 'html', 'utf-8'))
fp = open('test.png', 'rb')
msgImage = MIMEImage(fp.read())
fp.close()
msgImage.add_header('Content-ID', '<image1>')
msgRoot.attach(msgImage)
try:
smtpObj = smtplib.SMTP('localhost')
smtpObj.sendmail(sender, receivers, msgRoot.as_string())
print ("Email sent successfully")
except smtplib.SMTPException:
print ("Error: Unable to send email")
$ python3 test.py
邮件发送成功
Check your inbox (if it's in the spam folder, you may need to move it to the inbox for proper display), and you can see the email message:
Sending via Third-Party SMTP Service
Here we use the SMTP service of QQ Mail (you can also use 163, Gmail, etc.). You need to configure the following:
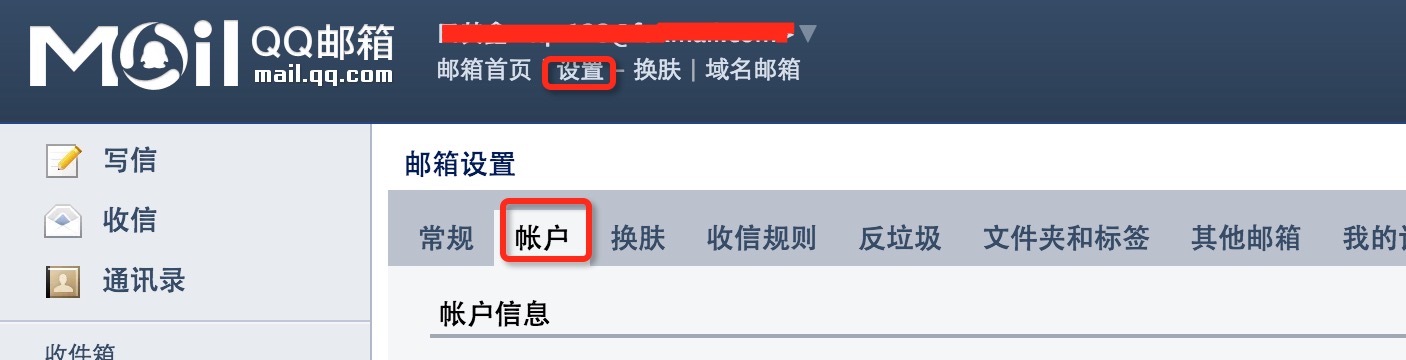
QQ Mail sets the password by generating an authorization code:
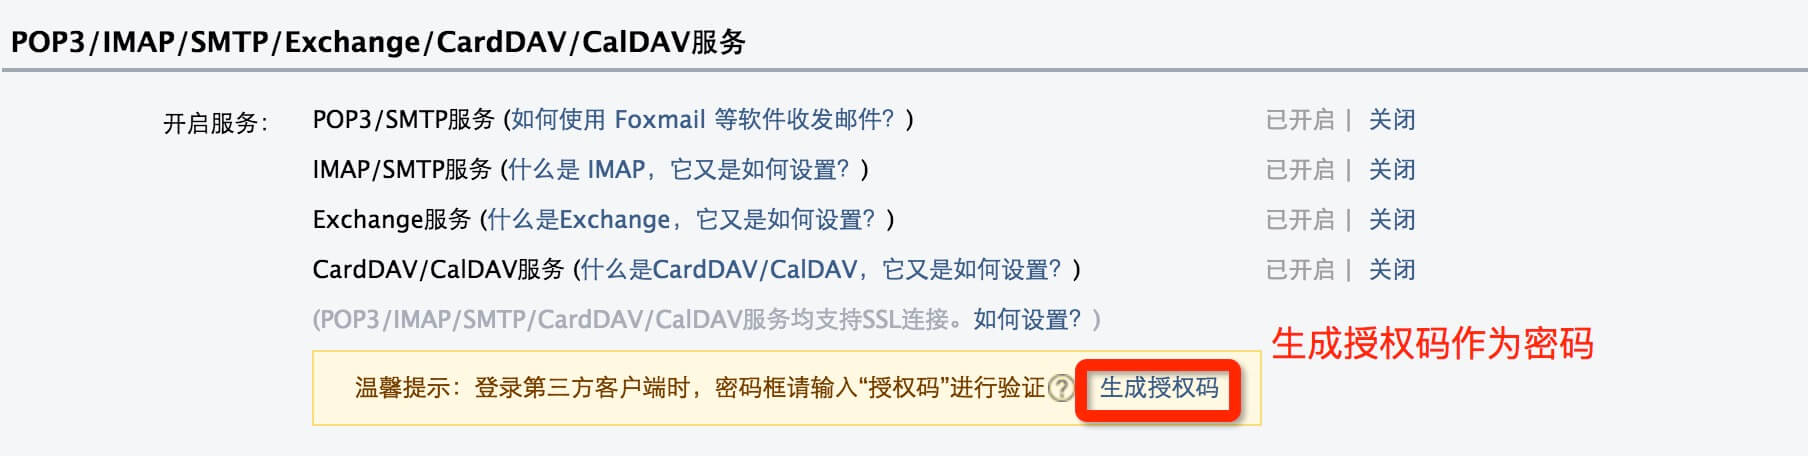
QQ Mail SMTP server address: smtp.qq.com, SSL port: 465.
In the following example, you need to modify: sender email (your QQ email), password, recipient email (you can send to yourself).
QQ SMTP
import smtplib
from email.mime.text import MIMEText
from email.utils import formataddr
my_sender='429240967@qq.com'
my_pass = 'xxxxxxxxxx'
my_user='429240967@qq.com'
def mail():
ret=True
try:
msg=MIMEText('Fill in the email content','plain','utf-8')
msg['From']=formataddr(["FromExample",my_sender])
msg['To']=formataddr(["FK",my_user])
msg['Subject']="Example email sending test"
server=smtplib.SMTP_SSL("smtp.qq.com", 465)
server.login(my_sender, my_pass)
server.sendmail(my_sender,[my_user,],msg.as_string())
server.quit()
except Exception:
ret=False
return ret
ret=mail()
if ret:
print("Email sent successfully")
else:
print("Email sending failed")
$ python test.py
邮件发送成功
After sending successfully, log in to the recipient's mailbox to view:

For more content, please refer to:https://docs.python.org/3/library/email-examples.html。
Other extensions