SVN Installation
Install SVN on Windows
1. Prepare the SVN installation file
Download address:https://sourceforge.net/projects/win32svn/
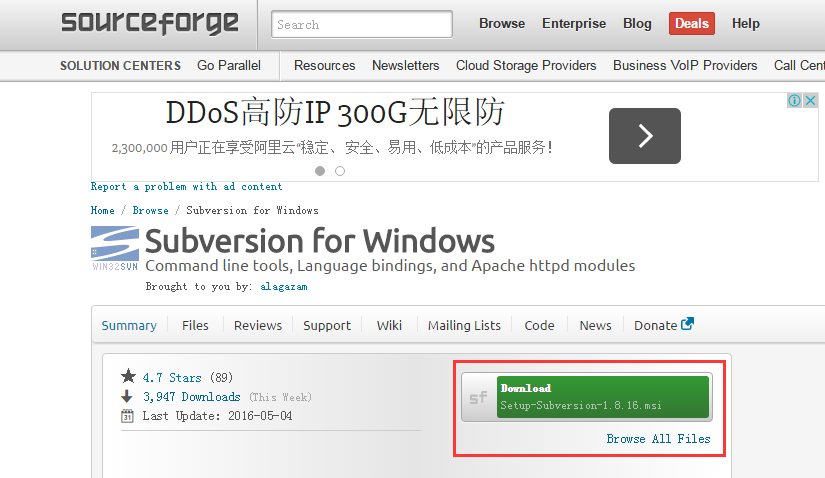
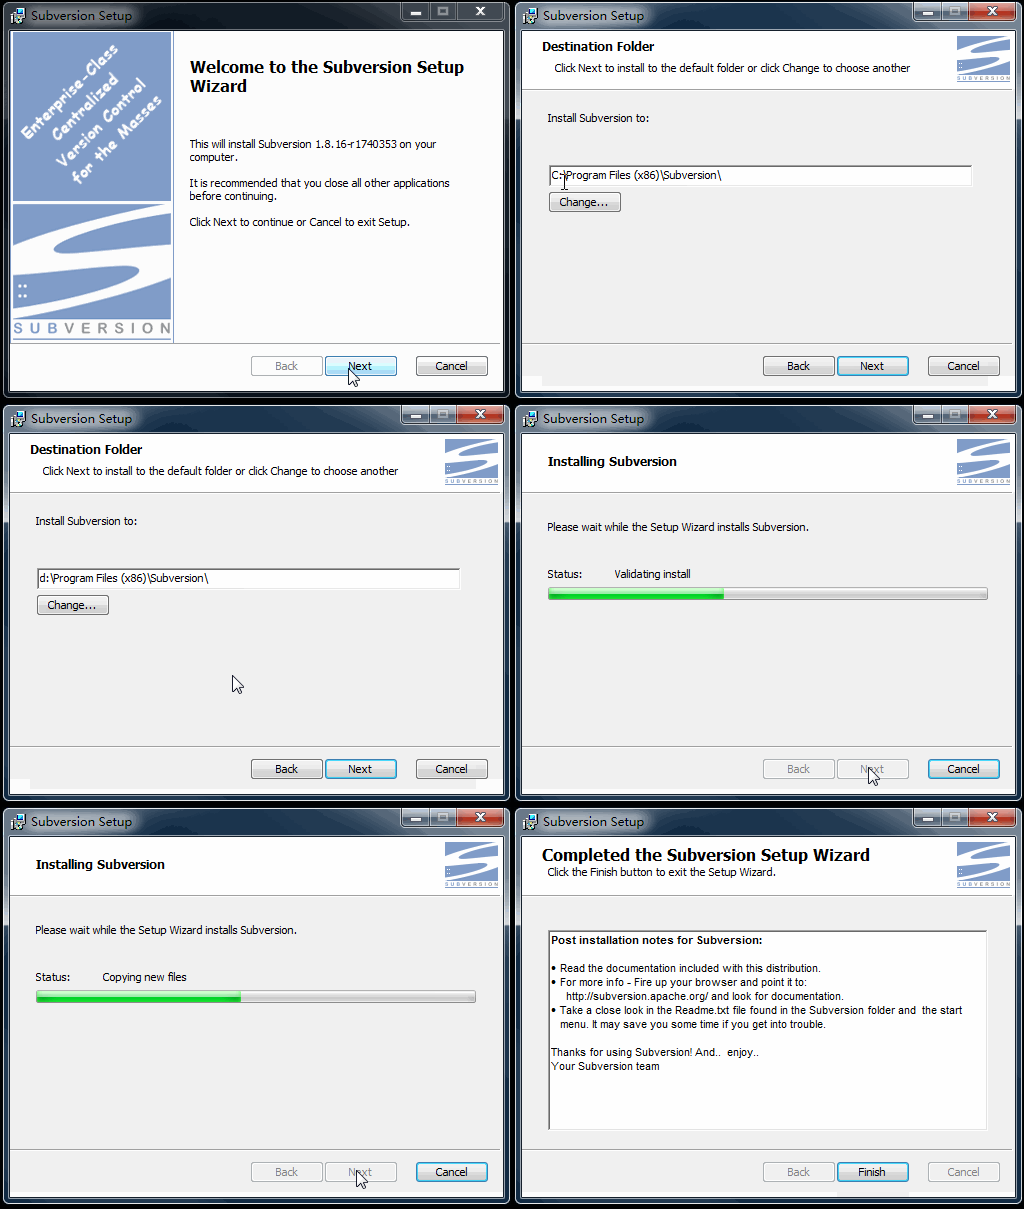
2. After the download is complete, there will be a file named Setup-Subversion-1.8.16.msi in the corresponding drive. The latest version is 1.8.16, so this version is used here. Then double-click the installation file to install. We specify the installation in the D:\Program Files (x86)\Subversion directory.
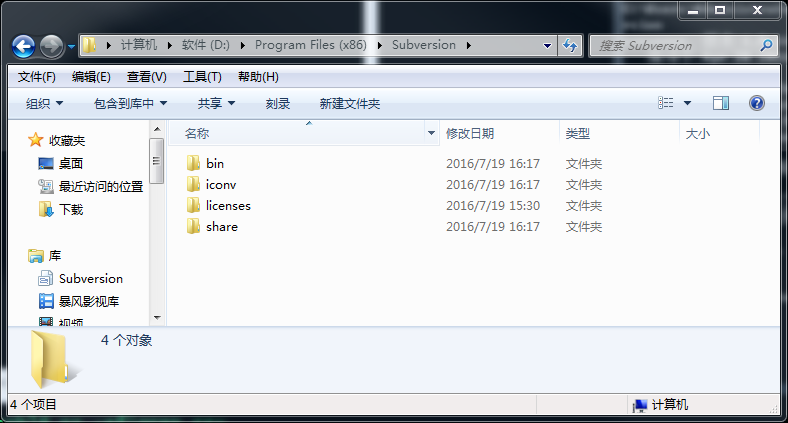
3. View the directory structure
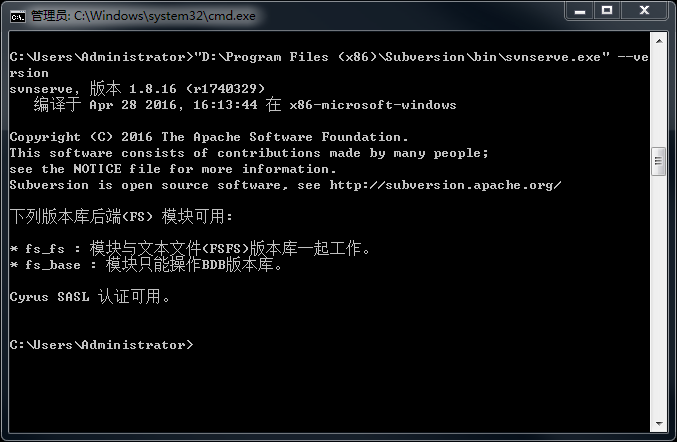
Add the bin directory under the SVN installation directory to the PATH variable. In the command line window, enter svnserve --help to check whether the installation is successful.
At this point, the SVN installation on Windows is complete.
Install SVN on CentOS
Most GNU/Linux distributions come with Subversion, so it is likely already installed on your system. You can use the following command to check whether it is installed.
svn --version
If the Subversion client is not installed, the command will report an error saying the svn command is not found.
[example@centos6 ~]$ svn --version
bash: svn: command not found
We can use the command yum install subversion to install it.
[example@centos6 root]$ su -
密码:
[root@centos6 ~]# yum install subversion
已加载插件:fastestmirror, security
设置安装进程
Loading mirror speeds from cached hostfile
 * base: mirrors.aliyun.com
 * epel: mirrors.neusoft.edu.cn
 * extras: mirrors.zju.edu.cn
 * updates: mirrors.aliyun.com
解决依赖关系
--> 执行事务检查
...
After successful installation, run the svn --version command.
[root@centos6 ~]# svn --version
svn,版本 1.6.11 (r934486)
   编译于 Aug 17 2015,08:37:43
At this point, the SVN installation on CentOS is complete.
Install SVN on Ubuntu
If the Subversion client is not installed, the command will report an error saying the svn command is not found.
root@example:~# svn --version
The program 'svn' is currently not installed. You can install it by typing:
apt-get install subversion
We can use the apt-get command to install it.
root@example:~# apt-get install subversion
Reading package lists... Done
Building dependency tree
Reading state information... Done
The following packages were automatically installed and are no longer required:
  augeas-lenses hiera libaugeas0 libxslt1.1 ruby-augeas ruby-deep-merge ruby-json ruby-nokogiri ruby-rgen ruby-safe-yaml ruby-selinux ruby-shadow
Use 'apt-get autoremove' to remove them.
The following extra packages will be installed:
  libserf-1-1 libsvn1
...
After successful installation, run the svn --version command.
root@example:~# svn --version
svn, version 1.8.13 (r1667537)
   compiled Sep  8 2015, 14:59:01 on x86_64-pc-linux-gnu
At this point, the SVN installation on Ubuntu is complete.
Other Extensions