Vue.js Forms

In this section, we introduce the application of Vue.js forms.

You can use the v-model directive to create two-way data bindings on form control elements.
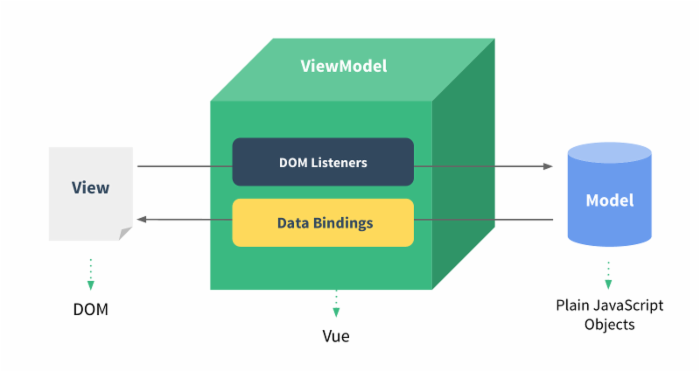
v-model automatically selects the correct method to update the element based on the control type.

Input Fields

The example demonstrates two-way data binding using v-model on input and textarea elements:

<div id="app"> <p>input element:</p> <input v-model="message" placeholder="Edit me..."> <p>Message is: {{ message }}</p> <p>textarea element:</p> <p style="white-space: pre">{{ message2 }}</p> <textarea v-model="message2" placeholder="Multiline text input..."></textarea> </div> <script>new Vue({ el: '#app', data: { message: 'Example', message2: 'Example\r\nhttp://www.example.com' } })</script>

Try it »

Checkbox

A checkbox can be a boolean value, and multiple checkboxes bind to the same array:

Checkbox

The following example demonstrates two-way data binding of checkboxes:

<div id="app"> <p>Single checkbox:</p> <input type="checkbox" id="checkbox" v-model="checked"> <label for="checkbox">{{ checked }}</label> <p>Multiple checkboxes:</p> <input type="checkbox" id="example" value="Example" v-model="checkedNames"> <label for="example">Example</label> <input type="checkbox" id="google" value="Google" v-model="checkedNames"> <label for="google">Google</label> <input type="checkbox" id="taobao" value="Taobao" v-model="checkedNames"> <label for="taobao">taobao</label> <br> <span>Selected values: {{ checkedNames }}</span> </div> <script> new Vue({ el: '#app', data: { checked : false, checkedNames: [] } }) </script>

Try it »

The effect of checking the checkboxes in the example is shown below:

Radio Button

The following example demonstrates two-way data binding of radio buttons:

Radio Button

<div id="app"> <input type="radio" id="example" value="Example" v-model="picked"> <label for="example">Example</label> <br> <input type="radio" id="google" value="Google" v-model="picked"> <label for="google">Google</label> <br> <span>Selected value: {{ picked }}</span> </div> <script> new Vue({ el: '#app', data: { picked : 'Example' } }) </script>

Try it »

After selection, the effect is as shown below:

Select List

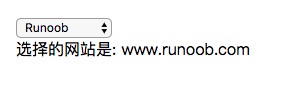
The following example demonstrates two-way data binding of a dropdown list:

select

<div id="app"> <select v-model="selected" name="fruit"> <option value="">Select a website</option> <option value="www.example.com">Example</option> <option value="www.google.com">Google</option> </select> <div id="output">The selected website is: {{selected}}</div> </div> <script> new Vue({ el: '#app', data: { selected: '' } }) </script>

Try it »

Select Example, the output effect is as shown below:

Modifiers

.lazy

By default, v-model syncs the input value with data on the input event, but you can add a lazy modifier to sync on the change event instead:

<!-- 在 "change" 而不是 "input" 事件中更新 -->
<input v-model.lazy="msg" >

.number

If you want to automatically convert the user's input value to Number type (if the original value converts to NaN, the original value is returned), you can add a number modifier to v-model to handle the input value:

<input v-model.number="age" type="number">

This is usually useful because with type="number", the value entered in HTML is always returned as a string type.

.trim

If you want to automatically filter the leading and trailing spaces of user input, you can add the trim modifier to v-model to filter the input:

<input v-model.trim="msg">
Other Extensions