Pillow Getting Started Examples
To use Pillow, you can import Pillow's main module in the following way:
from PIL import Image, ImageFilter, ImageDraw, ImageFont
Pillow maintains API compatibility with PIL, which means most code written for PIL can be used directly with Pillow, just change the import statement fromimport PILtofrom PIL import ...。
Basic Image Operations
Load and Display Image
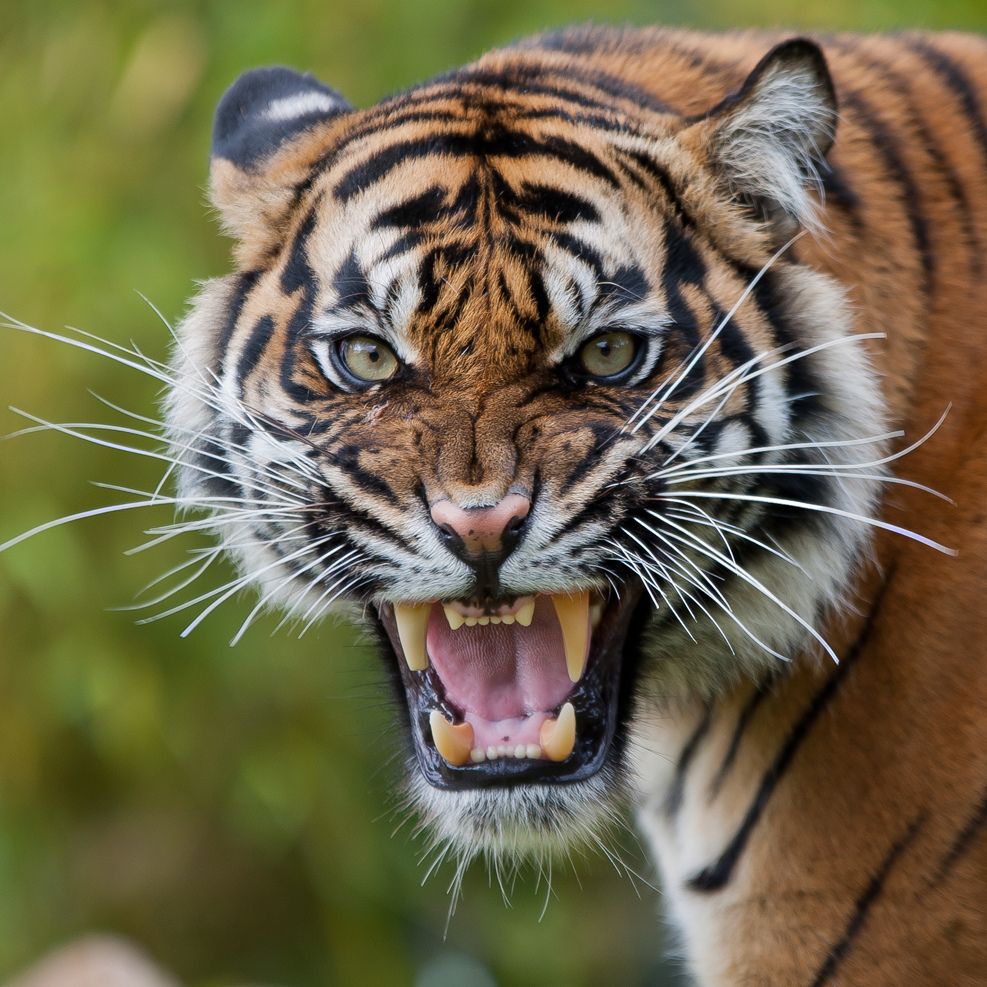
Test image (download to local for testing):
Example
# Open image (supports JPEG, PNG, GIF, etc.)
img = Image.open("tiger.jpeg")
# Display image (system default image viewer)
img.show()
# Get image information
print(Format:, img.format) # JPEG/PNG
print(Size:, img.size) # (width, height)
print(Mode:, img.mode) # RGB/L/CMYK
Example output:
格式: JPEG
尺寸: (987, 987)
模式: RGB
Explanation:
Image.open()Read the image file, returning anImageobject.show()Calls the system default image viewer to display the image (for debugging only, not recommended in production).format、size、modeare the image's metadata attributes.
Save Image
The following code saves the image as files in different formats: one "example.png" file converted to PNG format, and one "example_quality.jpg" file with JPEG quality set to 95.
Example
# Open image (supports JPEG, PNG, GIF, etc.)
img = Image.open("tiger.jpeg")
# Display image (system default image viewer)
img.show()
# Get image information
print(Format:, img.format) # JPEG/PNG
print(Size:, img.size) # (width, height)
print(Mode:, img.mode) # RGB/L/CMYK
# Save as different formats
img.save('example.png') # Convert to PNG format
img.save('example_quality.jpg', quality=95) # Specify JPEG quality
Image Format Conversion
Example
img = Image.open("tiger.jpeg")
# Convert to grayscale
gray_img = img.convert("L")
gray_img.save("tiger_gray.png") # Save as PNG
# Convert to RGB (even if original is RGBA)
rgb_img = img.convert("RGB")
rgb_img.save("tiger_rgb.jpg", quality=95) # Quality parameter (1-100)
- convert("L")Convert the image to grayscale mode (8-bit black and white).
- save()You can specify the format (via file extension or the format parameter), and quality controls JPEG compression quality.
Image Processing Operations
Resize Image
Set fixed height and width:
Example
img = Image.open("tiger.jpg")
# Resize
resized_img = img.resize((400, 300))
resized_img.save("cat_small.jpg")
# Generate thumbnail (maintain aspect ratio)
img.thumbnail((200, 200)) # Modify in place
img.save("cat_thumbnail.jpg")
Scale Proportionally
Set scale factor:
Example
# Open image (supports JPEG, PNG, GIF, etc.)
img = Image.open("tiger.jpeg")
# Scale proportionally
width, height = img.size
scaled_image = img.resize((width//2, height//2))
scaled_image.show()
Crop and Rotate Image
Example
img = Image.open("tiger.jpeg")
# Crop (left, top, right, bottom)
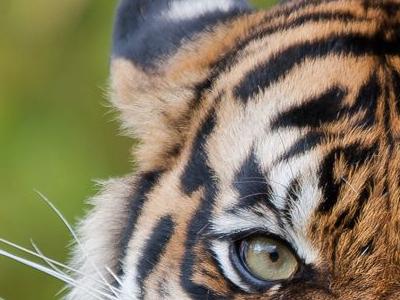
cropped_img = img.crop((100, 100, 500, 400))
cropped_img.save(""tiger_cropped.jpg")
# Rotate (90 degrees counterclockwise)
rotated_img = img.rotate(90, expand=True) # expand prevents cropping
rotated_img.save(""tiger_rotated.jpg")
Effect after cropping:
Effect after rotation:
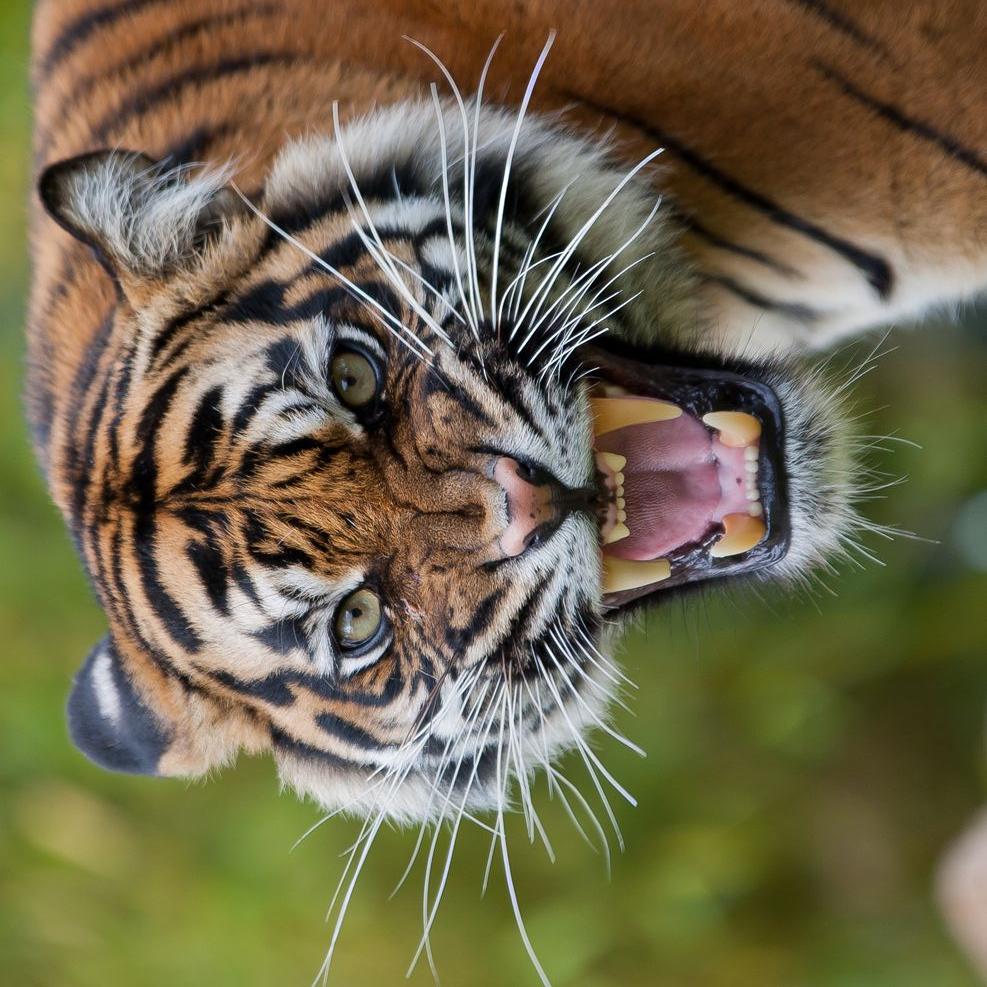
crop()The parameter is the rectangular region coordinates (top-left + bottom-right).rotate(角度)By default, corners are cropped, andexpand=Truethe canvas size is adjusted automatically.
Image Enhancement and Filters
Apply Filters
Example
img = Image.open("tiger.jpeg")
# Blur filter
blurred_image = img.filter(ImageFilter.BLUR)
blurred_image.show()
# Edge enhancement
edge_enhanced = img.filter(ImageFilter.EDGE_ENHANCE)
edge_enhanced.show()
Adjust Brightness and Contrast
Example
img = Image.open("tiger.jpeg")
# Enhance brightness
enhancer = ImageEnhance.Brightness(img)
bright_image = enhancer.enhance(1.5) # 1.5x brightness
bright_image.show()
# Enhance contrast
enhancer = ImageEnhance.Contrast(img)
contrast_image = enhancer.enhance(2.0) # 2x contrast
contrast_image.show()
Drawing on Images
Draw Basic Shapes
Example
img = Image.open("tiger.jpeg")
# Create drawing object
draw = ImageDraw.Draw(img)
# Draw rectangle
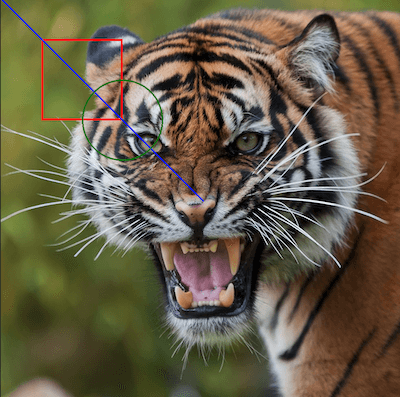
draw.rectangle([(100, 100), (300, 300)], outline="red", width=5)
# Draw line
draw.line([(0, 0), (500, 500)], fill="blue", width=3)
# Draw circle
draw.ellipse([(200, 200), (400, 400)], outline="green", width=4)
img.show()
The generated image is as follows:
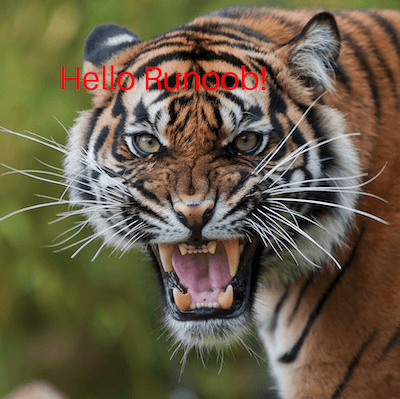
Add Text
You can add text to the image. You need to set a font path or use the system default:
Example
img = Image.open("tiger.jpeg")
# Create drawing object
draw = ImageDraw.Draw(img)
# Load font (the font must exist on the system)
font_size = 80 # Set font size
try:
font = ImageFont.truetype("arial.ttf", font_size)
except:
font = ImageFont.load_default(font_size)
draw.text((150, 150), "Hello Example!", fill="red", font=font)
img.show()
The generated image is as follows:
Comprehensive Example: Create Thumbnail and Add Watermark
Example
def create_thumbnail_with_watermark(input_path, output_path, size=(200, 200)):
# Open original image
original = Image.open(input_path)
# Create thumbnail
thumbnail = original.copy()
thumbnail.thumbnail(size)
# Add watermark
draw = ImageDraw.Draw(thumbnail)
try:
font = ImageFont.truetype("arial.ttf", 20)
except:
font = ImageFont.load_default()
# Calculate text position (bottom-right). For Chinese, you need to set a font, otherwise it will be garbled
text = "WWW.example.com"
# Get text size
bbox = draw.textbbox((0, 0), text, font=font)
text_width = bbox[2] - bbox[0]
text_height = bbox[3] - bbox[1]
x = thumbnail.width - text_width - 10
y = thumbnail.height - text_height - 10
# Draw semi-transparent background
draw.rectangle([x-5, y-5, x+text_width+5, y+text_height+5], fill=(0,0,0,128))
# Draw text
draw.text((x, y), text, fill="white", font=font)
# Save result
thumbnail.save(output_path)
print(fThumbnail saved to {output_path})
# Usage example
create_thumbnail_with_watermark("tiger.jpeg", "thumbnail.jpg")
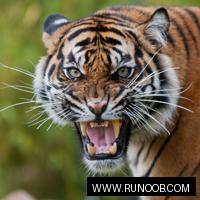
The generated thumbnail is as follows:
Frequently Asked Questions
Q1: How to handle image formats that Pillow cannot recognize?
A1: Pillow supports most common image formats. If you encounter an unsupported format, try installing additional decoders or first convert the image to a supported format (such as PNG or JPEG).
Q2: How to batch process multiple image files?
A2: You can use Python's glob module with a loop to batch process:
Example
from PIL import Image
for file in glob.glob("images/*.jpg"):
img = Image.open(file)
# Process image...
img.save(f"processed_{file}")
Q3: How to process large images without running out of memory?
A3: For very large images, you can use the Image object'sload()method to process block by block, or useImageOps.fit()to limit the processing area.
Through the examples and explanations above, you should have mastered the basic usage of Pillow. Pillow is powerful, so it is recommended to practice more and explore its advanced features!
Other Extensions