First, here is the official source code download address:http://www.zabbix.com/download
The latest version can be downloaded from the official website. The download provided on this site is version 3.2.6zabbix-3.2.6.tar.gz
1. Copy the Perl script in the source code directory and grant execution permissions
# cp ./misc/snmptrap/zabbix_trap_receiver.pl /usr/bin
# chmod +x /usr/bin/zabbix_trap_receiver.pl
2. Find the snmptrapd configuration file and modify it
# find / -name snmptrapd.conf
找到文件后打开并修改
# vim snmptrapd.conf
添加两行代码
authCommunity execute public
perl do "/usr/bin/zabbix_trap_receiver.pl"
3. Modify the zabbix_server.conf file to enable the snmptrap feature
# vim /usr/local/zabbix/etc/zabbix_server.conf
# StartSNMPTrapper=1 将这里设为1
# SNMPTrapperFile=/tmp/zabbix_traps.tmp
(注:最后一行的路径必须跟zabbix_trap_receiver.pl脚本中设置的路径相同)
4. Restart the zabbix_server service
# service zabbix_server restart
5. Start the snmptrapd service
# snmptrapd -C -c /etc/snmp/snmptrapd.conf
At this point, snmptrapd is configured. Now just configure Zabbix.
Configuration on Zabbix
1. Create a host

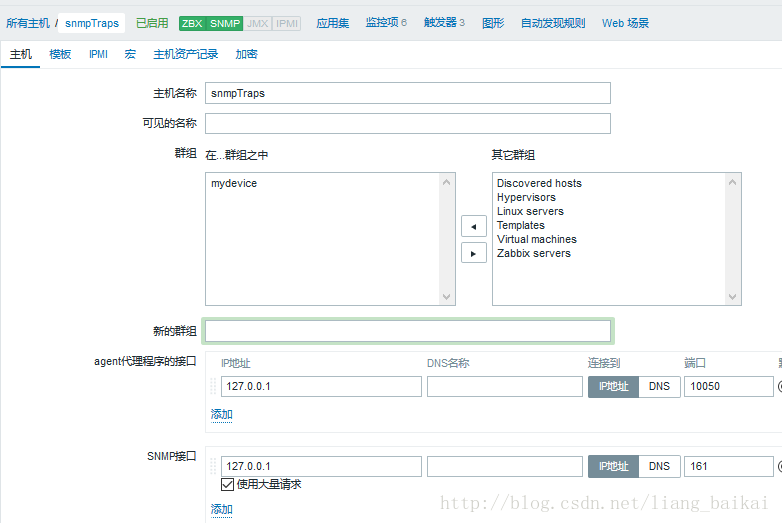
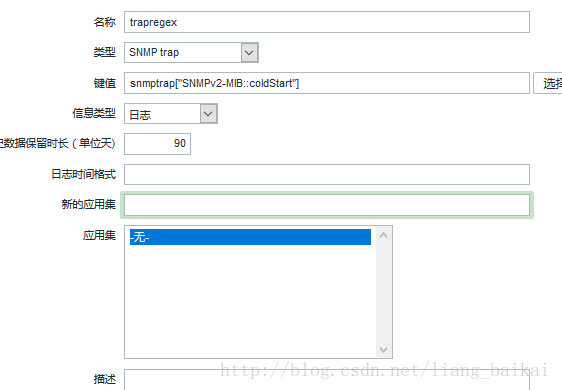
Create monitoring items
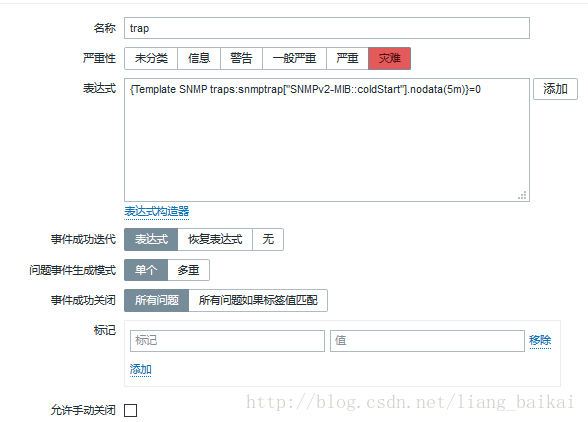
Create triggers
Alright, Zabbix is configured. Let's send a few traps to test it.

Check whether Zabbix has received data
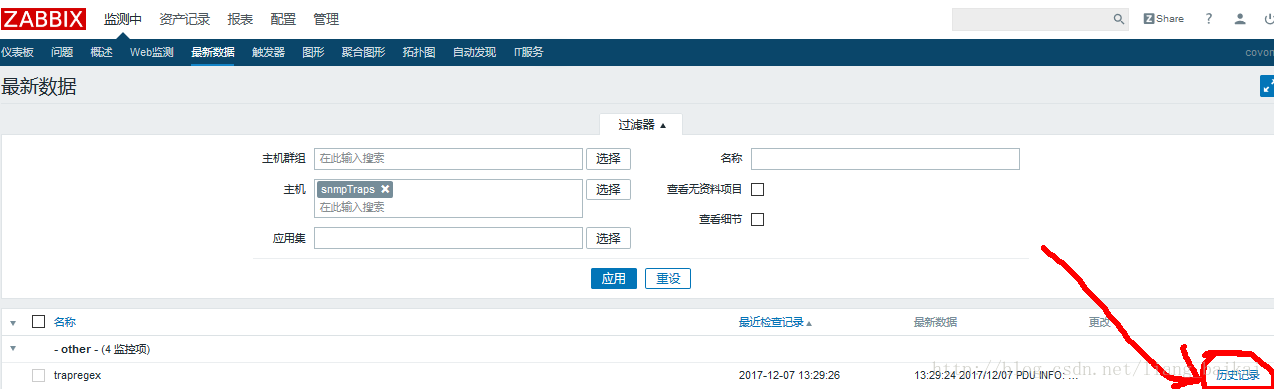
Open it and take a look
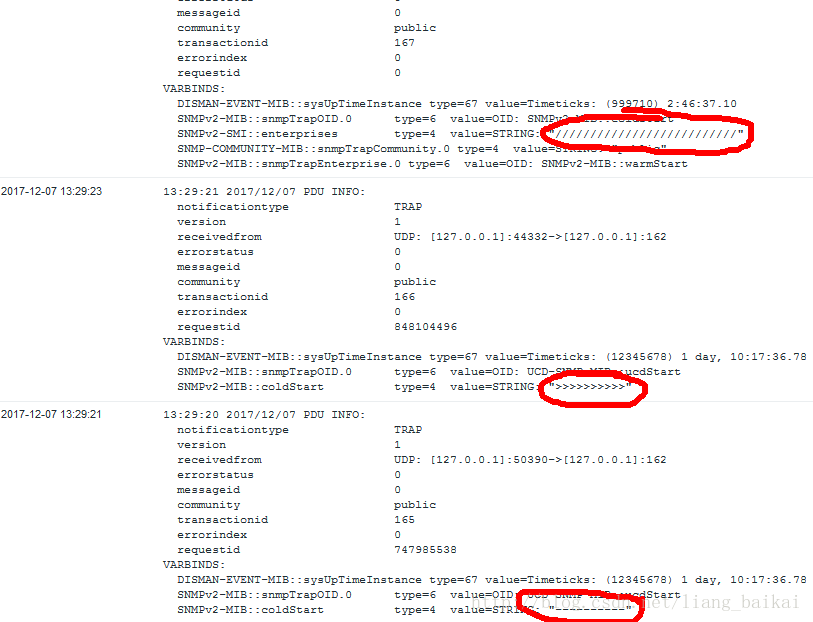
Data successfully retrieved
SNMPTRAP configuration successful
Author: Liang_Baikai's Blog
Article URL: http://blog.csdn.net/liang_baikai/article/details/53522293