Trae (/treɪ/) is an AI-driven integrated development environment (IDE) launched by ByteDance for developers. Similar to Cursor, it supports Chinese and integrates Claude and GPT-4o models, and is currently free.
Trae is deeply integrated with AI, providing intelligent Q&A, code auto-completion, and Agent-based AI automated programming capabilities.
The official website will automatically detect your operating system and recommend the corresponding version. You can also manually select:
| Operating System | Download Version |
|---|---|
| Windows | .exeInstaller |
| macOS(Intel) | .dmgInstaller |
| macOS(Apple Silicon) | .dmgARM Version |
1. Installing Trae
Visit Trae Official Website , by default, the download button will automatically match our computer system. We can also find a Trae installer suitable for our computer's operating system and download it.

After the download is complete, double-click the installer and follow the prompts to install Trae on your computer.
2. Startup and Initial Configuration
After installation, launch Trae. On first launch, you will enter the initial configuration page.
Click the "Start" button to enter the initial configuration process.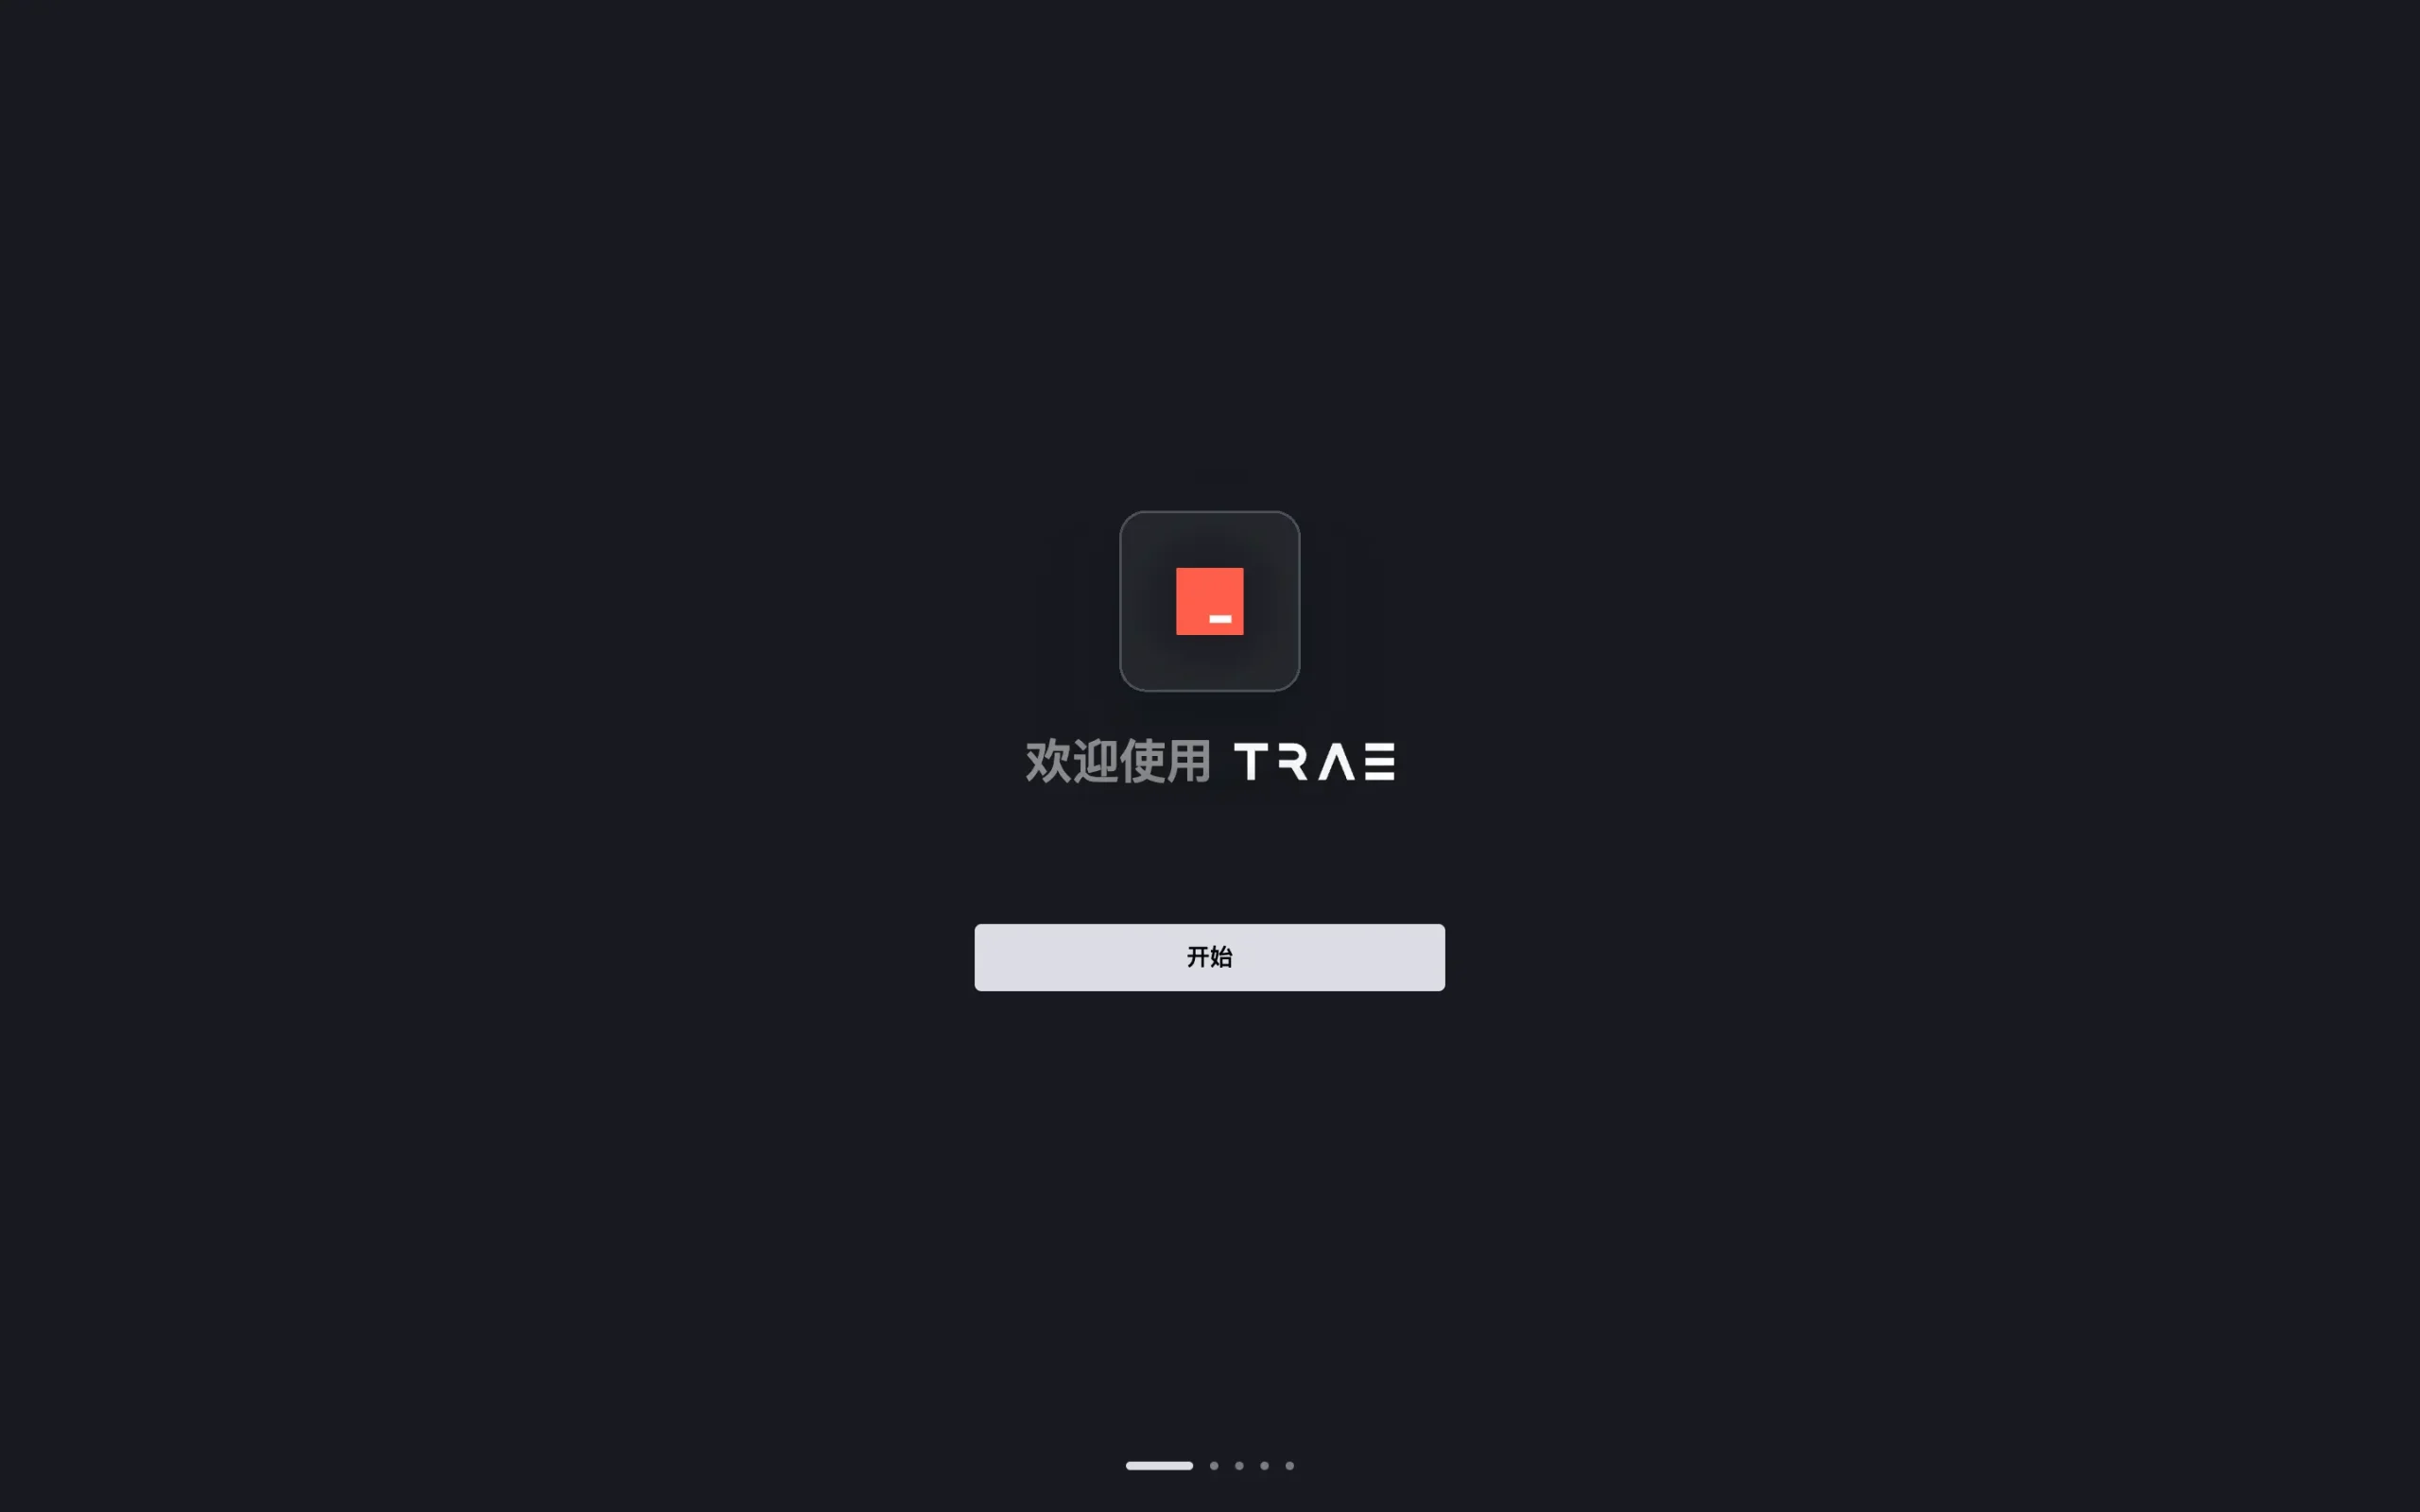
Select Theme:Options are Dark, Light, and Dark Blue. Choose a theme color according to your preference.
Select Display Language:Options are Simplified Chinese and English. Choose the language you are used to.
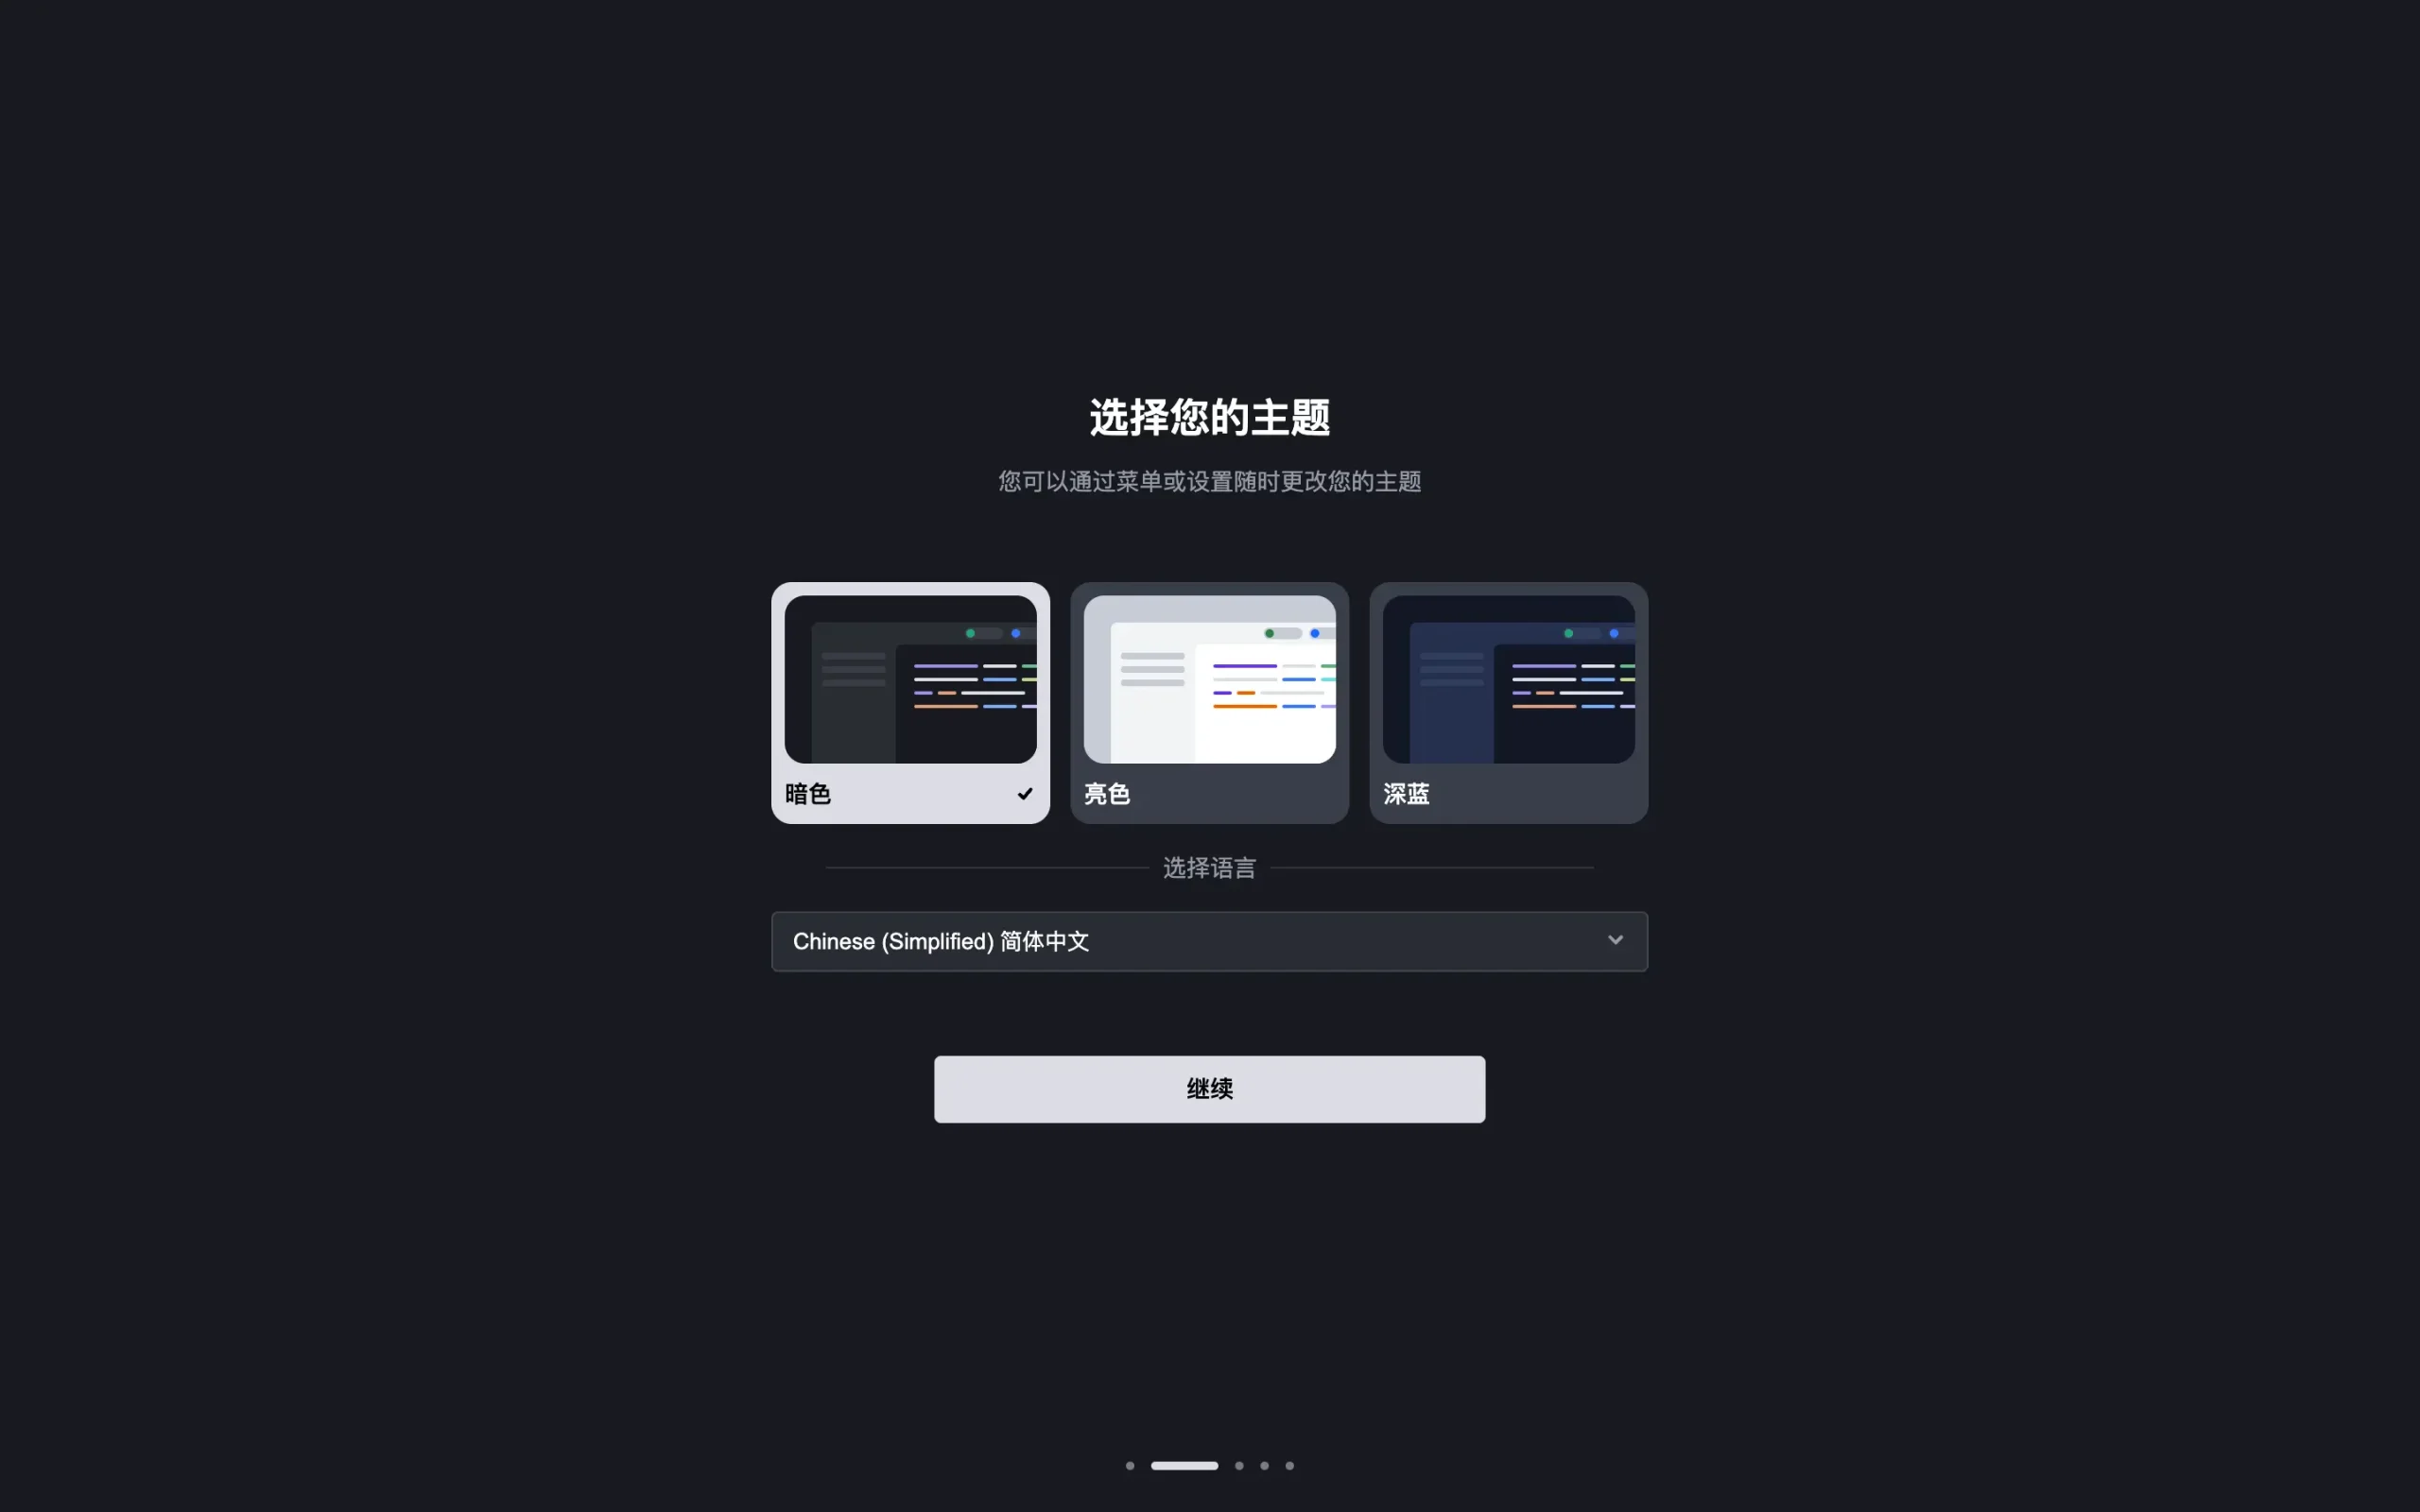
Click the "Continue" button to complete the theme and language selection.
3. Import Configuration
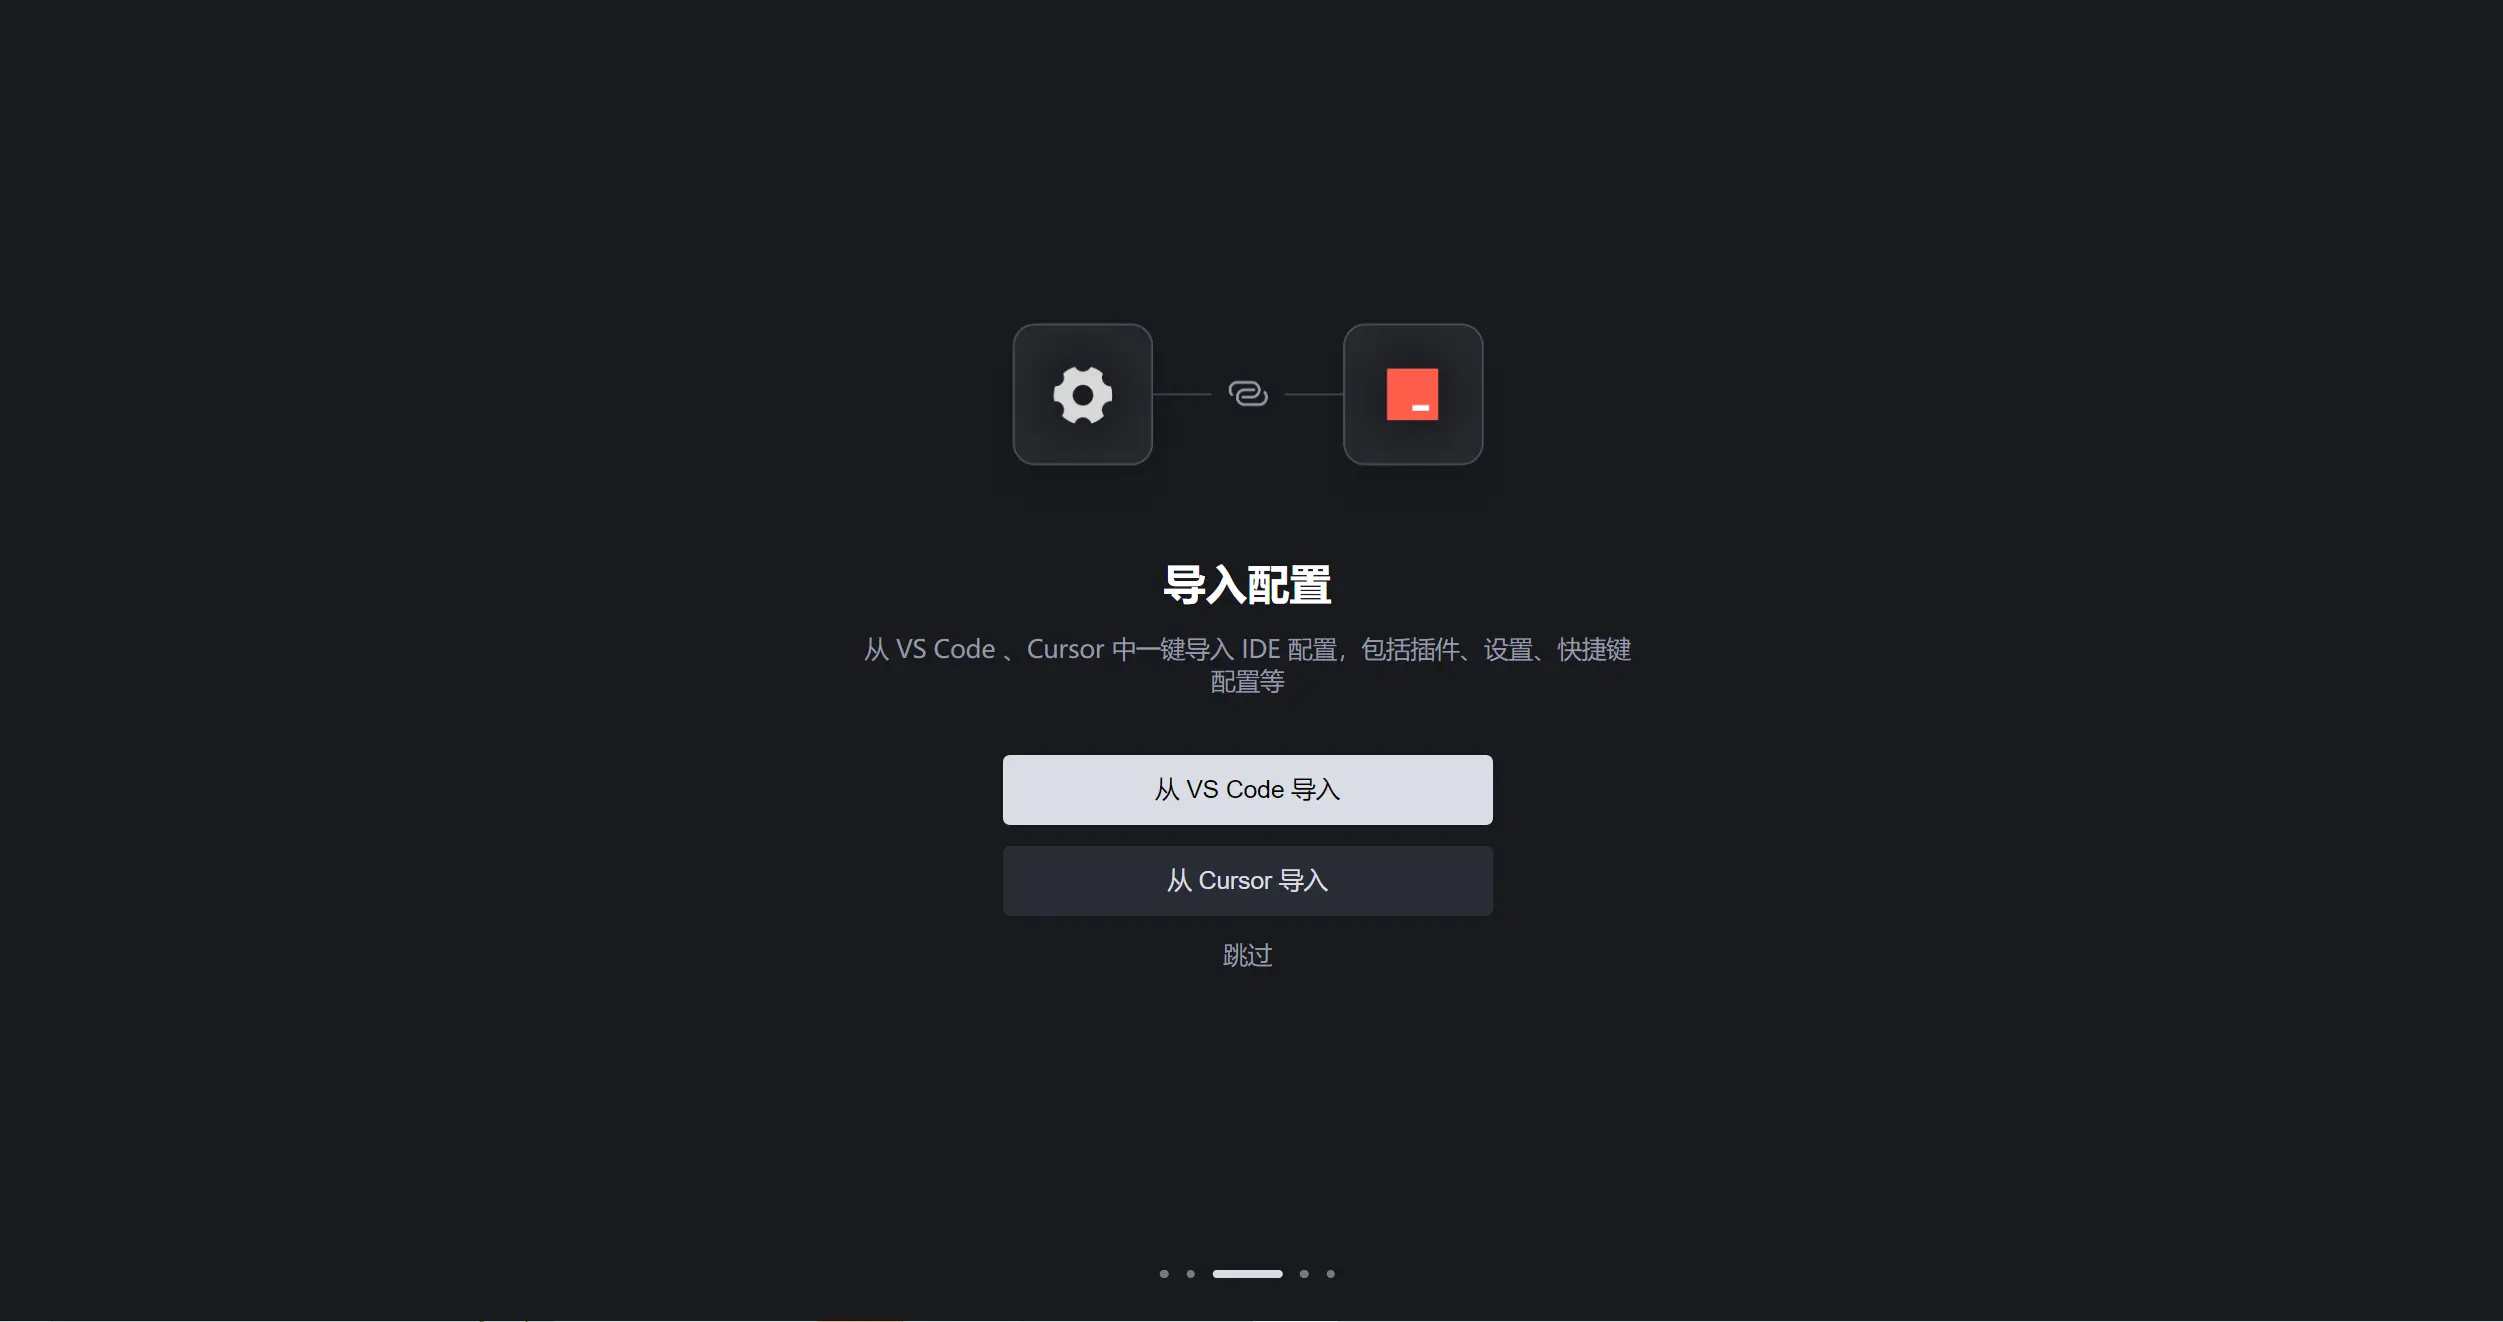
If you have VS Code or Cursor installed and configured on your computer, you can choose to import configuration from VS Code or Cursor.
Click the "Import from VS Code" or "Import from Cursor" button, and the system will retrieve plugins, IDE settings, keyboard shortcut settings, and other information from the corresponding IDE and import them into Trae with one click, helping you quickly switch from other IDEs to Trae.
4. Install Command Line
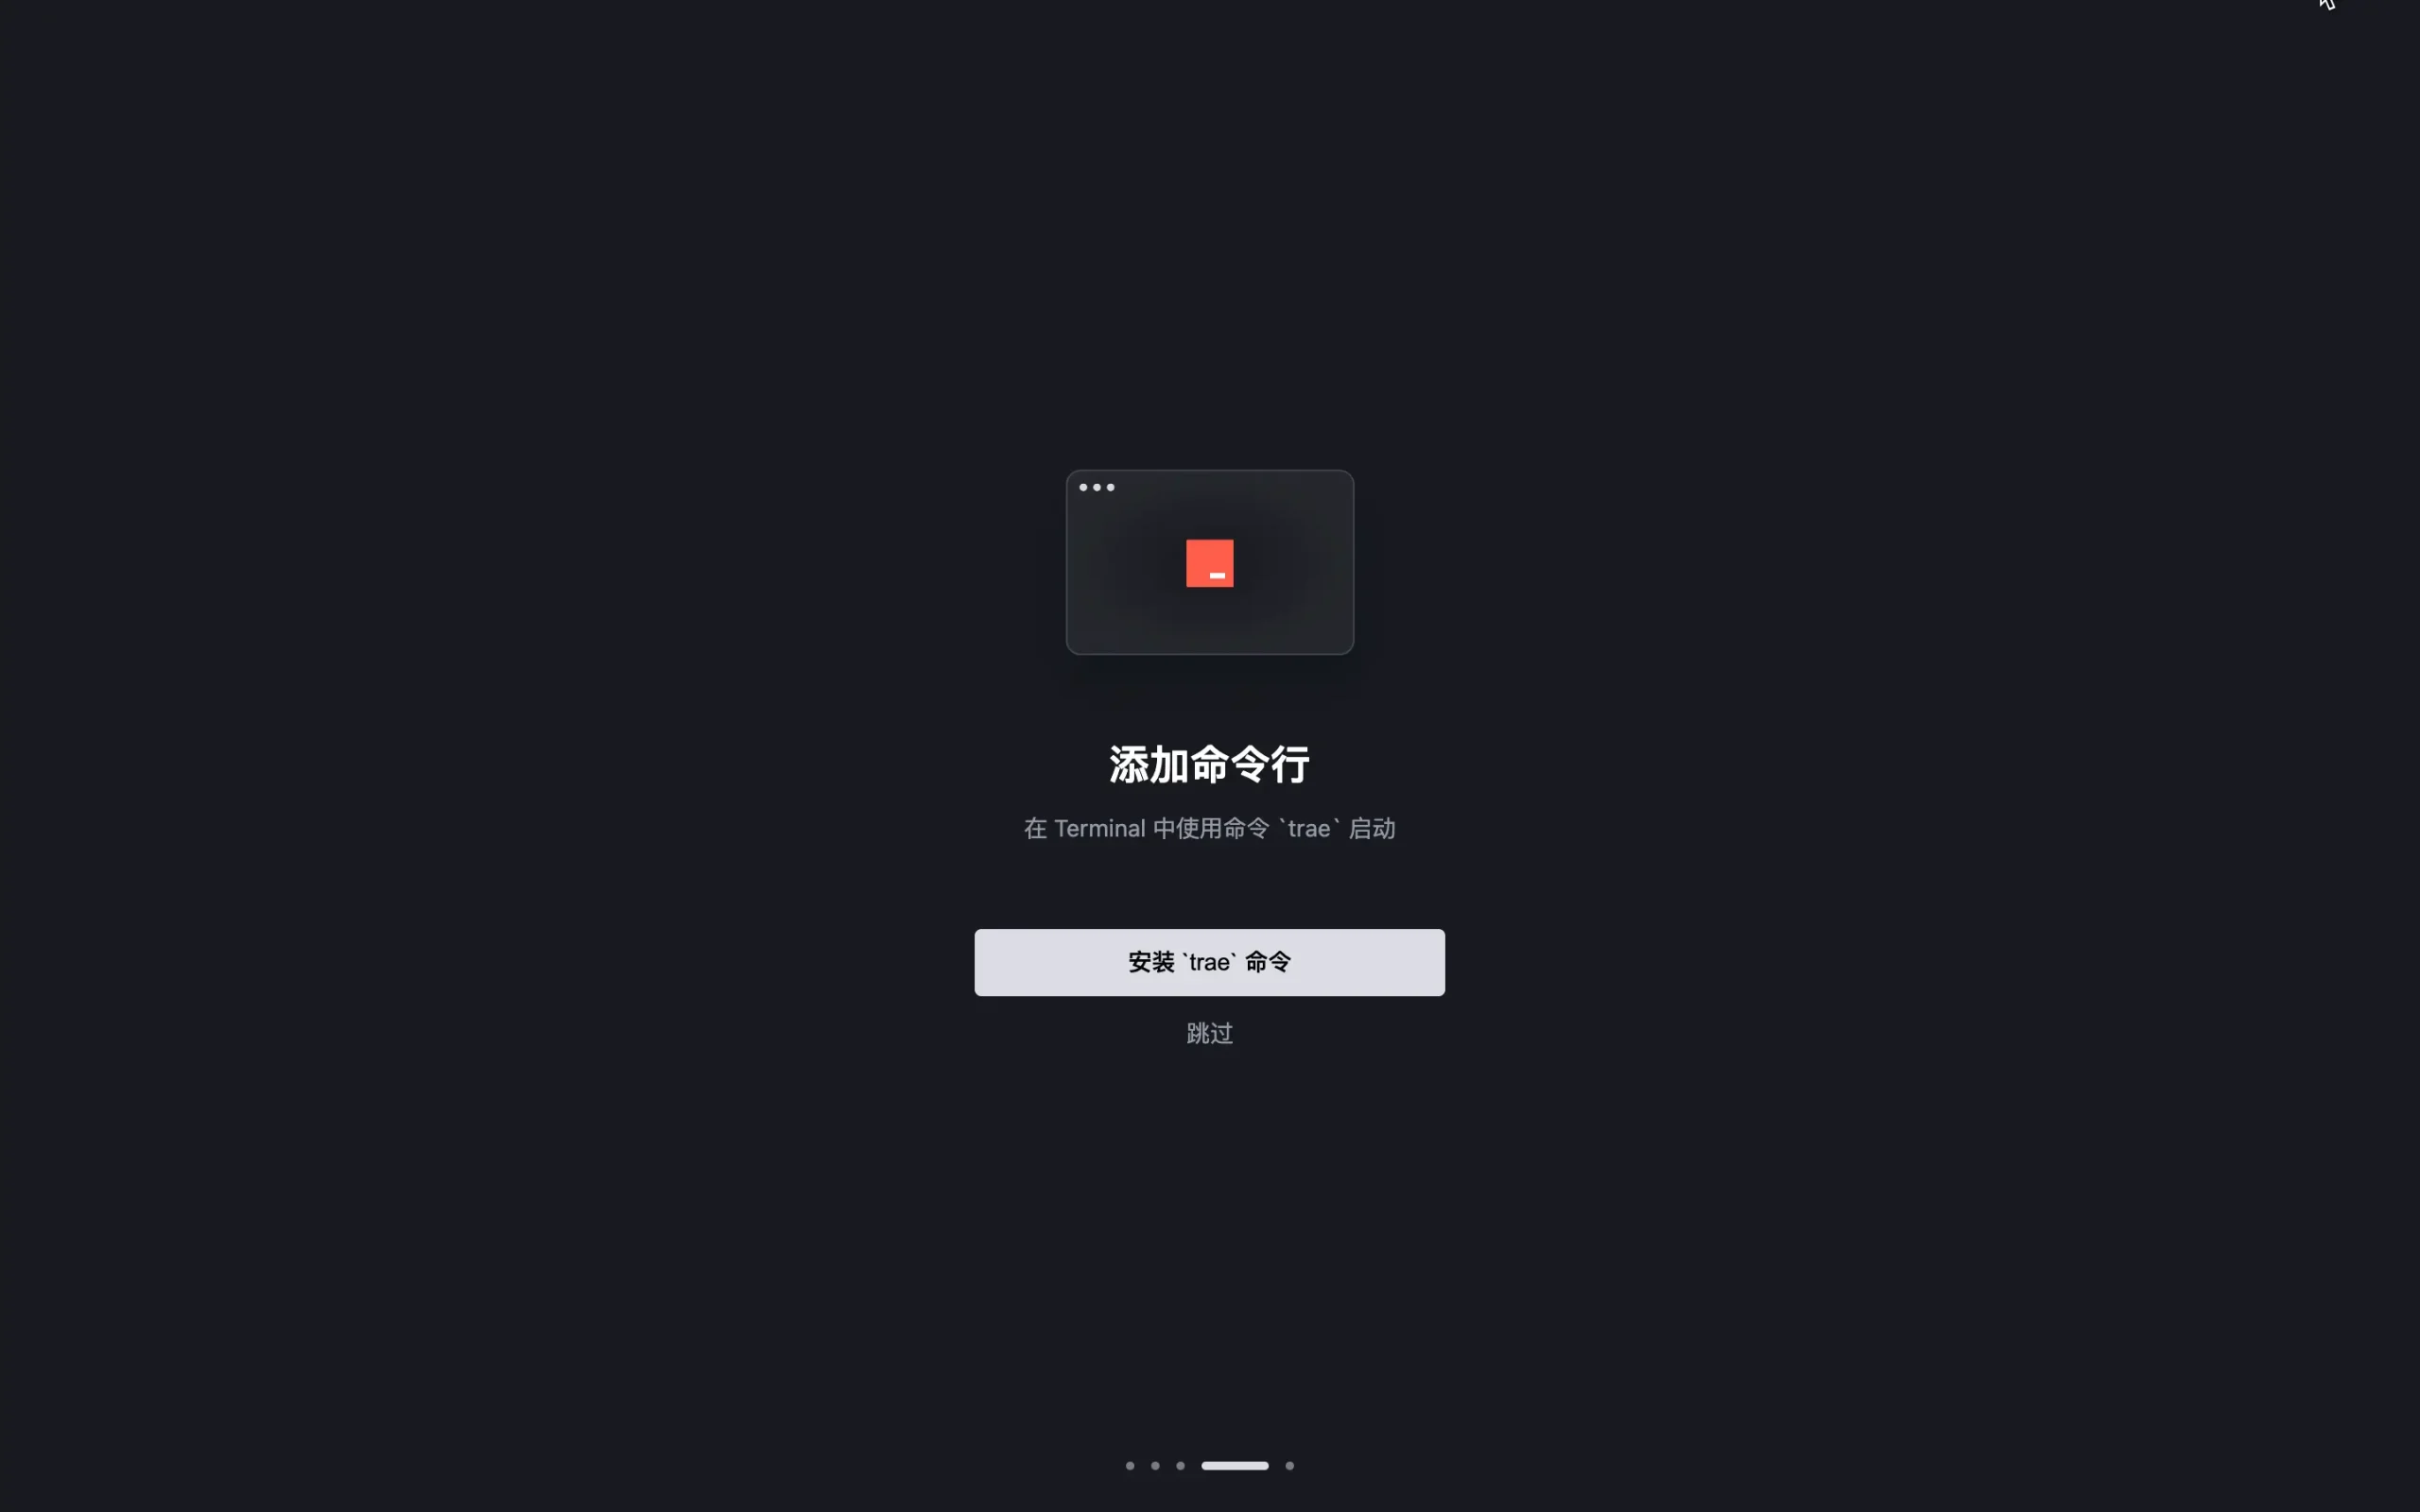
After adding the Trae-related command line, you can use it in the terminal to more quickly complete Trae-related operations.
Click the "Install trae command" button, then complete the authorization process. After installation, you can use the following command in the terminal:
- Usetraecommand to quickly launch Trae.
- Usetrae my-react-appcommand to open a project in Trae.
5. Log In to Your Account
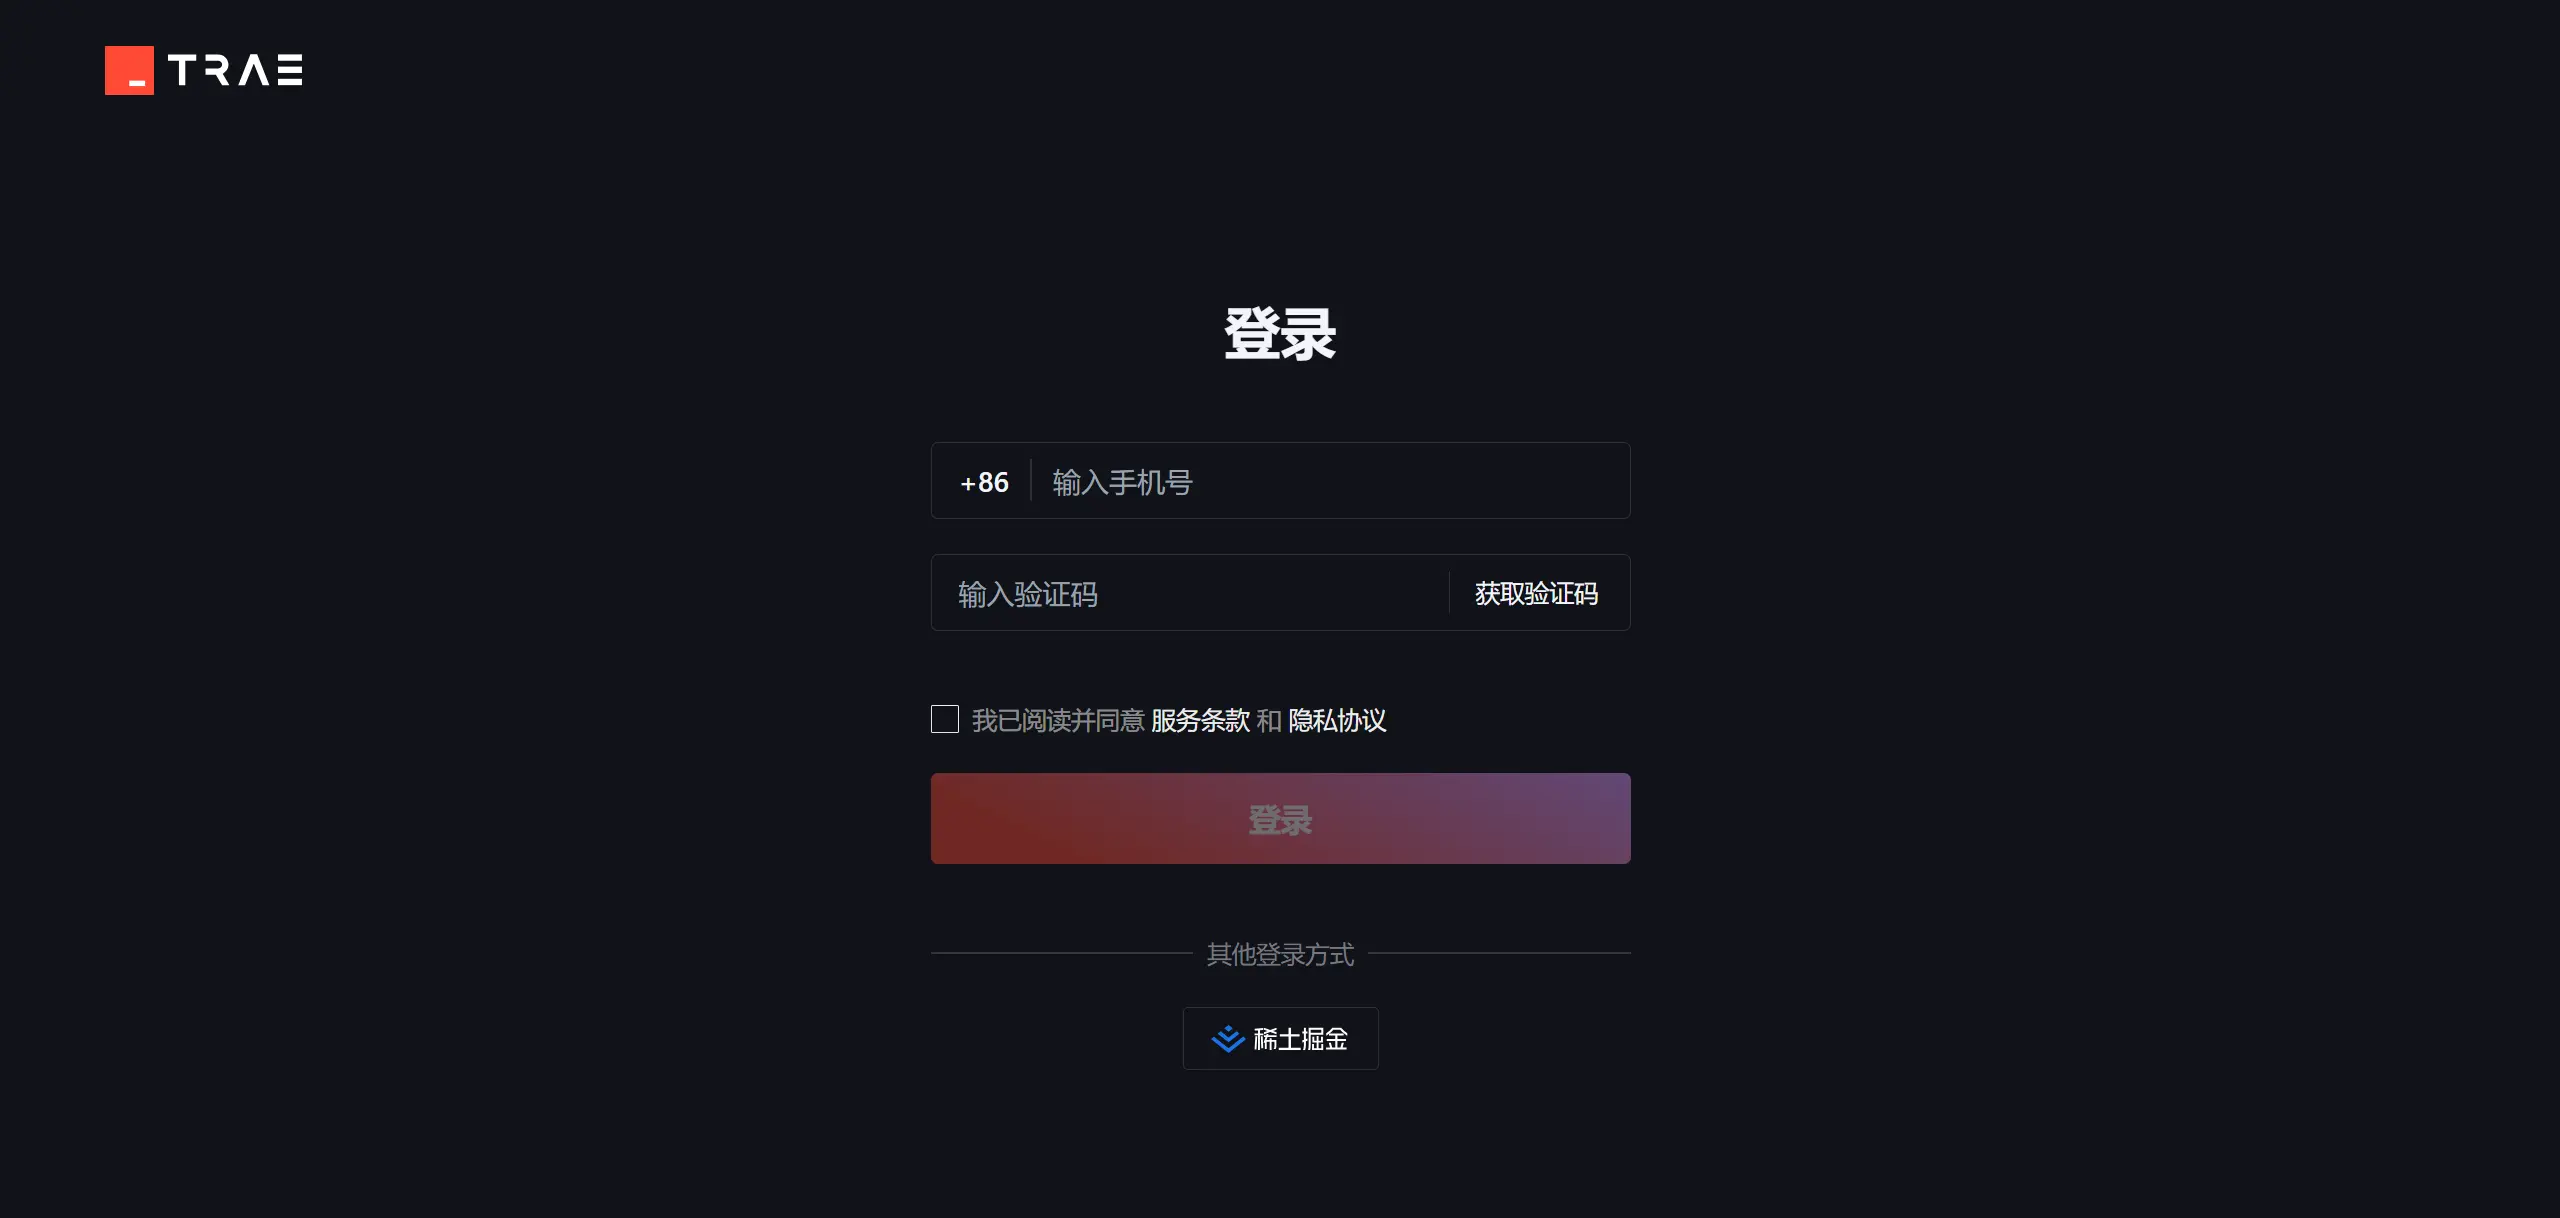
Log in to Trae with your phone number. Only after logging in can you use AI services in Trae.
6. Getting Started
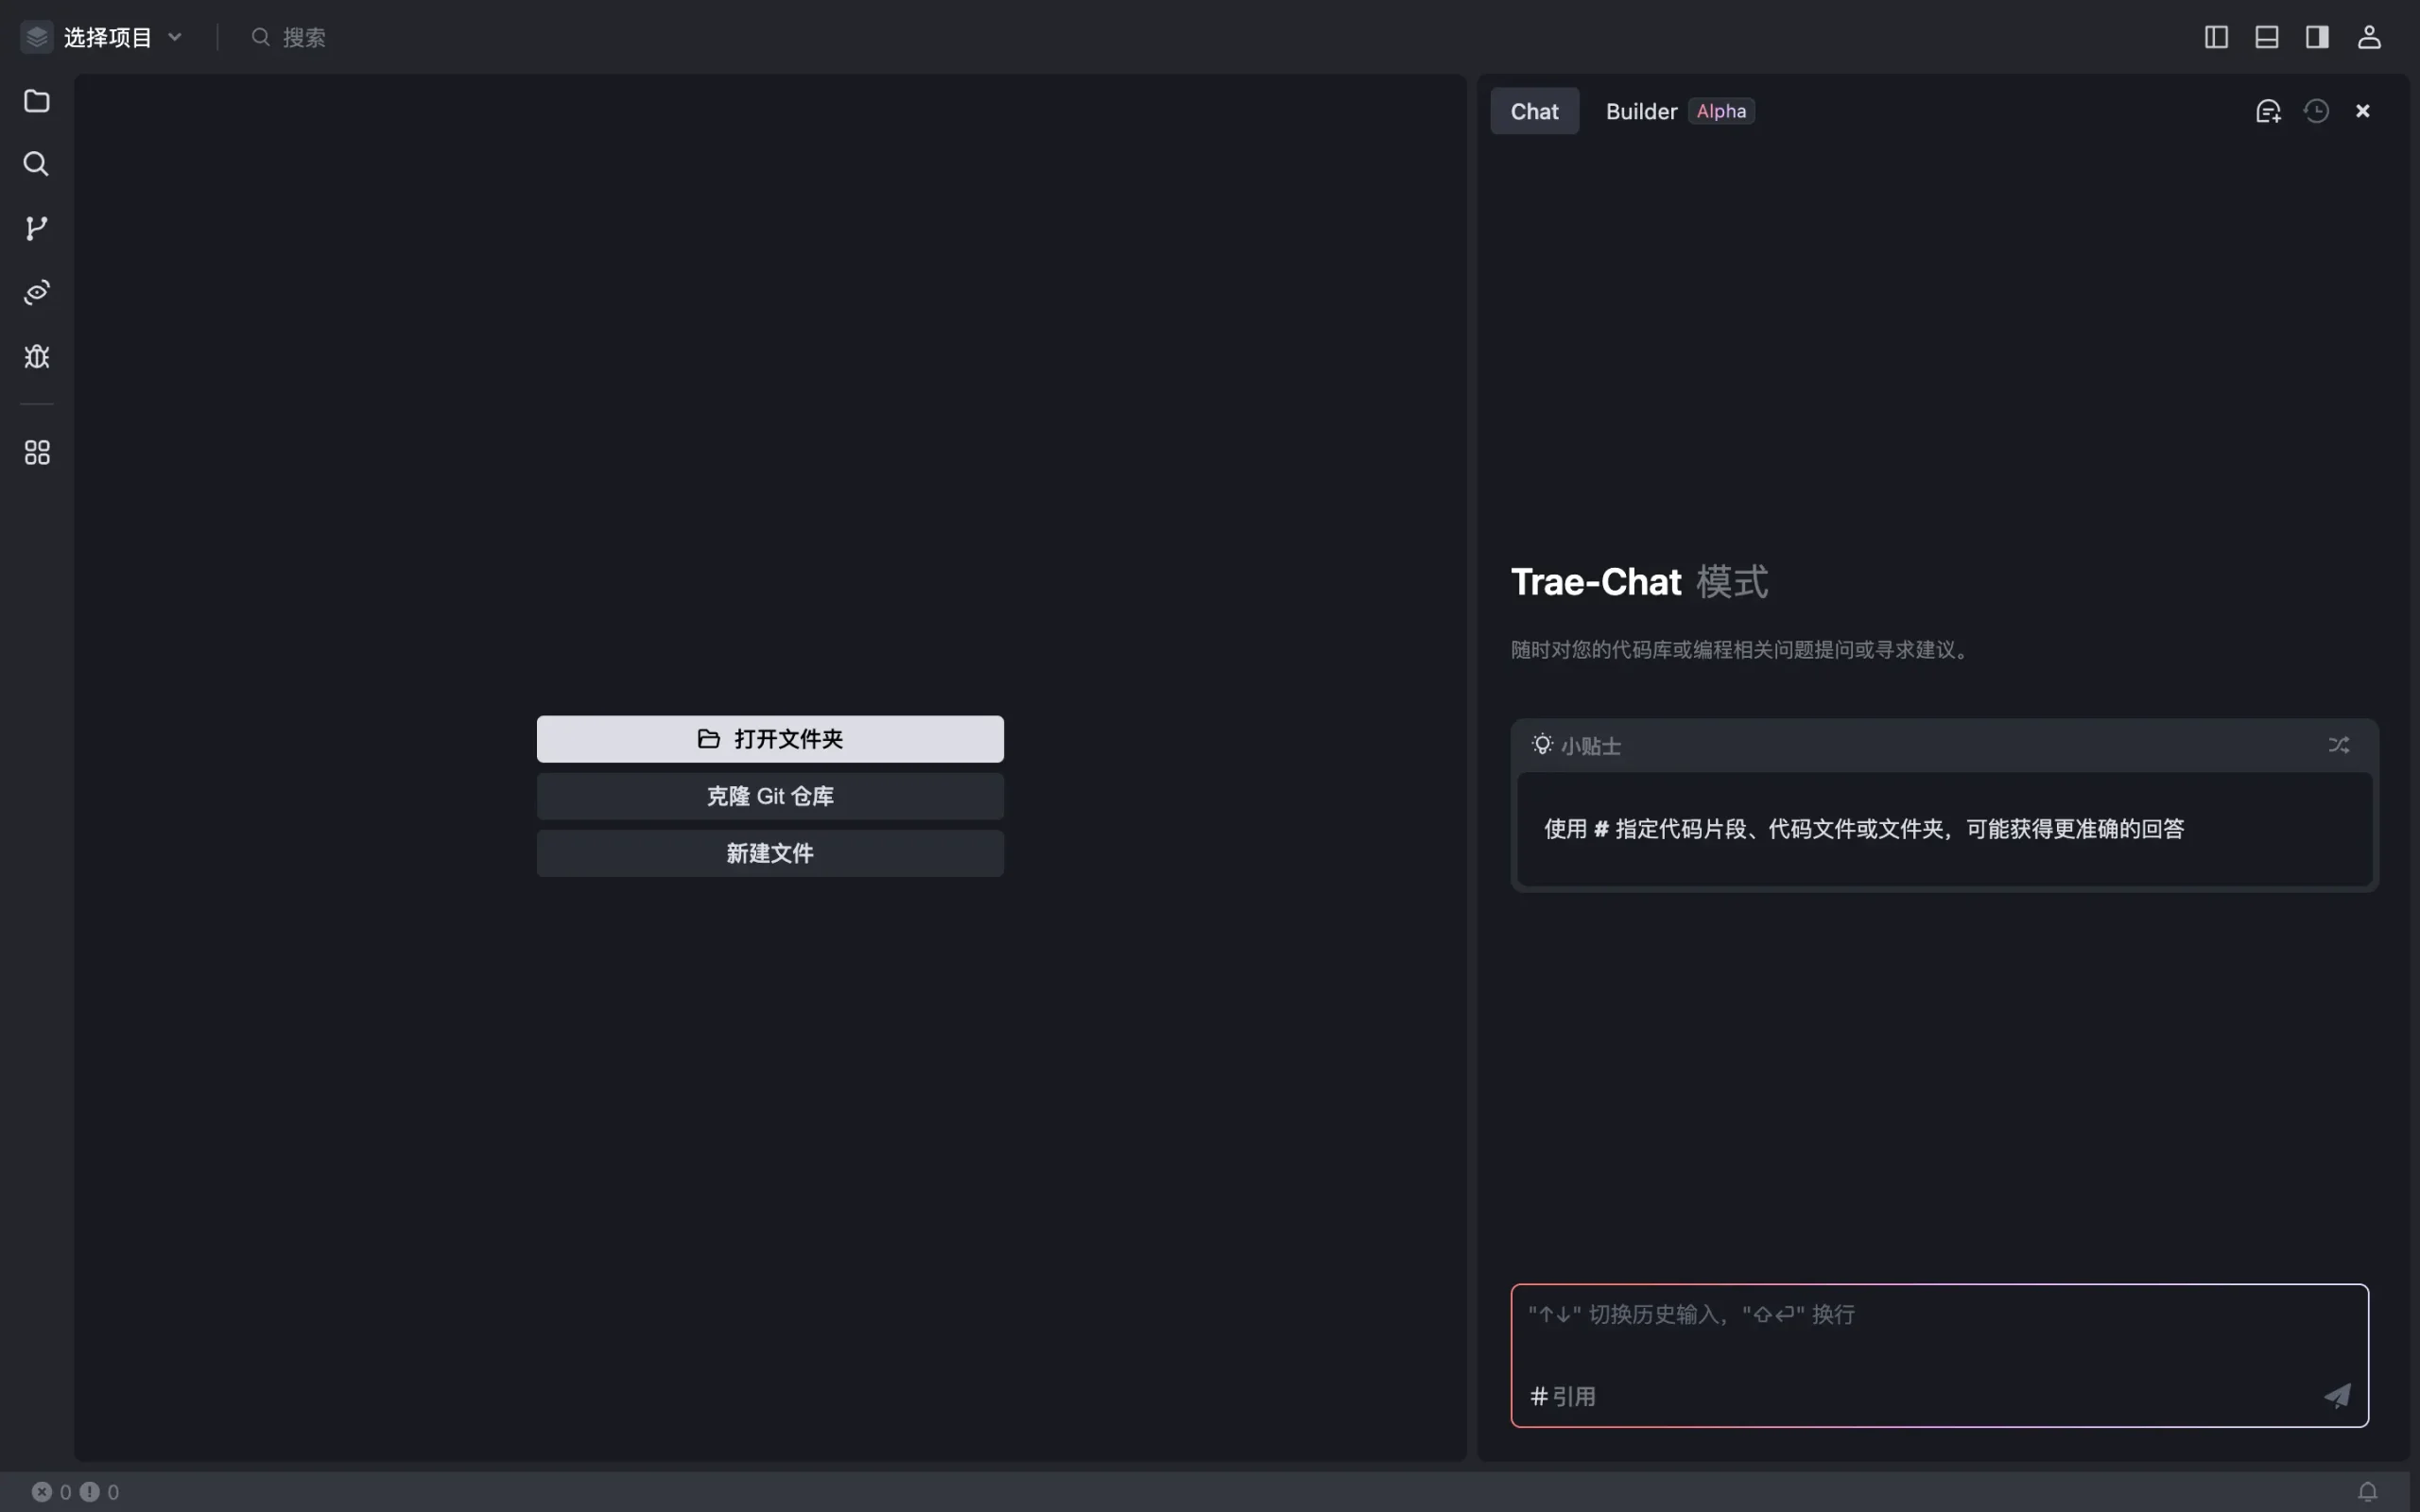
- Open an Existing Project or Clone a Git Repository:After logging in successfully, you can open an existing project or clone a Git repository and start using Trae for development.
- Create a New Project Using the AI Assistant:
For more content, see:https://www.example.com/ai-agent/trae-quick-star.html