PyCharm is a powerful Python editor with cross-platform capabilities. Given that there are currently few tutorials for the latest version of PyCharm, to save time, let me introduce how to install PyCharm on Windows.
This is the download address for PyCharm:http://www.jetbrains.com/pycharm/download/#section=windows
PyCharm Tutorial:https://www.example.com/pycharm/pycharm-tutorial.html
After entering the website, we will see the following interface:
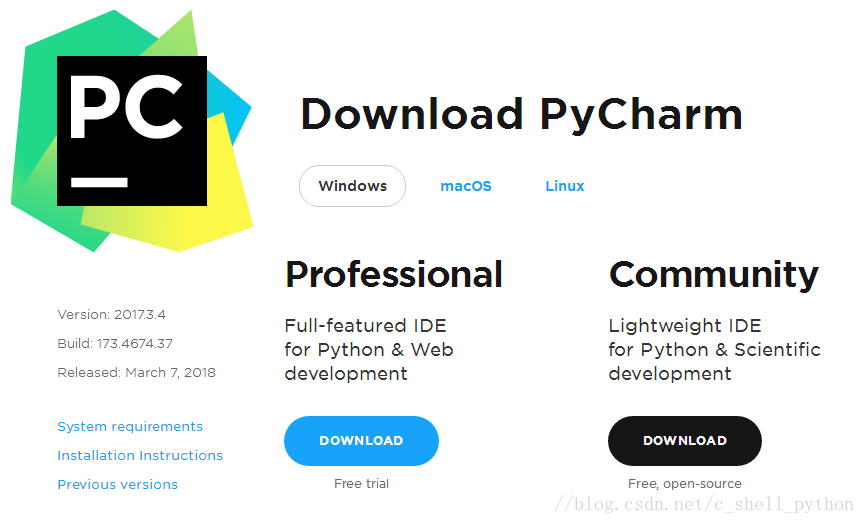
Professional indicates the Professional edition, Community is the Community edition. It is recommended to install the Community edition because it is free to use.
1. After downloading, click Install. Remember to change the installation path. I put it on the E drive here. After changing it, click Next.
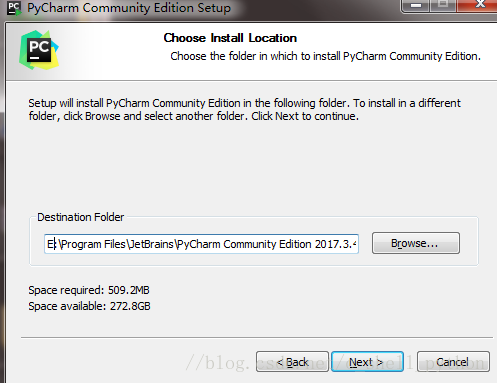
2. Next is
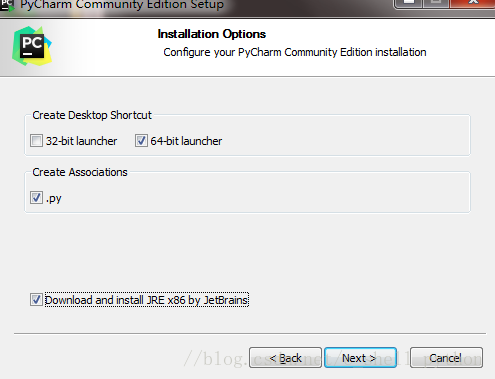
We can choose 32-bit or 64-bit according to our computer. Most systems should be 64-bit by now, right?
3. As follows
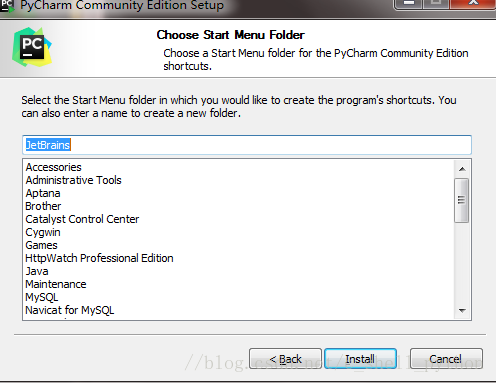
Click Install, and then just wait quietly for the installation. If we haven't downloaded the Python interpreter before, we need to go download the Python interpreter while waiting for the installation; otherwise, PyCharm is just a soulless shell.
4. Go to the official Python website: //www.python.org/
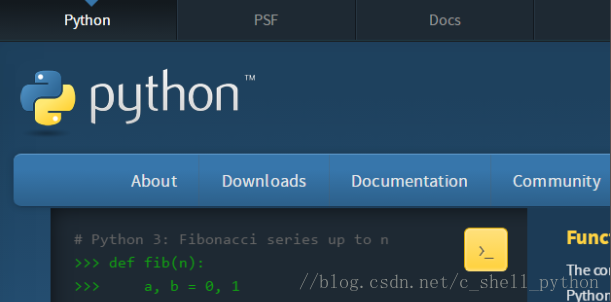
Click Downloads to enter the download selection interface.
5. As shown below, select the Python version we need, and click Download.
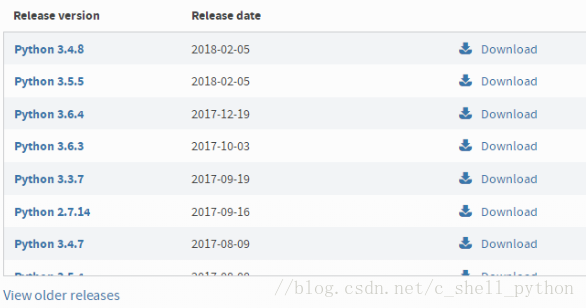
6. I chose Python 3.5.1, and you will see the following interface.
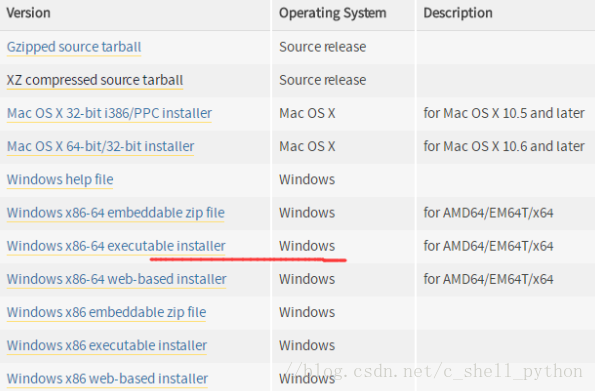
Because we need the interpreter for Windows, we can choose the corresponding Windows version under Operating System; there are 64-bit and 32-bit options. I chose the one marked with a red line. Executable means the executable version, which requires installation before use. Embeddable means the embedded version, which can be used after extraction.
The executable version is relatively simple to install; just keep the defaults. For the embeddable version, note that when we extract This also needs to be extracted to the same path. This contains tools such as pip and setuptools. If not extracted, we won't be able to update modules in PyCharm; for example, if we need to use pymysql, we won't be able to download it. Although it can still be used, it is a "crippled" version of the Python interpreter.
If it is the embeddable version, remember to add the path where the interpreter is located to the environment variables; otherwise, PyCharm cannot automatically obtain the interpreter location.
7. Add environment variables
(1) Right-click My Computer, click Properties, and the following interface pops up.
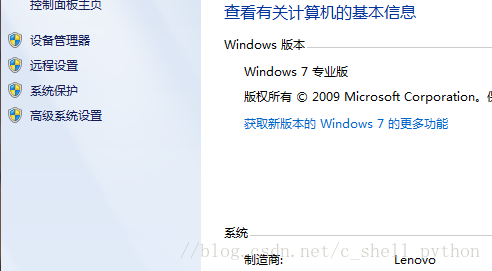
(2) Click Advanced System Settings, and the following figure appears.
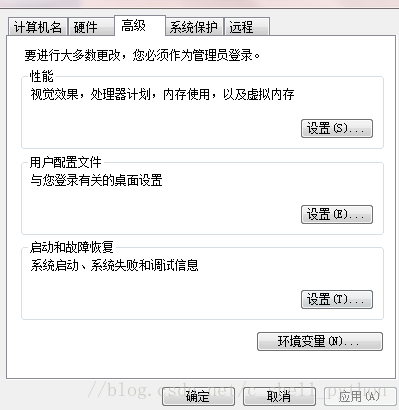
(3) Click Environment Variables
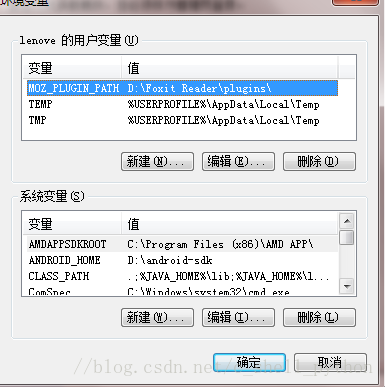
(4) Find Path in System Variables, edit it, paste the path where the Python interpreter is located at the end, and add a semicolon.
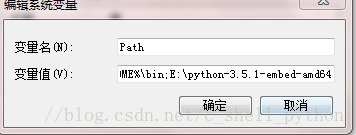
Environment variable configuration is complete.
8. At this point, PyCharm is also installed. Let's enter the software.
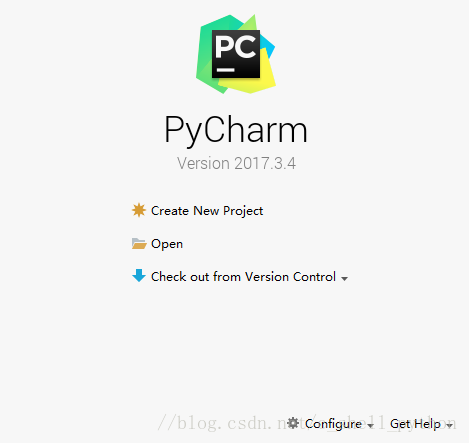
9. Click Create New Project; the next part is important.
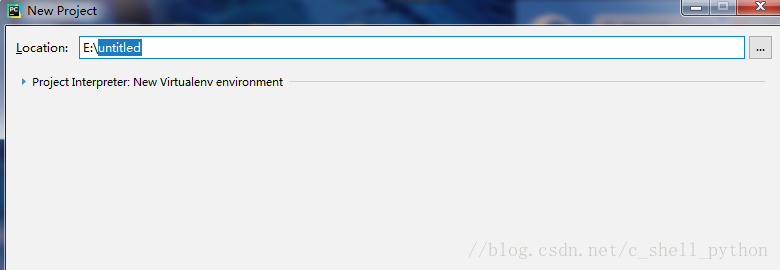
Location is the path where we store the project. Click This triangle symbol. You can see that PyCharm has automatically detected Python 3.5.
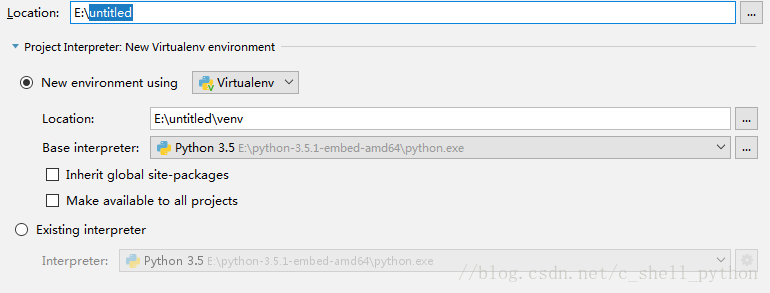
Click the first one We can choose the path for Location, for example
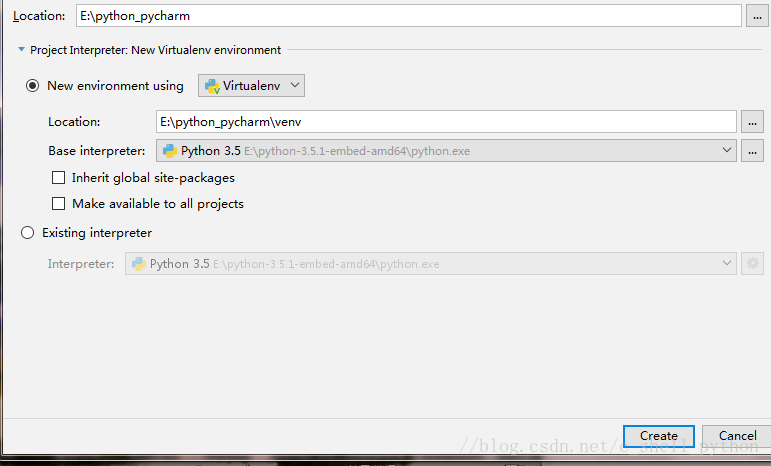
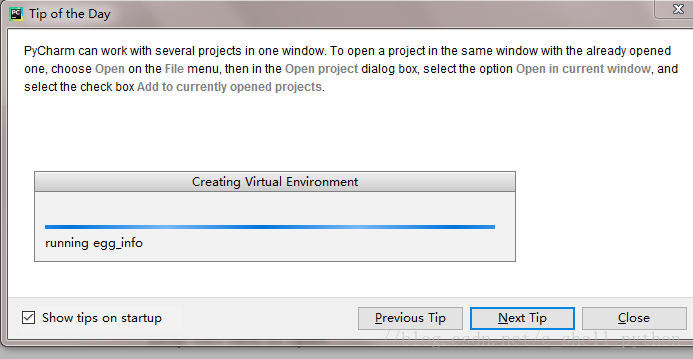
Remember, the path we choose must be empty, otherwise it cannot be created. Don't touch the second Location; it is automatically defaulted. Don't click anything else, then click Create. The following interface appears; this is PyCharm configuring the environment. Wait quietly. Finally, click Close to dismiss the prompt.
10. Set up the compilation environment
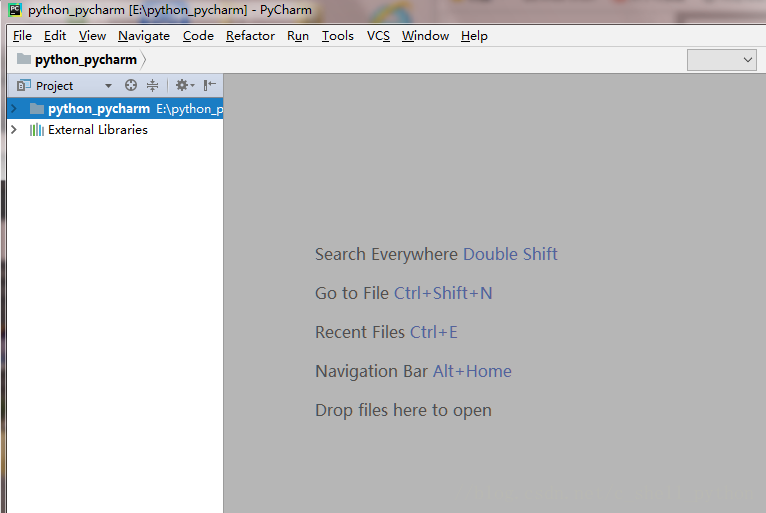
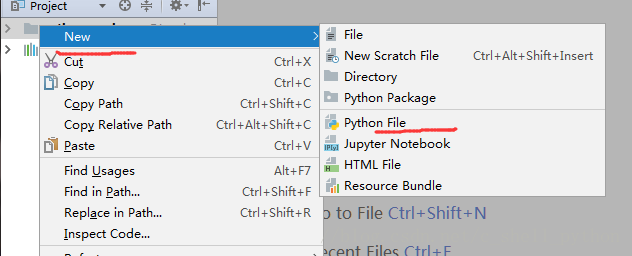
Right-click Click New, select Python File
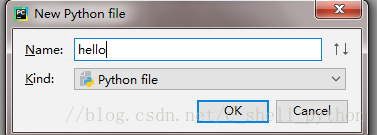
Give the file a name, and click OK.
The system will generate hello.py by default.
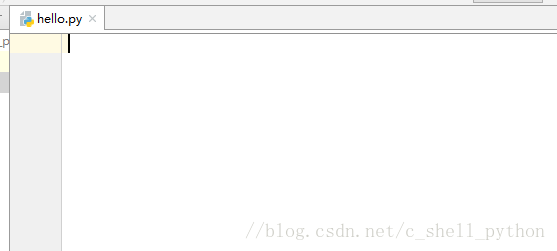
Alright, at this point, our initial work is basically complete.
11. Let's compile it.
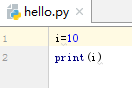
Shortcut Ctrl+Shift+F10, or click the green triangle, and it will compile. The compilation result is as follows.

12. By the way, because I already added it before, I can compile directly. There is also a very important step that hasn't been mentioned; otherwise, PyCharm cannot find the interpreter and won't be able to compile.
Click File, select Settings, and click
Add Interpreter

Finally, click Apply. Wait for the system configuration.
If we need to add a new module, click the green + sign.

Then directly search for pymysql.

Then click Install.
The above is the installation process and initialization of PyCharm, as well as the installation and configuration of the Python interpreter.
Original link: https://blog.csdn.net/c_shell_python/article/details/79647627