1. Write a Java test class
2. Use the Java test class to generate a C header file (I don't have a foundation in C or C++. I'm not sure whether the non-JAVA code appearing later is C or C++. Therefore, in the tutorial I refer to it as C.)
3. Use the C header file to write C code
4. Generate the C library
5. Java call test
Step 1: Write a Java test class
The code is as follows:
package com.aijiao.test;

public class JNIDemo {

    //定义一个方法,该方法在C中实现
    public native void testHello();

    public static void main(String[] args){
        //加载C文件
        System.loadLibrary("TestJNI");
        JNIDemo jniDemo = new JNIDemo();
        jniDemo.testHello();
    }

}
Step 2: Use the Java class to generate a C header file
The generation command is as follows:
javah -classpath . -jni com.aijiao.test.JNIDemo
This command needs to be executed in the bin directory of the Java test class project.
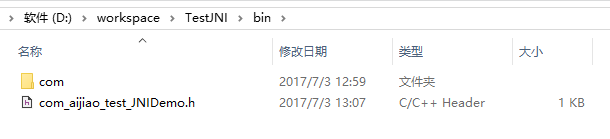
The following figure shows the generated header file.
Step 3: Use Visual Studio to write C code
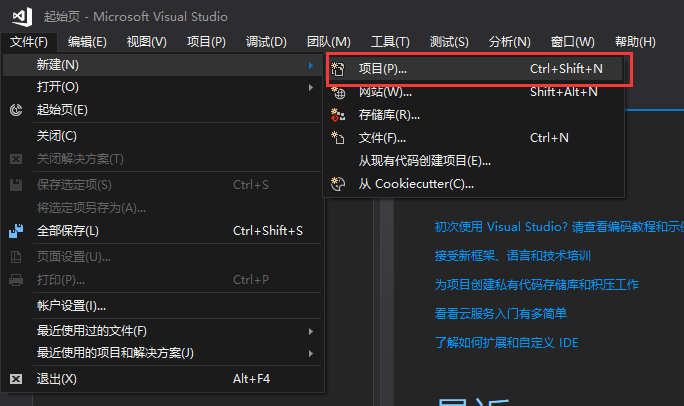
1. Select File -> New -> Project
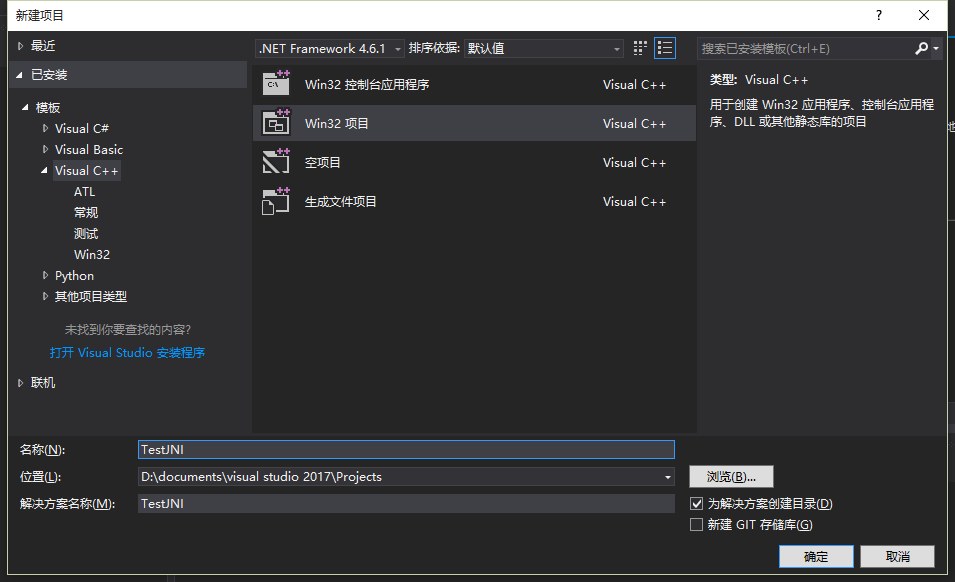
2. Select (Win32), enter the project name and project address, and click OK.
3. Directly click Next.
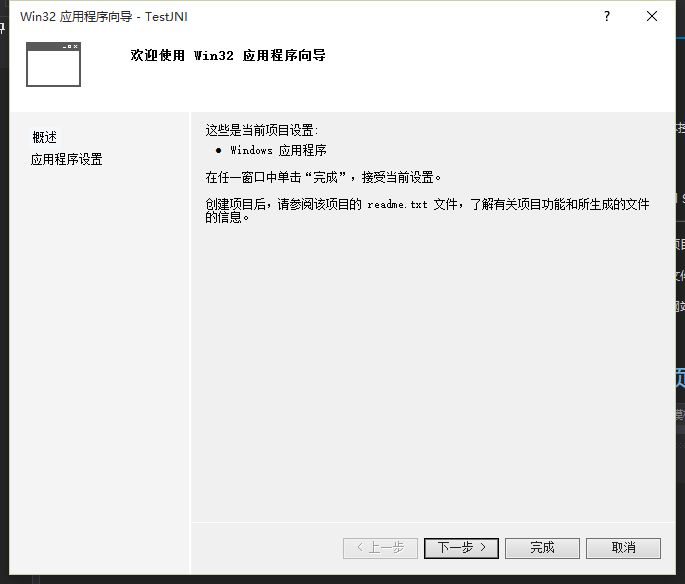
4. Here select DLL, Empty project, then click Finish.
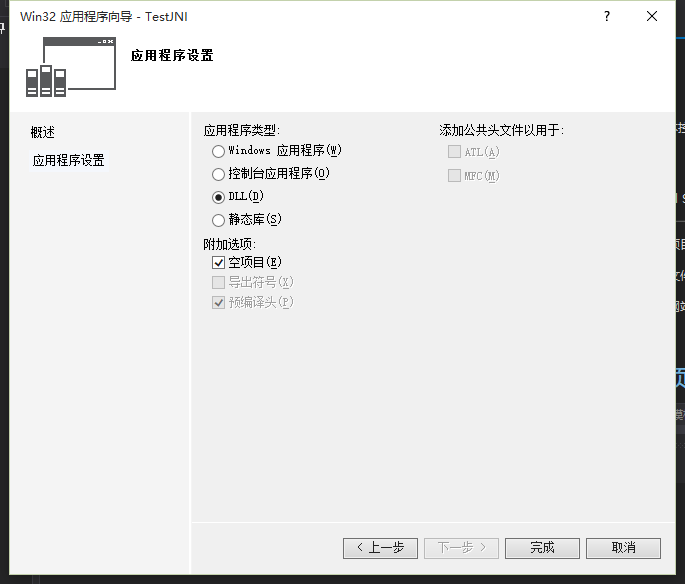
5. The project structure is generated as shown below.
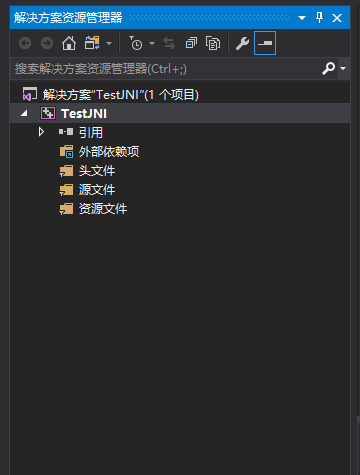
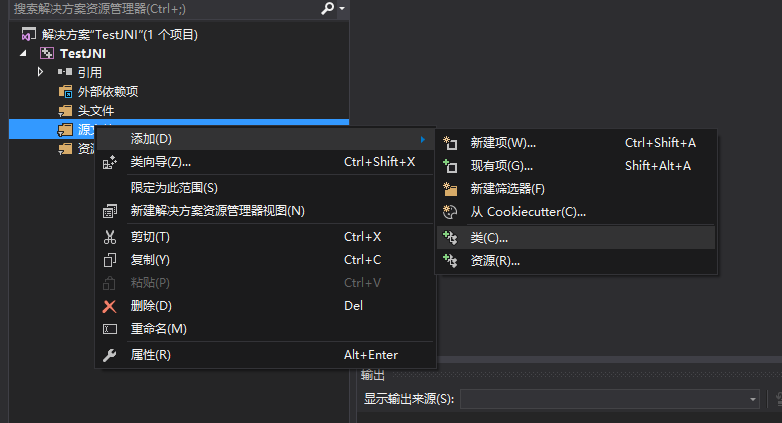
6. Right-click on the Source Files folder, choose Add -> Class.
7. Click Add directly.
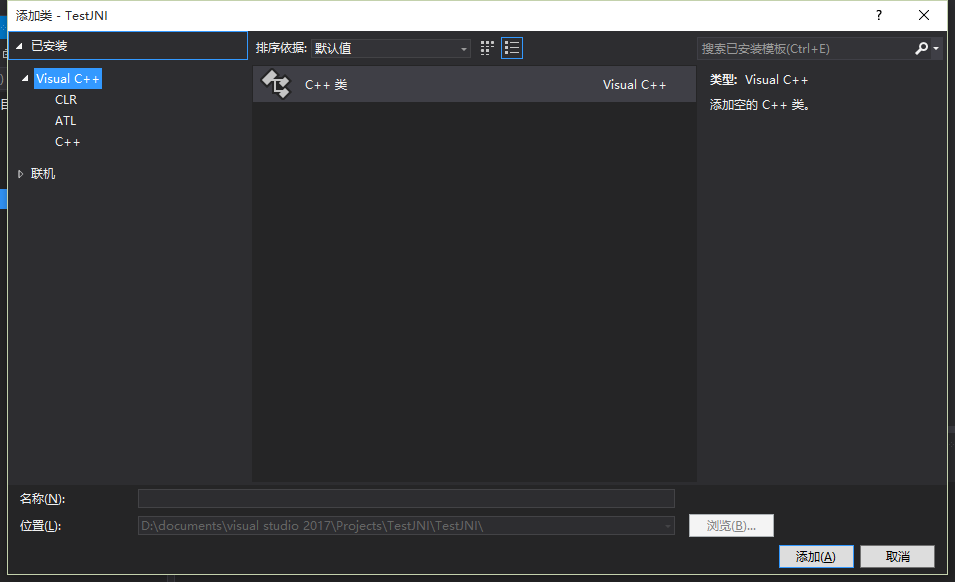
8. Enter the class name and click Finish. (C++ class)
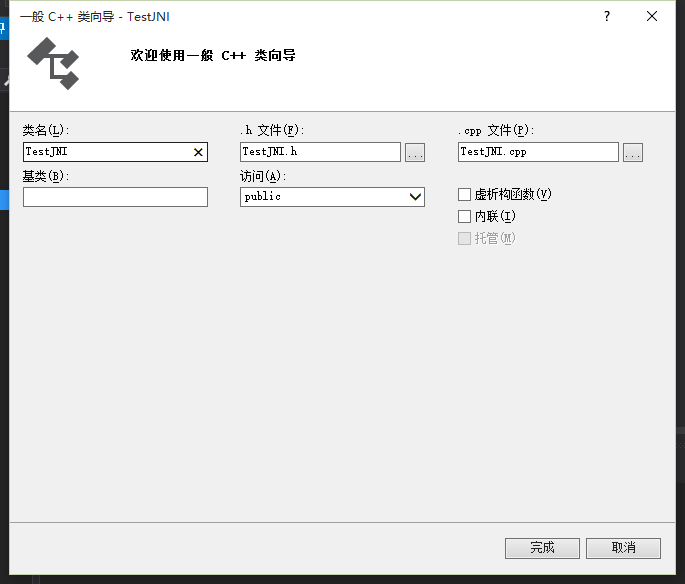
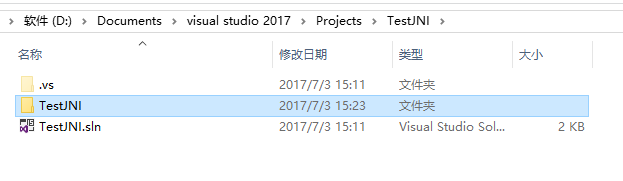
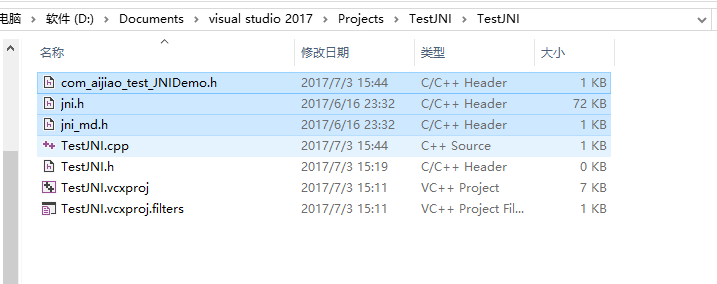
9. There is a jni.h file in the include directory of your JDK directory, a jni_md.h file in the win32 subdirectory of include, and the C header file in the bin directory of the Java project. Copy them together to the TestJNI directory of the C project: (The current project is named TestJNI. Under the project directory there is another TestJNI directory. Project directory -> TestJNI -> jni.h, com_aijiao_test_JNIDemo.h, jni_md.h) As shown below:
The current directory is the project directory.
The copied jni.h, com_aijiao_test_JNIDemo.h, and jni_md.h
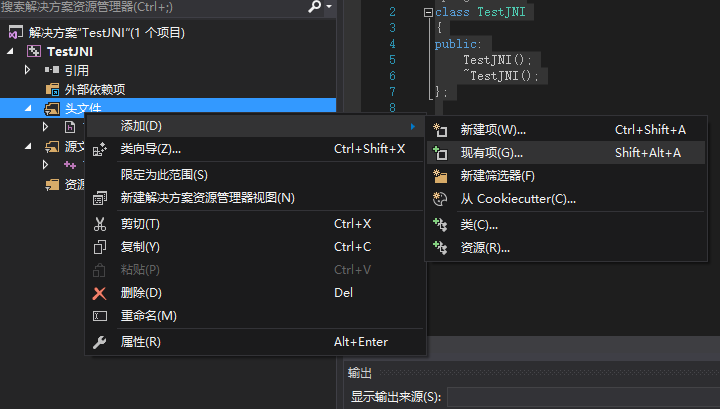
10. Right-click on the Header Files folder of the C project, choose Add -> Existing Item
11. Select jni.h, com_aijiao_test_JNIDemo.h, and jni_md.h
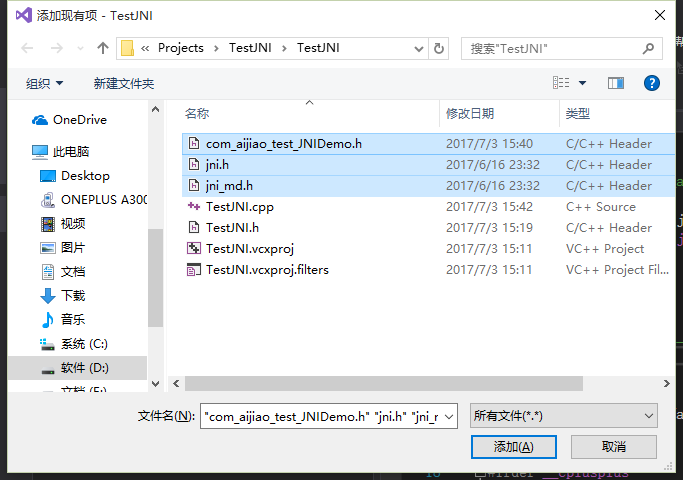
12. Open the com_aijiao_test_JNIDemo.h file
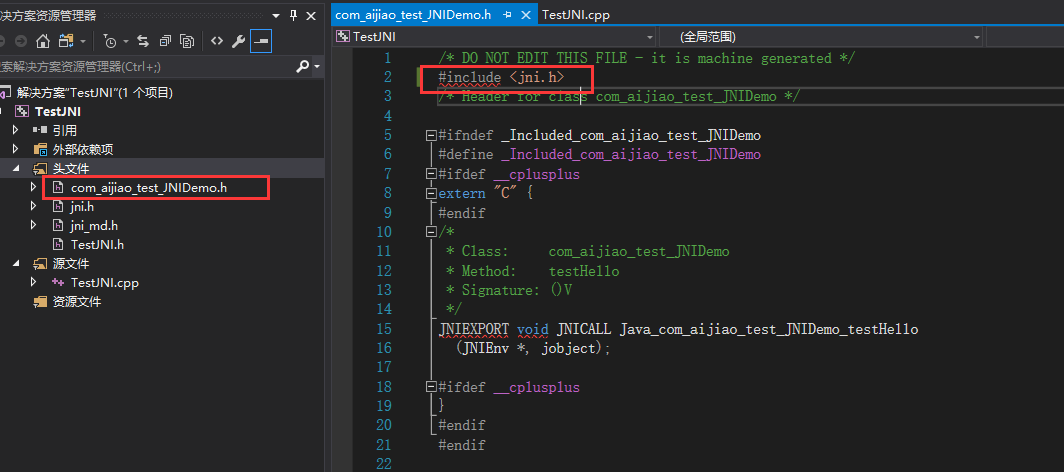
13. Change #include <jni.h> to #include "jni.h", and the error prompt disappears.
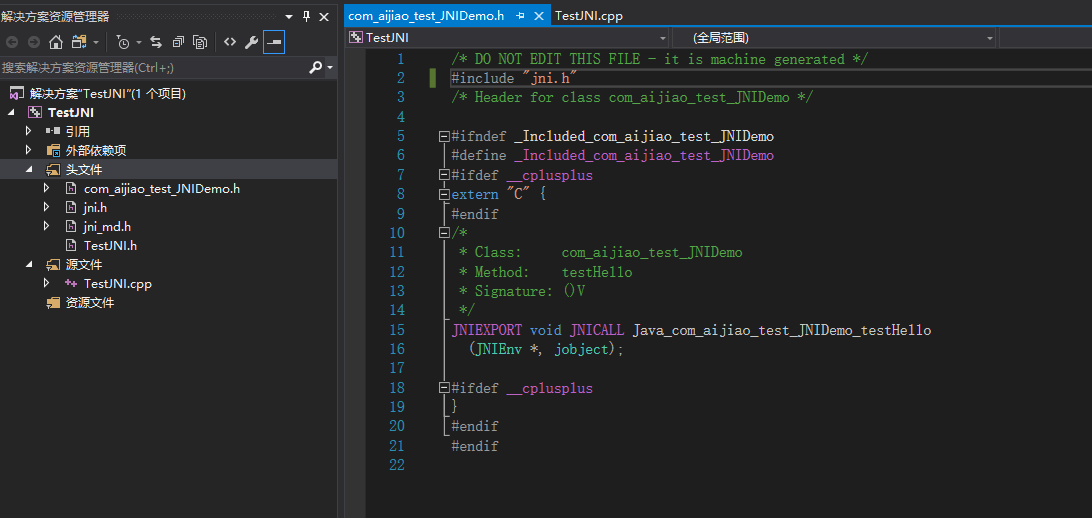
14. Write the following code in the TestJNI.cpp file:
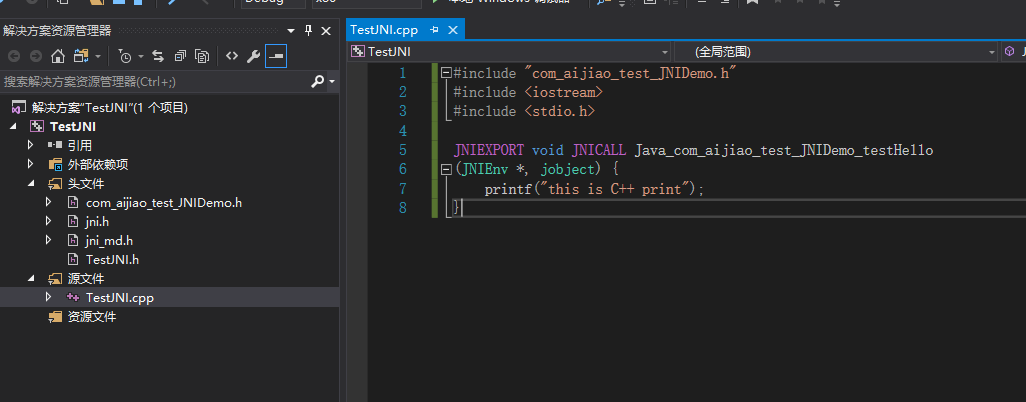
Code:
#include "com_aijiao_test_JNIDemo.h"
#include <iostream>
#include <stdio.h>

JNIEXPORT void JNICALL Java_com_aijiao_test_JNIDemo_testHello
(JNIEnv *, jobject) {
    printf("this is C++ print");
}
15. Configure the C project, right-click on the Solution, and select Properties.
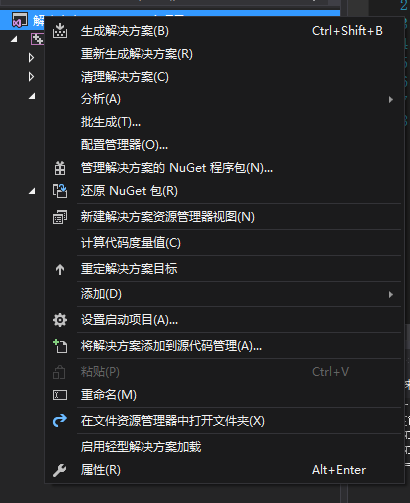
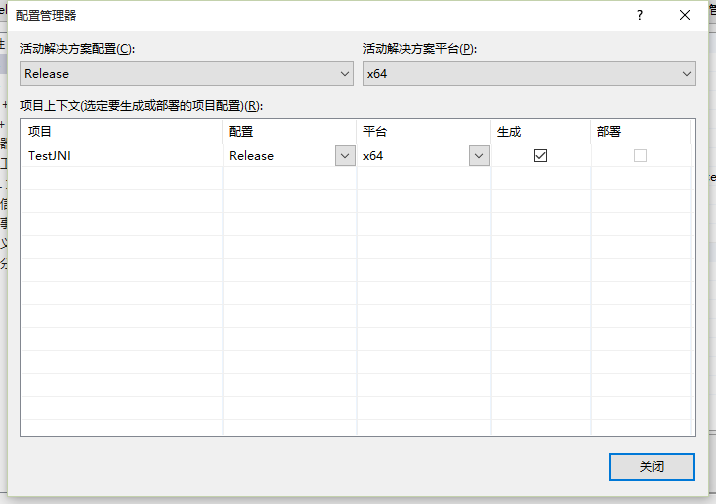
16. Make the following configuration.
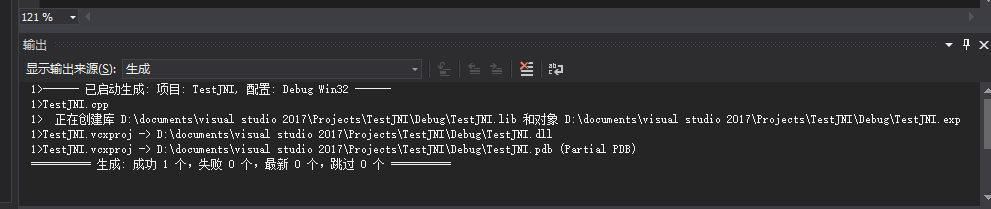
Step 4: Right-click on the project and select Build. The following information is output.
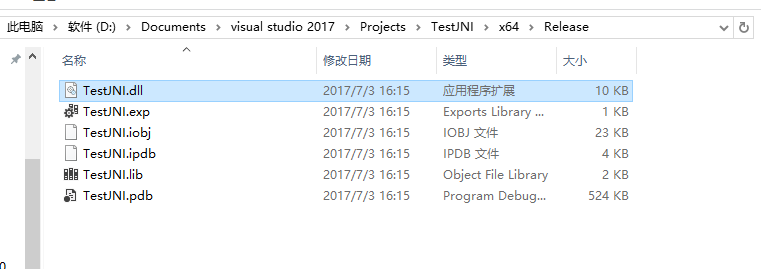
Below is the generated DLL library.
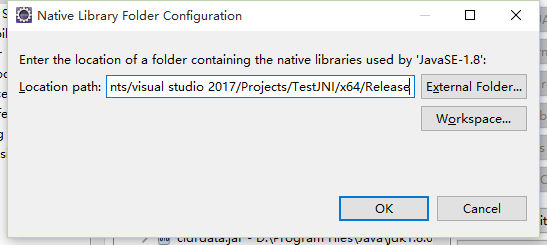
Step 5: Make the following settings in the Java project.
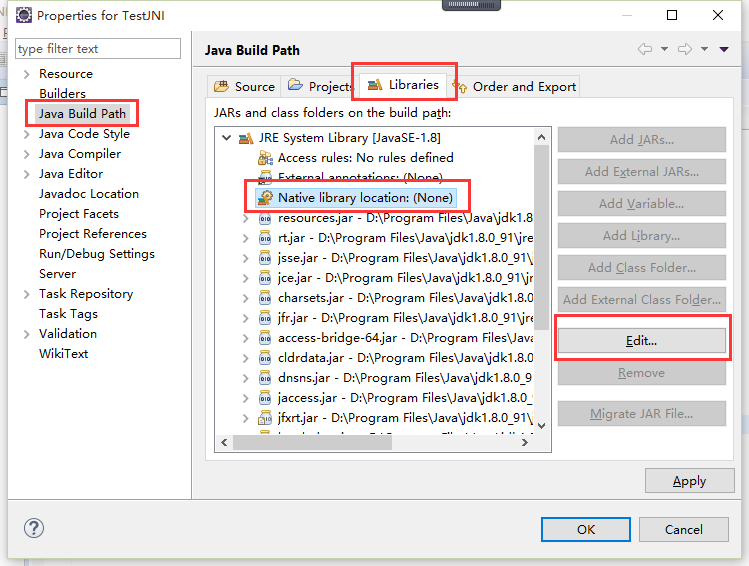
Fill in the path where the DLL library is located (no need to include the file name), and save.
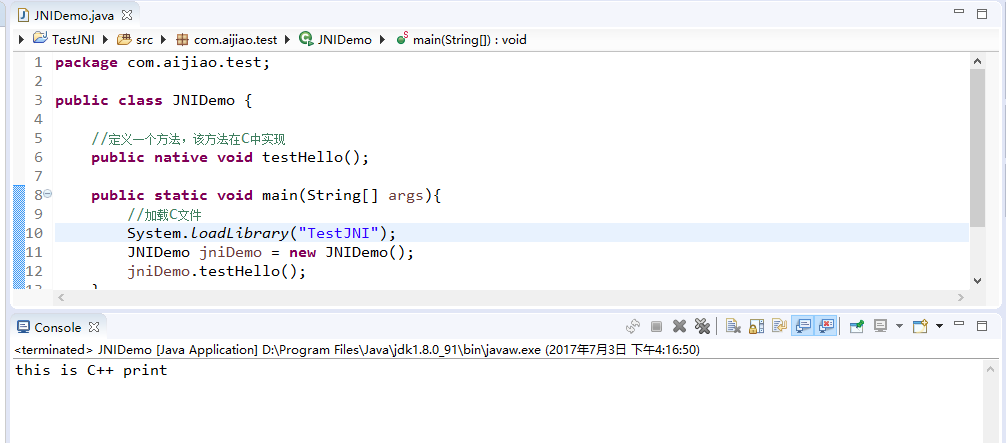
Run the Java class, and the result is as follows.
Author: aijiao
Email: 2585838470@qq.com
URL: https://my.oschina.net/aijiaoer0624/blog/1142876