Jupyter Notebook Usage
In the previous chapter, we completed the installation of Jupyter Notebook.
After installation, let's start it right away and see what this smart notebook looks like.
1. Start Jupyter Notebook
First, in the command line, switch to the directory where you want to store your future notebook project files. For example, you want to work in the folder on the desktopmy_jupyterwork in the folder:
# Windows 示例
cd C:\Users\你的用户名\Desktop\my_jupyter

# macOS/Linux 示例
cd ~/Desktop/my_jupyter
Then, enter the start command:
jupyter notebook
After pressing Enter, two things happen:
The command line window will start running a server (do not close this window).

The default web browser (such as Chrome, Firefox) will automatically open a new page, usually at the addresshttp://localhost:8888, this is theJupyter Notebook dashboard
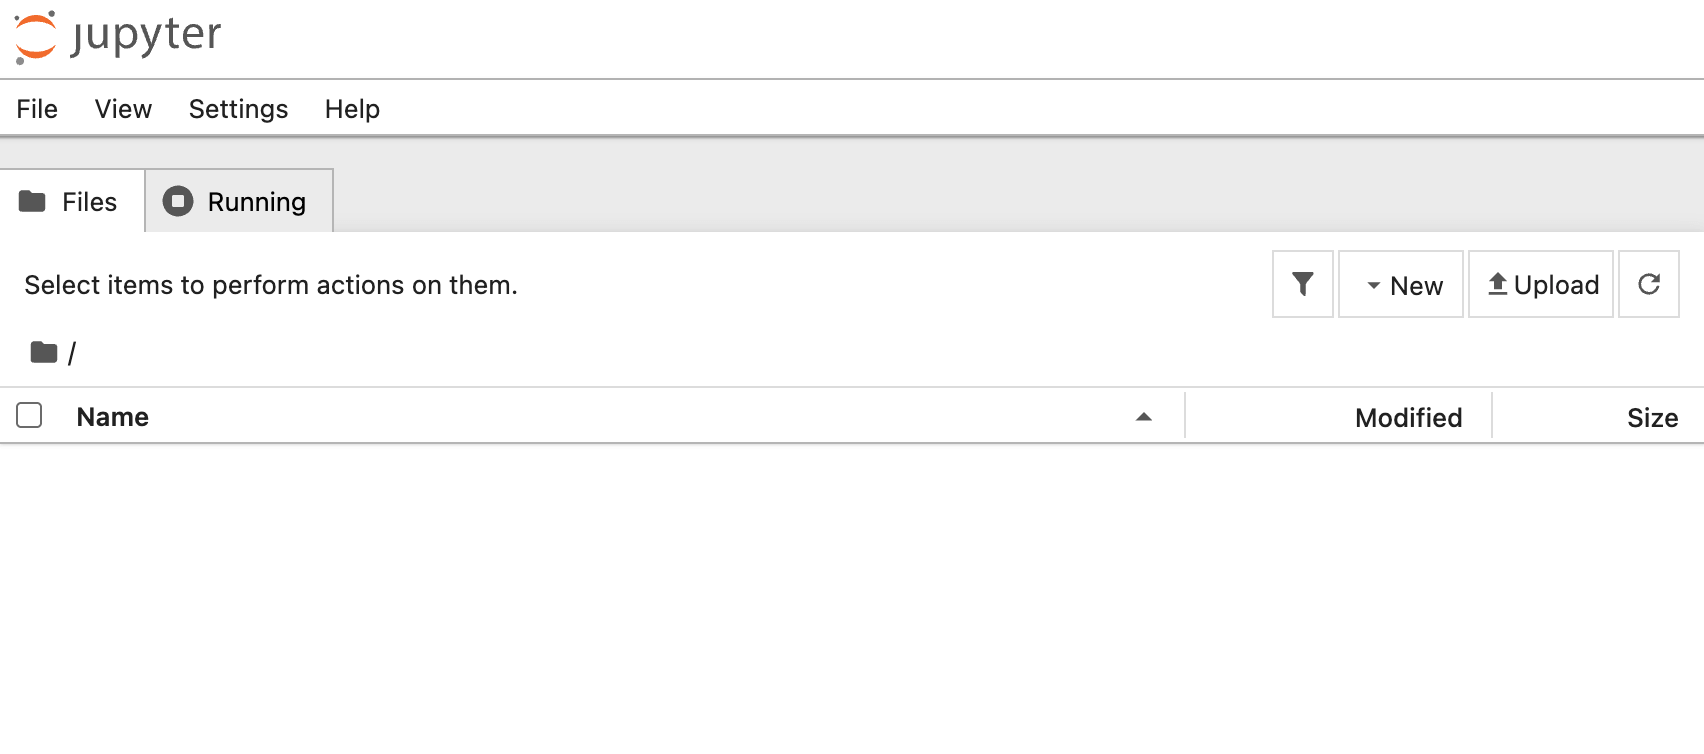
At this point, you can click File -> New -> Notebook to create a notebook:

You can also use the following method.
2. Create Your First Notebook
In the opened browser page (dashboard):
- Click theNewbutton in the upper-right corner of the page.
- In the dropdown menu, selectPython 3 (ipykernel)。
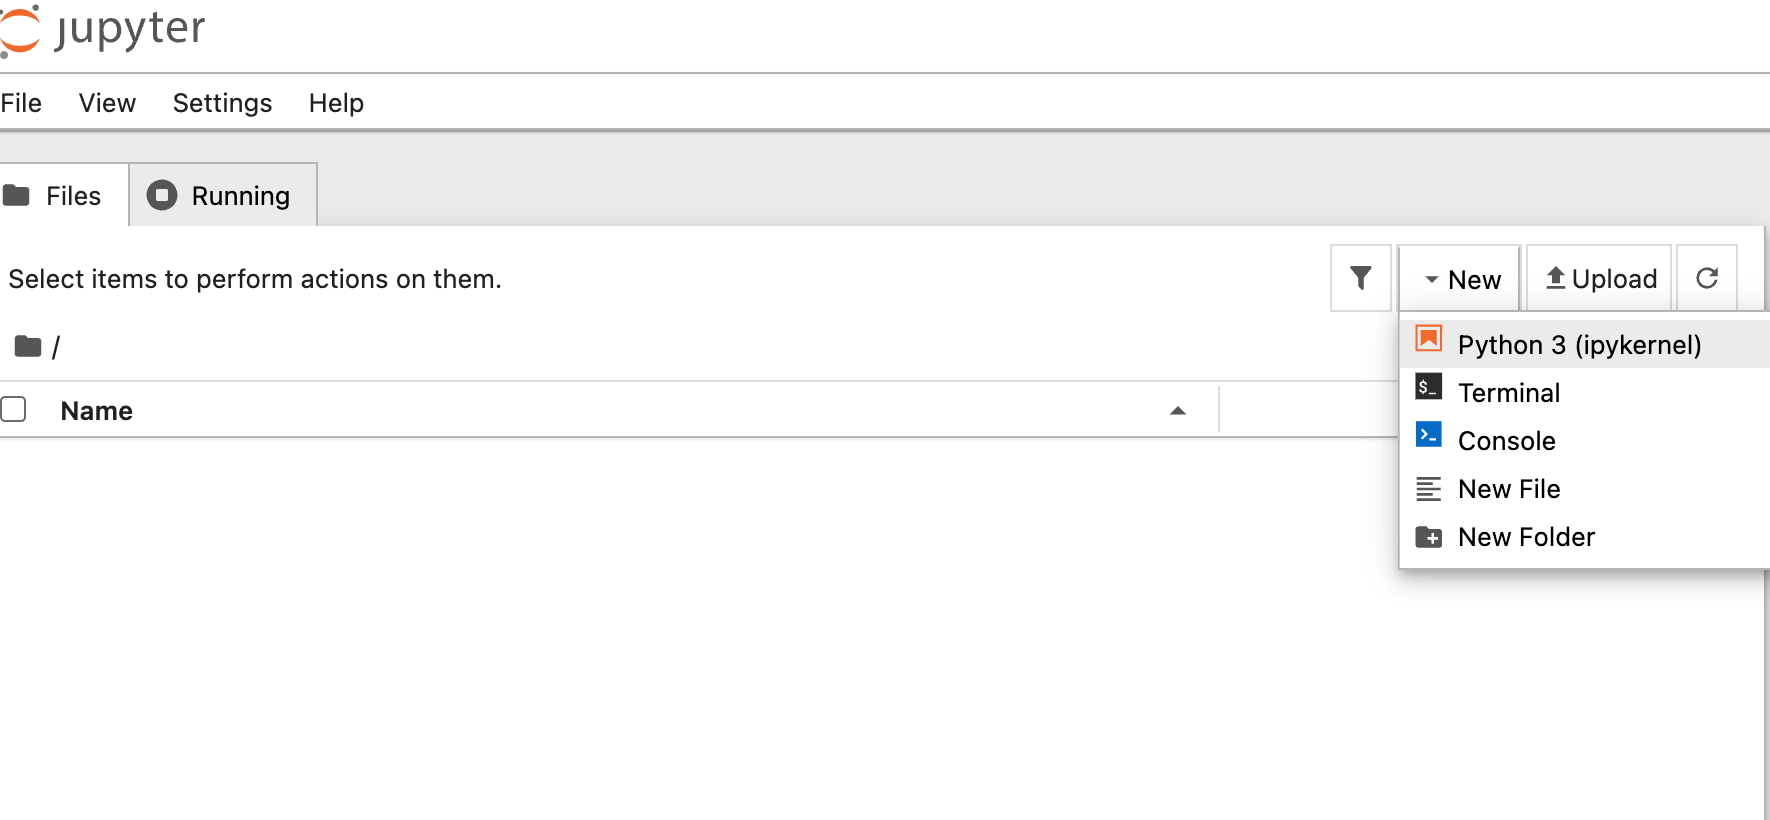
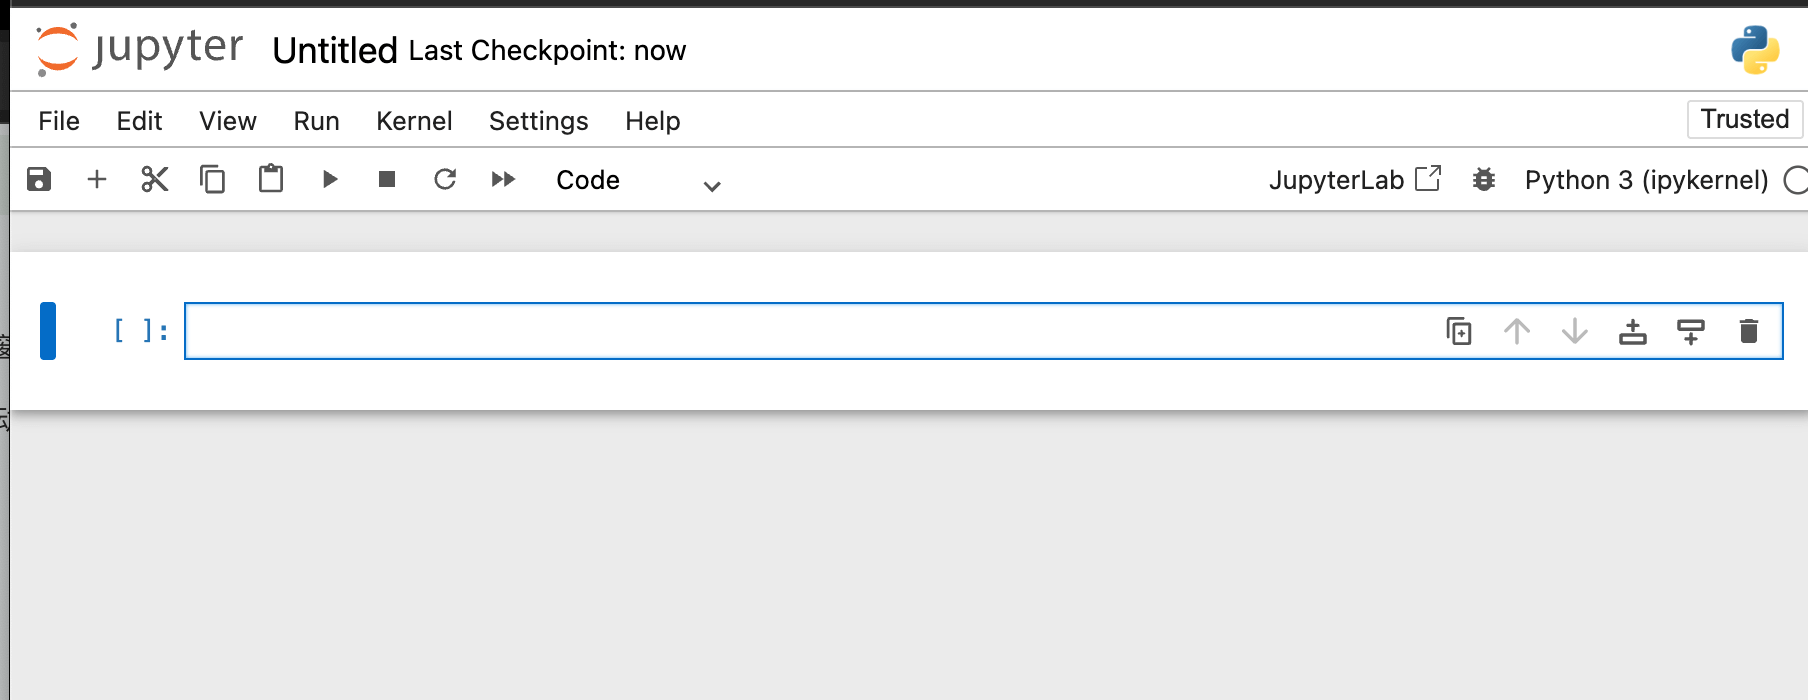
- At this point, a new browser tab will open. This is a brand new, blankNotebook document.。
3. Write and Run Your First Code
What you see now is a cell, which is the core of the Notebook.
In the first cell, enter:
print("Hello, Jupyter! I am from Example!")press
Shift + Enterkey to run this cell.
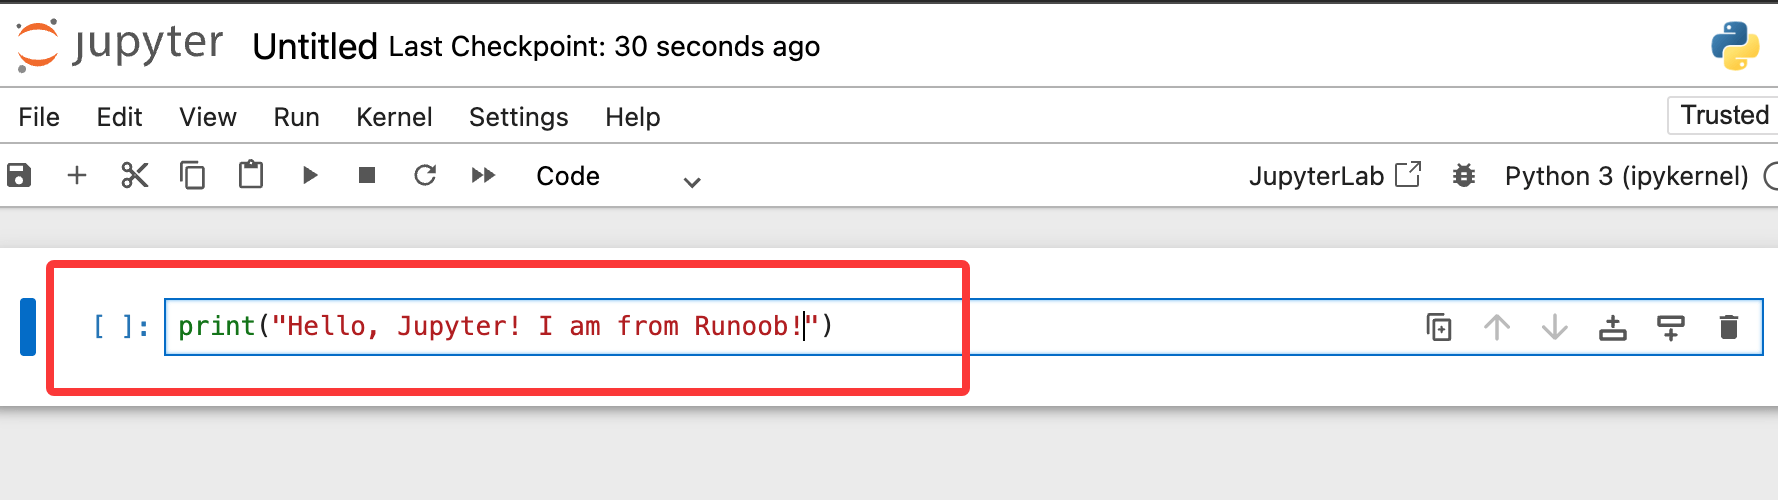
You will immediately see the output below the cellHello, Jupyter! I am from Example!, and the interface will automatically create a second blank cell for you.

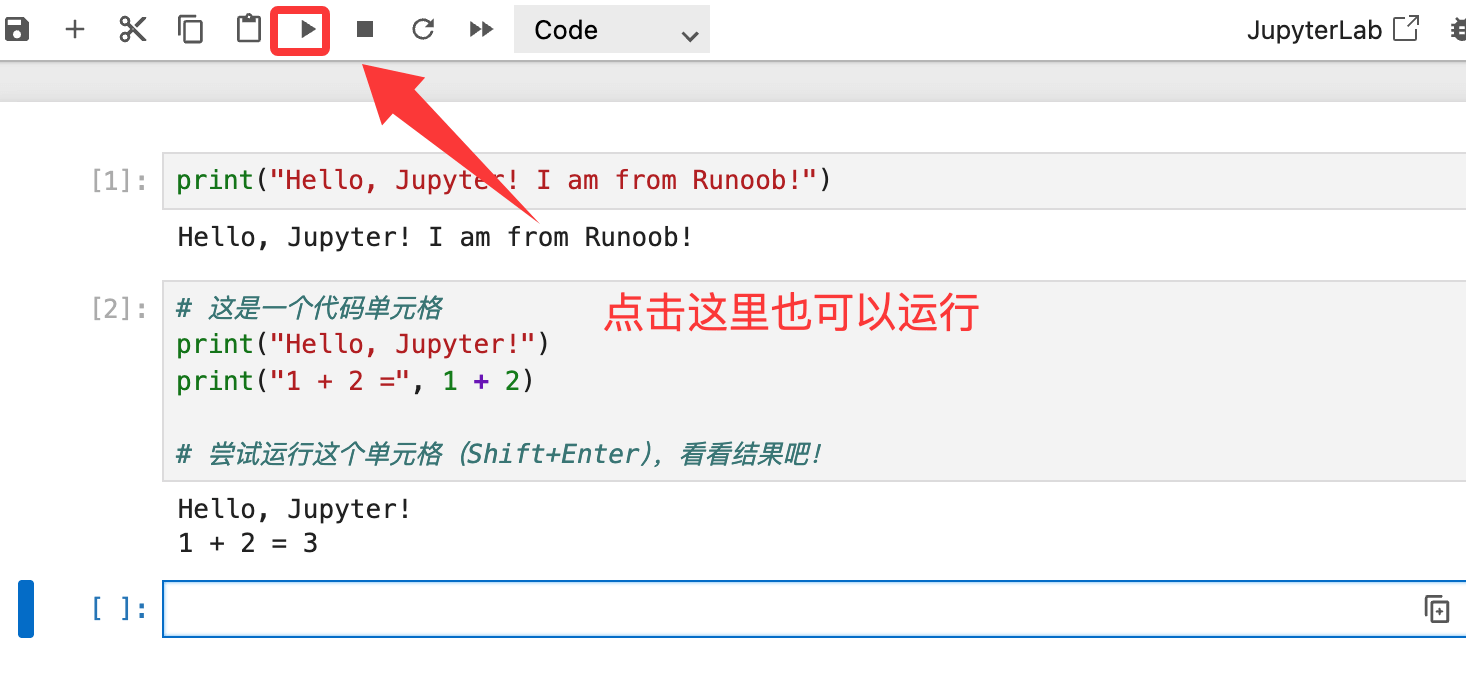
After completion, a new cell will be generated. Paste the following code below:
Example
print("Hello, Jupyter!")
print("1 + 2 =", 1 + 2)
# Try running this cell (Shift+Enter) and see the result!
Expected output:
Hello, Jupyter!
1 + 2 = 3
4. Understand Cell Types
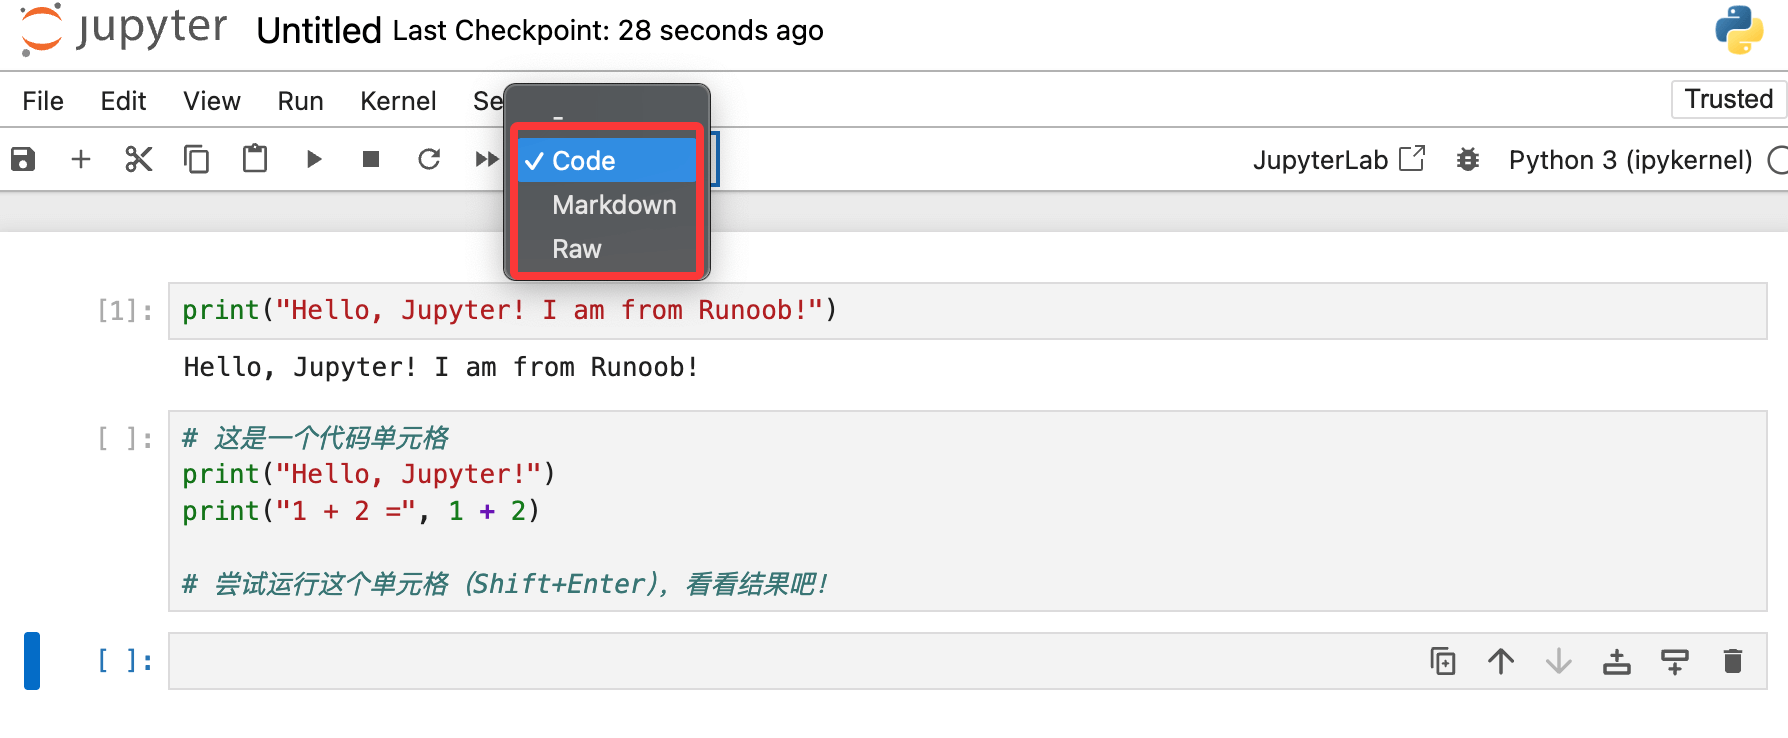
There are two main cell modes (switchable via the toolbar dropdown menu):
- Code: Used to write and execute code (default).
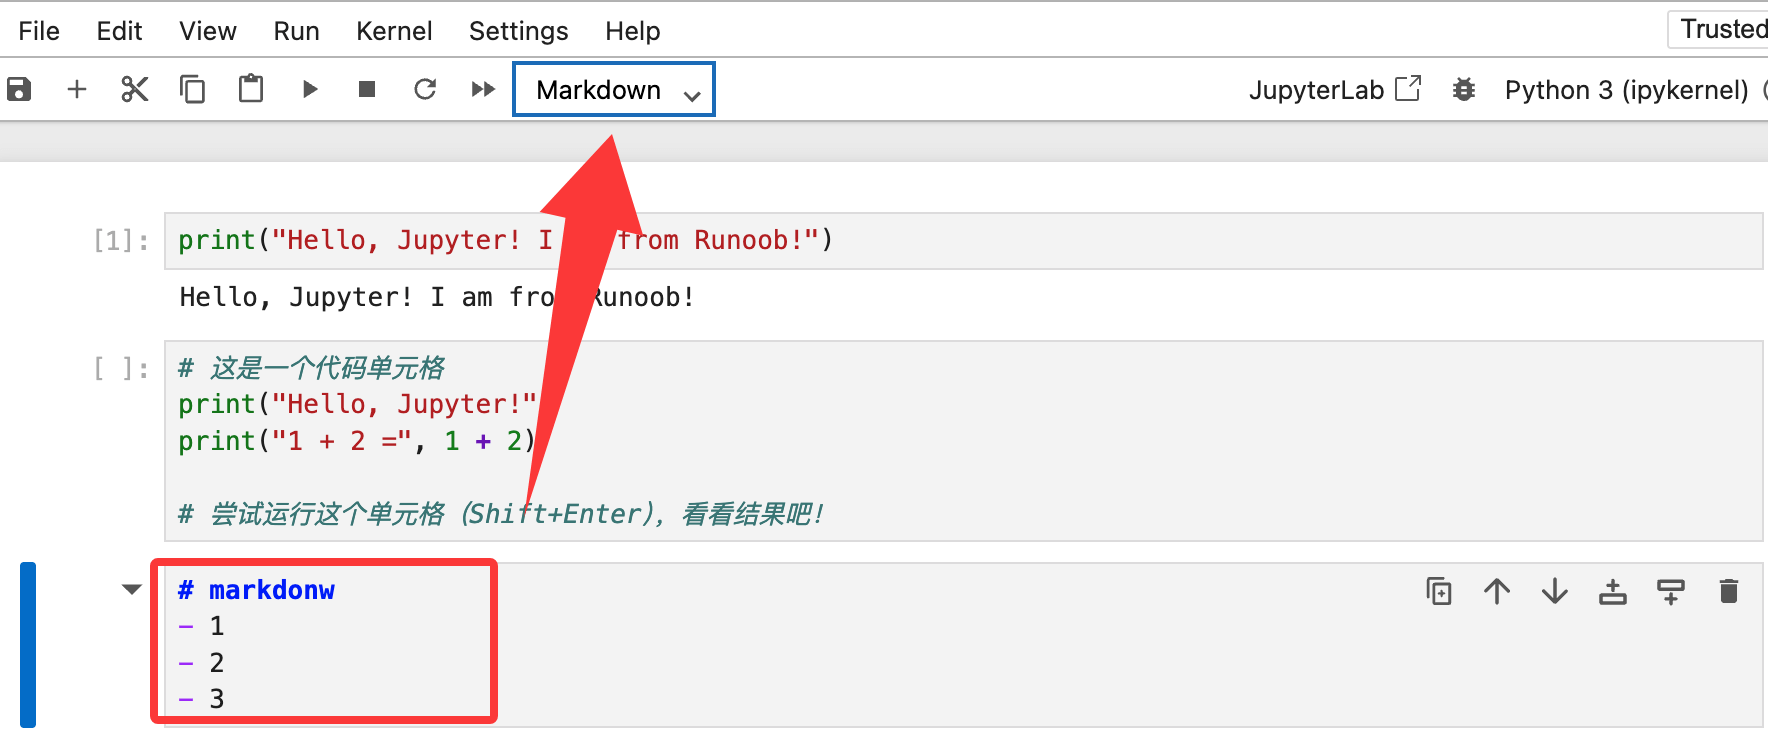
- Markdown: Used to write formatted text explanations. For example, you can enter
# This is a title, then run it (Shift+Enter), and it will display as a heading.
Try changing the type of a new cell toMarkdown, then enter## This is my data analysis project, and run it to see the effect.
5. Save and Close
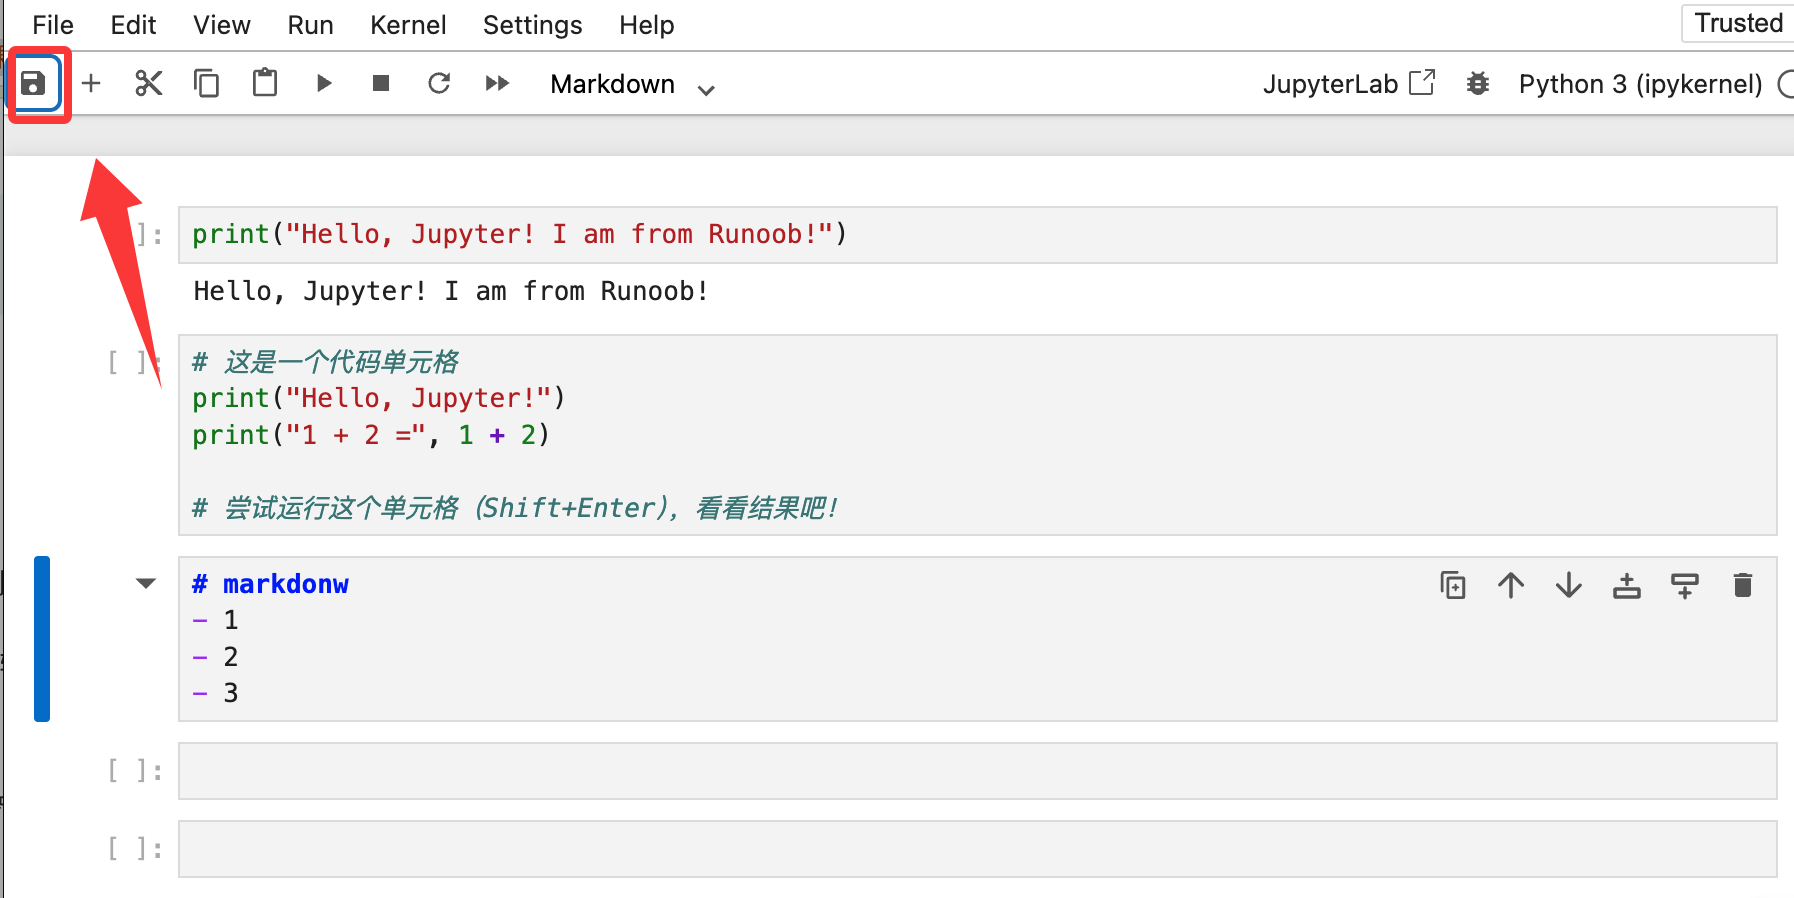
- Save: The notebook is automatically saved at regular intervals. You can also click thesave icon(floppy disk shape) to save manually. Your notebook will be saved as a file with the suffix
.ipynbfile. - Close: To close the notebook, simply close the browser tab. Tostop the entire Jupyter service, go back to the original command line window and press twice
Ctrl + C, then confirm closing when prompted.